Customer Requirements
The extension requires the setup of an OAuth2 client for the FSM Account and appropriate access permissions for each company. This needs to be done to enable the installation of the extension.
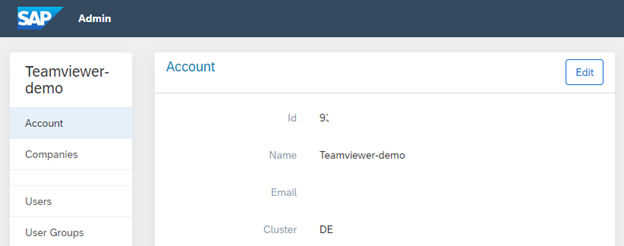
Account Information
You need to provide the technical names of the account and company in FSM along with the cluster their instance is installed in. This information can be found in the administration panel as shown in the images below:
Company Information
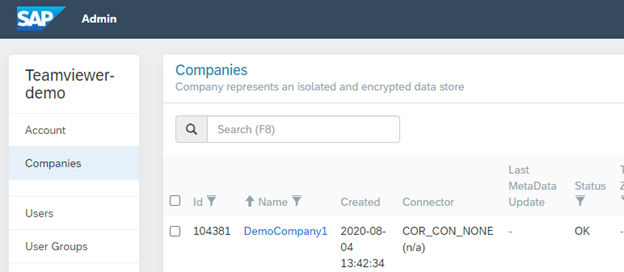
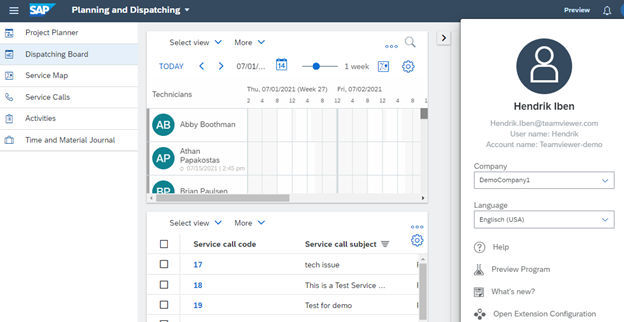
In the above example images, the information required is:
- Account name: Teamviewer-demo,
- Company: DemoCompany1,
- Cluster: DE
📌Note: The extension can support more than one company, please specify all companies that will use it.
User Group
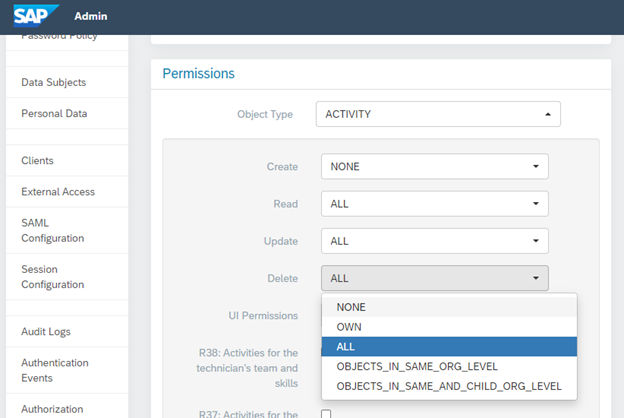
The extension requires only a few permissions to function. It acts as a ‘Dispatcher’ in the sense that it reads ‘ServiceCall’ and ‘Activity’ objects and then creates an ‘Attachment’ object for the matching ‘ServiceCall’. It will also delete created assets in case of updates.
You can either decide the use the existing ‘Dispatcher’ role in FSM or you can create a new one to be used by the client. One way to create a suitable group is copying the existing ‘Dispatcher’ group.

With this copy you can then further restrict the access if required, e.g. you can remove ‘Create’ and ‘Delete’ permissions for all objects (except for ‘Attachment’ objects).
Client
To technically access the FSM the extension requires an OAuth2 client setup.
In the FSM ‘Clients’ configuration, you need to create a new client.
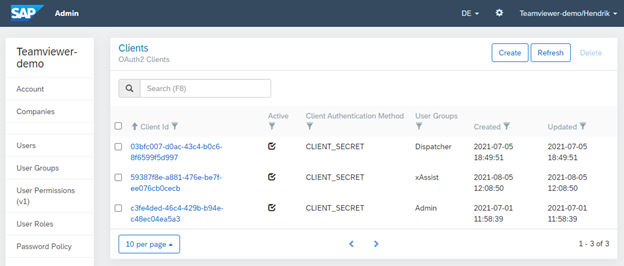
You can either accept the new randomly generated client id or define your own. Make sure to assign the previously generated ‘User Group’ for each company.
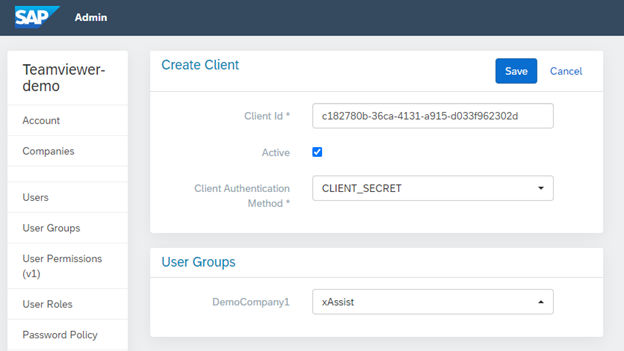
⚠ Important note: When saving make sure to note down the generated client secret. This is required by the TeamViewer Solution Delivery Team to provide the extension instance.
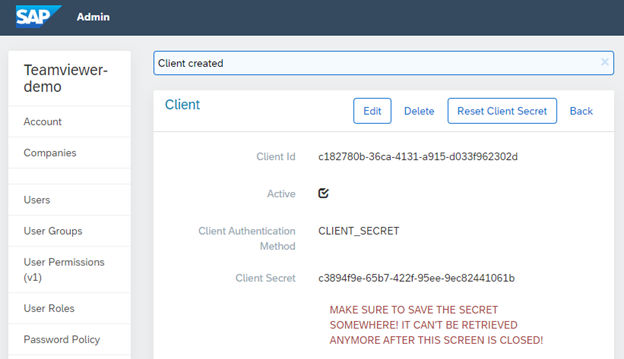
With the access permissions set and the client id and client secret pair TeamViewer can provision the extension for the FSM account. Provide the client id and client secret over a secure communication channel to your TeamViewer contact.
Note: The FSM team is working on a way to make this step easier in the future.
Extension Installation in FSM
Extension Link
After the extension instance has been provisioned an Extension Access URL will be provided by TeamViewer that is used to install the extension.
Installation
The extension is installed via the ‘Foundational Services’ configuration in the ‘Installed’ overview.

Note: There will be an Extension tile in the FSM Directory for the integration, but the installation will only be supported via custom URL provisioning upon request.
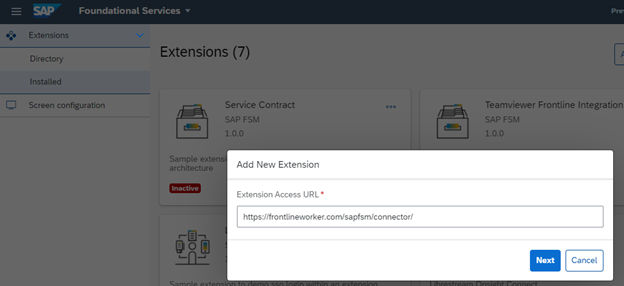
Selecting ‘Add Extension’ prompts you for the URL provided by TeamViewer.
Note: Please type in the URL exactly as provided (it may end with a ‘/’ that is required).
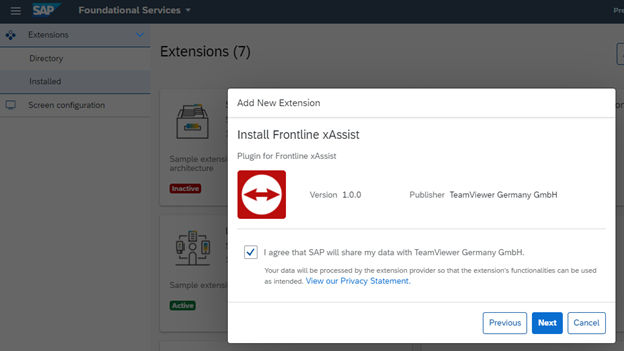
Review settings and allow data sharing with the extension.
In the last step, you can optionally put the extension into your sidebar. You can uncheck this if you would like to manually add the extension later.
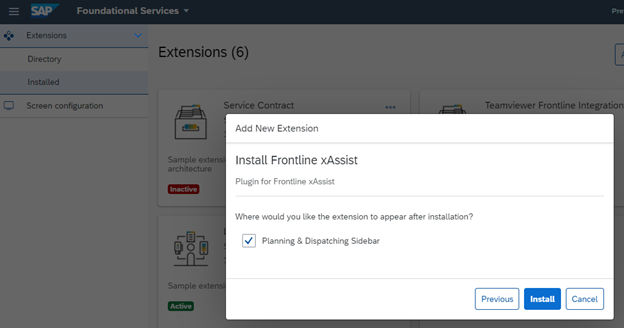
Done! The extension is now available.
Sidebar
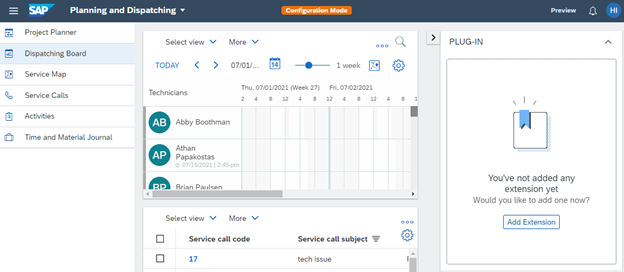
If you selected to not install the extension into the sidebar at first, you can do so manually.
Open the Extension Configuration of your sidebar.
Click on Add Extension
Select Frontline xAssist
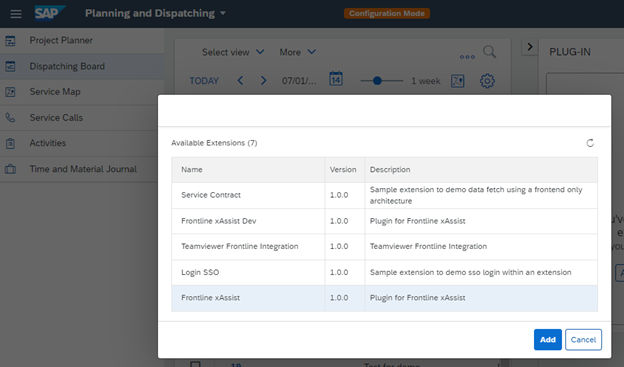
Click Add. Close the Extension Configuration.
The extension is now installed!
Uninstalling / Removing from Sidebar
You can safely uninstall or remove the extension at any time. While your instance is still valid you can later reinstall or reenable the extension with the same Extension Access URL.