The section describes the installation of the TeamViewer Embedded Solution on an empty Raspberry (without an operating system).
What you will need
Make sure that you have prepared the following points:
- A Raspberry (see System Requirements) connected to the keyboard and the monitor.
- A properly formatted micro SD card (Minimum 32 GB).
- Your TeamViewer credentials.
- A disk image creation tool is installed on your local PC (e.g. Win32 Disk Imager).
- The Raspberry is connected to the internet.
📌Note: If you cannot use Wi-Fi make sure to connect your Raspberry with LAN cable to the internet.
Setup
1. Download one of the following archives:
- https://downloads.raspberrypi.org/raspbian_lite_latest
- https://downloads.raspberrypi.org/raspbian_latest
- https://downloads.raspberrypi.org/raspbian_full_latest
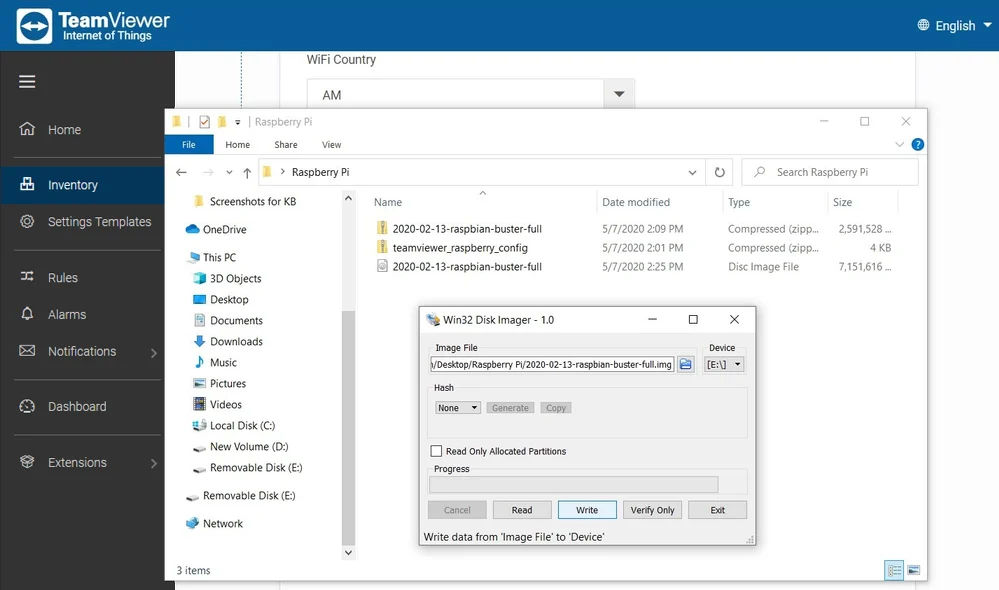
2. Extract the image from the archive.
3. Use the disk image creation tool to write the image to the micro SD card.
4. To log in to the Embedded Management Console, open https://teamviewer-iot.com and use your TeamViewer account credentials.
5. From the left menu select Inventory.
6. On the left side from the drop-down-menu Add select Device.
7. Select the operating system Linux.
8. Select the distribution Debian.
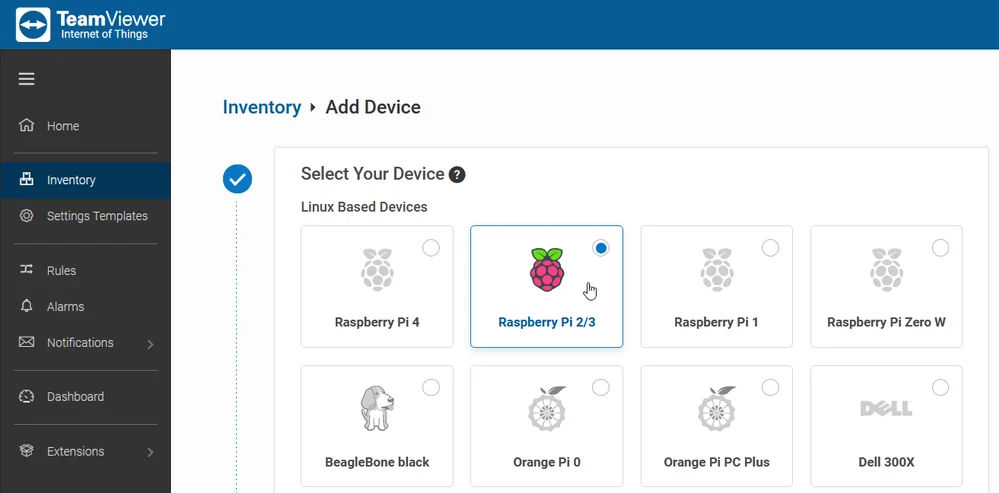
9. Select your Raspberry version.
10. Select Create an OS image with TeamViewer Embedded.
11. Configure the operating system:
- Select a Group from your Contacts List.
- Optional: Input the Wi-Fi Network Name (SSID) the Wi-Fi Password and select a Wi-Fi Country
- Input the Host Name

12. Click Download Configuration and save the archive.
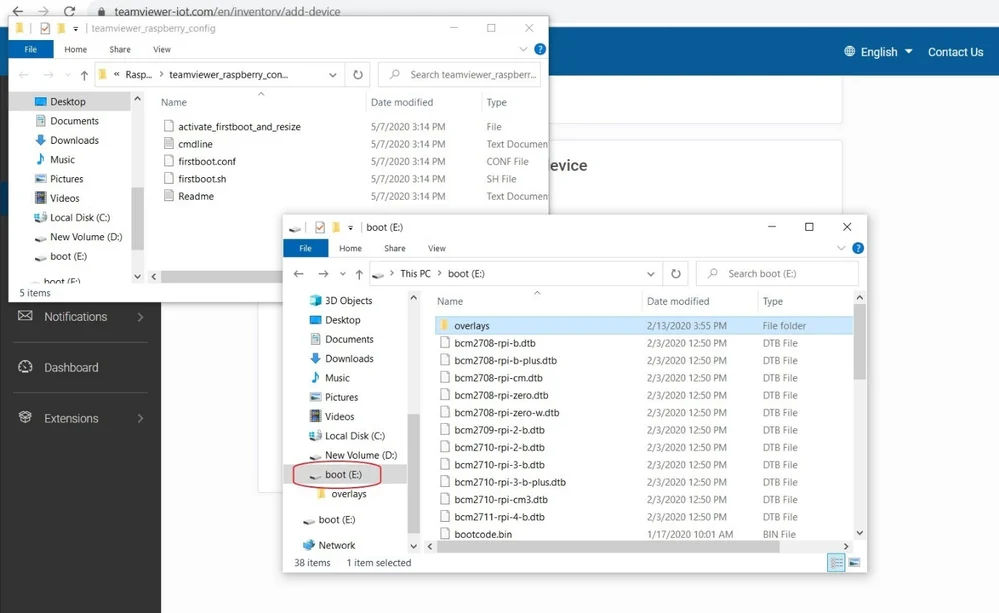
13. Extract the contents of the archive into the /boot folder on the micro SD card.
14. Insert the micro SD card into the Raspberry.
15. Boot the Raspberry.