This article explains how to activate your TeamViewer Remote Management license and install the respective product on your devices.
This article applies to all TeamViewer Remote Management customers
How to activate the Remote Management License
To activate your Remote Management license, please follow the instructions of the video below:
Alternatively, you can also follow our step-by-step guide here:
Step 1
Open the License Activation email that was sent to the email account used to purchase the license. Click Activate.
📌Note: If you have purchased more than one product, each license must be individually activated.
Step 2 - Follow A or B
💡Hint: We recommend using a Master Account to manage TeamViewer Remote Management services. You may find more information on utilizing a Master account here.
A: If you already have a TeamViewer account
Sign in with your existing TeamViewer account, click Activate, and go to Step 4.
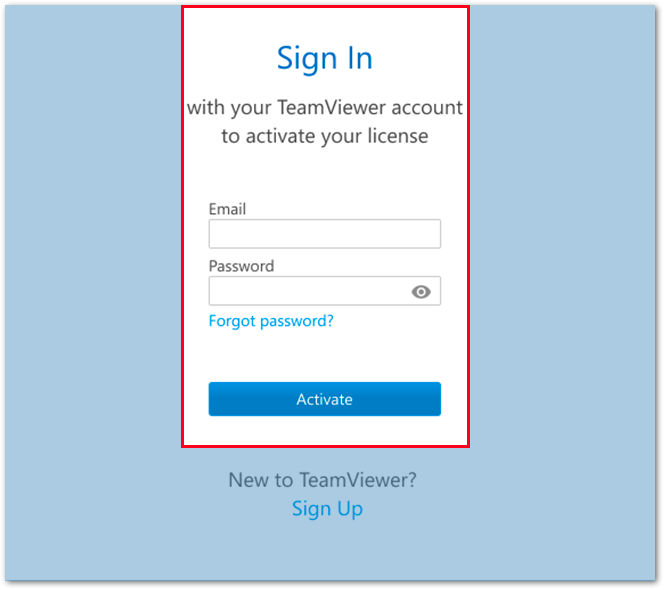
B: If you do not have a TeamViewer account
1. Create an account by clicking Sign Up.

2. Enter your email address, name and create a password. Read and accept the EULA and mark the captcha box. Click Activate.

3. An email has been sent to your inbox for account verification. Click the link in the email to verify your account and complete your license activation.
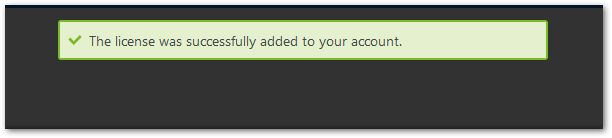
Step 4
You will be redirected to the Management Console where a pop-up confirms your license was successfully activated.
Requirements for Installation
The following information details both endpoint and user requirements needed to install TeamViewer Remote Management services.
Endpoint Requirements
To install TeamViewer Remote Management, the endpoint must:
- TeamViewer Host or TeamViewer Full Client must be installed.
- The remote device must be added to the Device list as a Managed Device. To do so, please follow the instructions explained in this article:
📄 How to set up remote access on your device (managed device)
🚨IMPORTANT: Setup of remote access is done on the remote device itself. It is not possible to set up remote access for another device from your local device.
User requirements
To install TeamViewer Remote Management services on an endpoint, the TeamViewer account must have correct permissions. These permissions are provided based on the assigned Roles the members of the Company Profile have.
📄 Learn More about TeamViewer Roles
Permissions
TeamViewer Remote Management has its own set of permissions, signifying what each member of a Company Profile is able to do in regard to the services. These permissions are as follows:
- Manage policies - User can alter/edit Remote Management policies
- Assign policies - User can push Remote Management policies to devices
- View & acknowledge all alerts/threats
- View & acknowledge own alerts/threats
📌Note: With TeamViewer Backup, only the assigned account can install the service or restore data from the Management Console. It is not possible to bypass this permission.
Changing user permissions
By default, Business License users and Company Admins/Admins on Company Profiles can install TeamViewer Remote Management services. Members of a Company Profile in the User role, however, have no ability to affect Remote Management devices or services.
In the event a user needs access to the Remote management devices/services, their role must be updated. This can be accomplished by creating a new Remote Management User Role. Please see the following video for how to begin creating the new Role:

📌Note: When creating the new Roles, you will find all respective Remote Management permissions to the right of their respective service name.
How to activate Remote Management services to your endpoints
To finalize the activation of the Remote Management, you must activate the Remote Management service on your remote devices. To do so, please follow the instructions in the video below:
Alternatively, you can also follow our step-by-step guide here:
Step 1
Go to https://web.teamviewer.com/ and sign in to your account.
Step 2
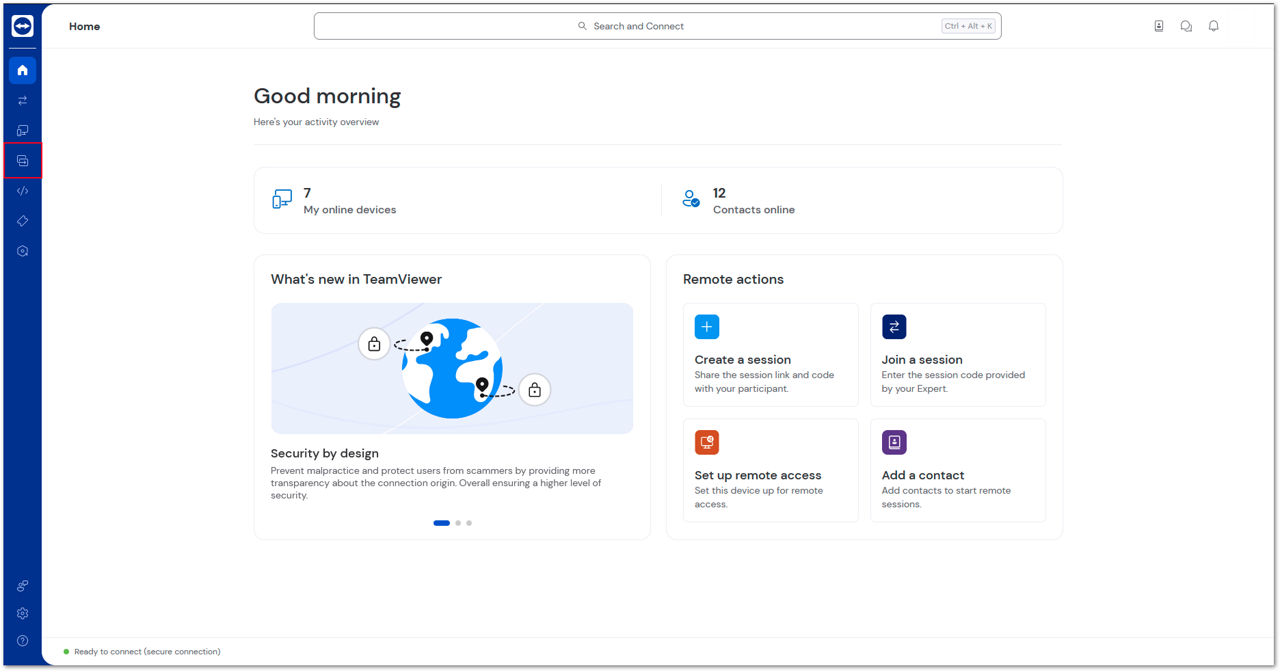
Go to the Remote Management tab on the left-hand side menu.
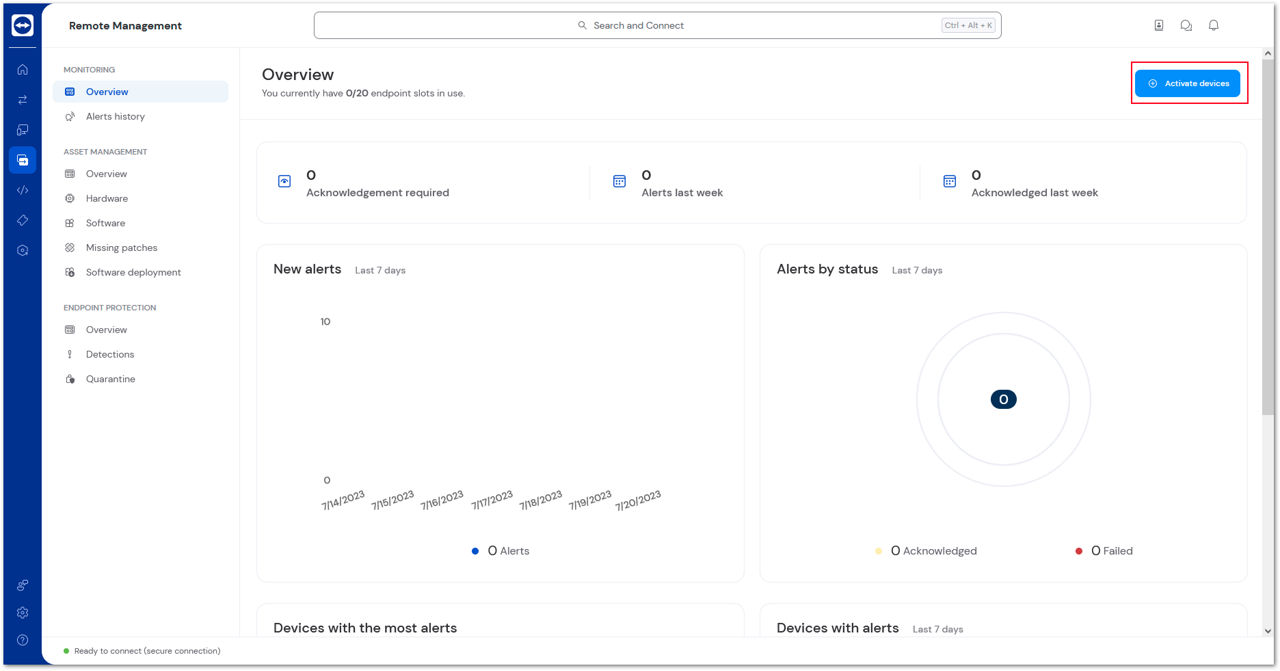
Step 3
Go to the respective Remote Management service you have purchased (in this example, we are going to activate the Monitoring service). On the Overview tab click + Activate devices (found in the upper right corner).
Step 4
Select the remote devices where the service will be installed. Click Continue.

Step 5
Select the desired policy to be applied to the devices and click Activate.

Once installed, a confirmation pop-up will appear.
