Introduction
In this section, we will go through how a Frontline Worker can execute a task created from the Vision-Picking workflow.
Note: The Frontline Workplace app should be pre-installed and the user must be signed in. To install Frontline Workplace, see the Android Wearables section.
Note: Ensure that you have a template created for the signed-in user and the sample picking order is uploaded into the Picking Orders on xPick. To download the sample order check our Templates page under the xPick section.
Navigation
Using on-device controls
In addition to voice commands, you can also use any physical buttons or touchpads on your device to navigate through the Frontline Workplace app and perform certain actions. For more information, please have a look at the user manual for your specific device.
Using the voice commands
Voice commands are a very convenient way to interact with your device in a hands-free way. Depending on the current screen, there are different actions that can be triggered by simply saying a specific command.
Global voice commands
In addition to voice commands that are only available on certain screens to perform specific actions, Frontline Workplace also offers global voice commands that are available throughout the entire application.
Here’s a list of global commands:
- Show commands: Shows all available voice commands for the current screen
- Hide commands: Hides the list of available voice commands for the current screen
- Flashlight on: Turns the flashlight on (if the device has one)
- Flashlight off: Turns the flashlight off (if the device has one)
- Report error: Allows you to send info to the Frontline admin to report an issue
Main picking screen voice commands
- Bluetooth Settings: Allows the pairing of an external barcode scanner via Bluetooth
- Call Support: Allows the Frontline Worker to the Frontline Expert via an xAssist call
- Cancel Order: Cancels the current picking order
- Cancel Pick: Cancels the current pick
- Early Deposit: Cancels the rest of the order and moves to the deposit component
- Go to History: Shows the picks that were completed within an order
- Indirect Work: Keeps track of the side tasks while the picking is in progress
- Open Exceptions: Display all the available exceptions
- Pause Order: Pauses the current order for the time being
- Pick Selector: Allows the user to move to the next pick step without following the picking sequence
- Postpone: Allows to move the current pick to the end of the order
- Short Pick: Allows the user to pick less items than needed
- Start Scanner: Launces the built-in camera of the smart glass and allows the user to scan
Main picking screen UI
The following UI displays the main picking screen from steps 6-9 of executing the picking workflow.

A - Battery shows the current battery level and the charging state.
B - Wi-Fi connection shows the current Wi-Fi connection status of your device.
C - Server connection shows the current connection status of your device to the Frontline server.
D - Microphone shows the current status of your device's microphone.
E - External scanner status shows whether an external scanner is connected (in white) or not (in red).
F - xBand status shows whether an xBand is connected (in white) or not (in red).
G - Progress bar shows the name of the whole order.
H - Order name shows the name of the current order being executed.
I - Pick progress indicator shows the currently active validation (Colors can be configured using the focus accent color.).
J - Pick source location shows where the Frontline Worker picks the article from.
K - Article ID shows the item that the Frontline Worker is supposed to pick.
L - Amount shows the number of items that the Frontline Worker is supposed to pick.
M - Article short text shows the article text instead of the article image if it is not uploaded.
Executing the picking workflow
Once the prerequisites for the Vision Picking workflow execution are done, follow the steps below:
1. Sign in to the Frontline Workplace app.
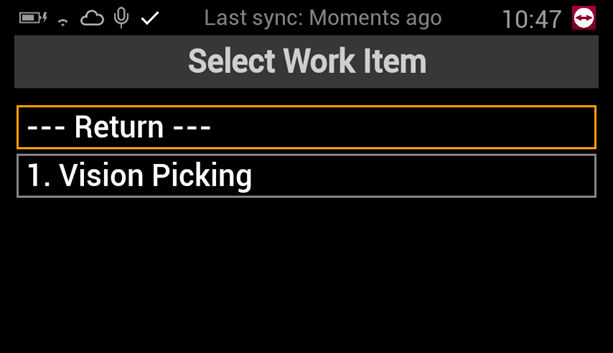
2. Select My Tasks.
3. Select a relevant task from the list of available tasks.
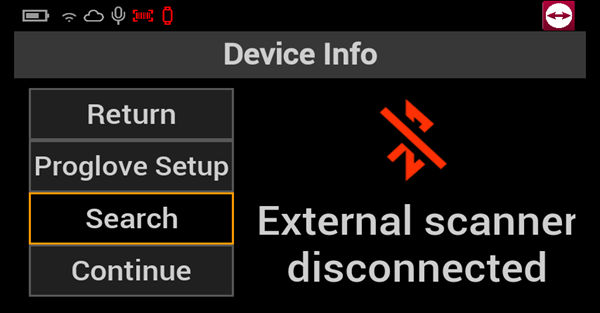
4. Connect the Bluetooth scanner.
To connect the Bluetooth scanner:
The user must select Search to look for an available scanner. Otherwise, the user selects Continue to skip the step and proceed without a scanner.
Note: To learn more about how to connect scanners to smart glasses see Scanners under the xPick section.
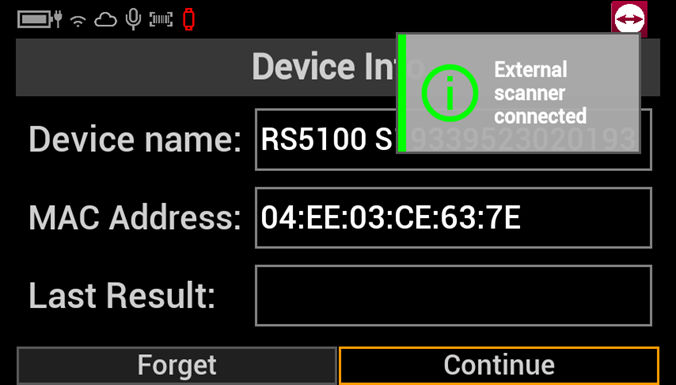
Note: If a device is previously connected, the scanner icon shows white.
Select Continue to proceed with the connected scanner, otherwise select Forget to disconnect and search for a new scanner.
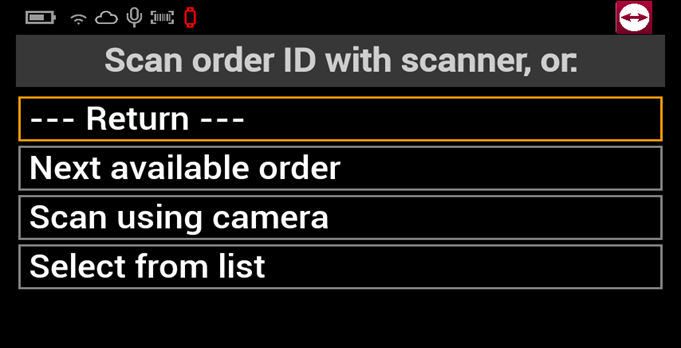
5. To request the picking order the user must select one of the following options:
- Next available order: Directs the user to the available picking task.
- Scan using camera: Allows the user to scan a task order ID using the built-in camera.
- Select from list: Allows the user to see all available order lists and select the relevant picking order.
Note: If the requested picking order is complete or removed, an error message "Order null does not exist, or is already finished" is displayed.
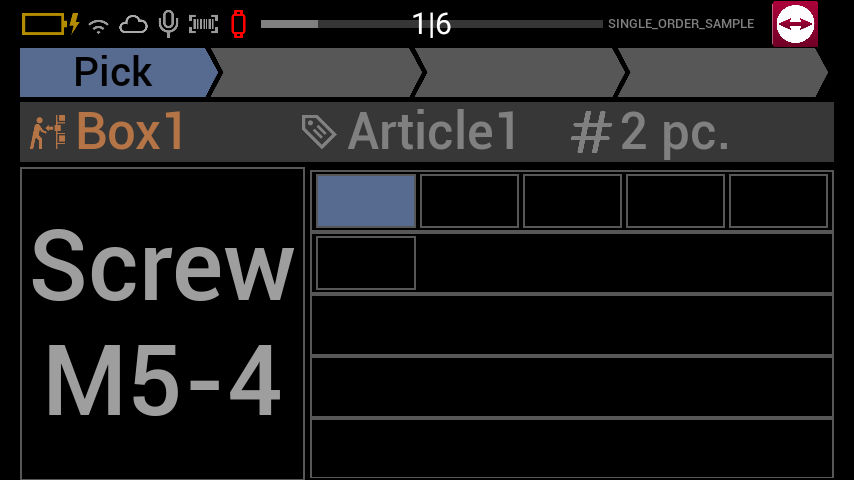
6. Validate the Pick Location.
To validate the pick location, scan the pick location code.
Note: In steps 6-9, if a user scans an invalid code, the user receives a notification that is displayed in the top right corner of the app. Furthermore, the user will hear an error sound that informs about the failed scan.
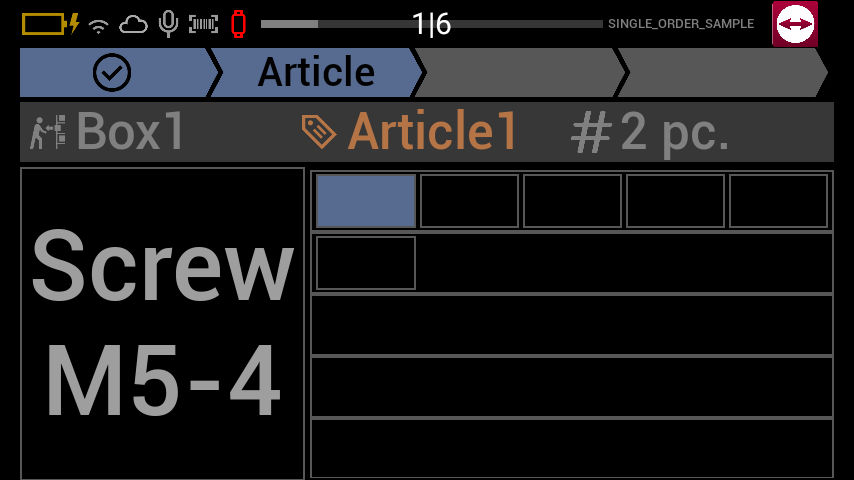
7. Validate the Article.
To validate the article, scan the article code.
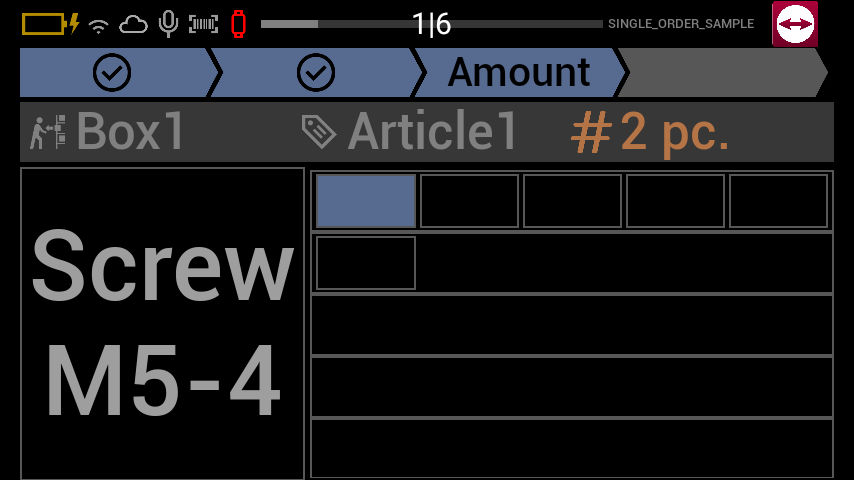
8. Validate the Amount.
To validate the amount, say the number of articles to be picked (e.g. Say "Pick 25").
9. Validate the Place Location.
To validate the place location, scan the place location code.

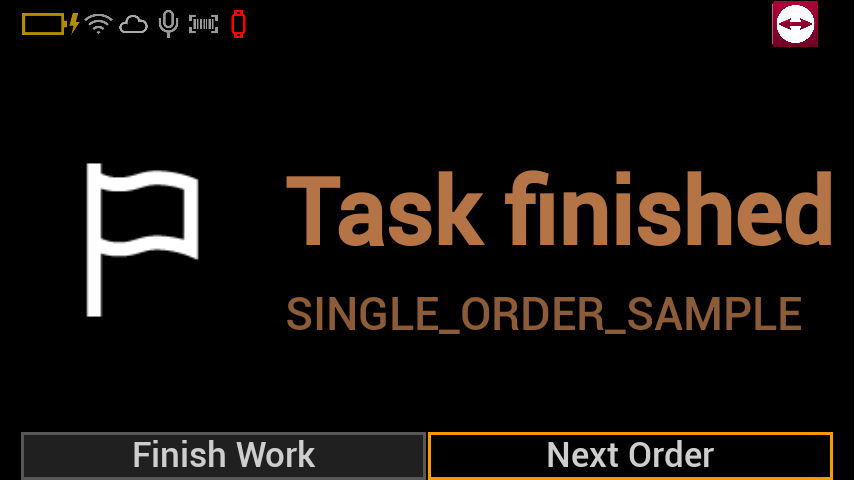
10. End the task.
To end the task, select Finish Work
11. Optional: To continue working on other picking orders, select Next Order.
Process Exceptions
During the picking process, there are several available exceptions that can be chosen between steps 6 and 9. At any of these steps, the user can say Open exceptions to display the exceptions menu and can choose any of the exceptions mentioned below:
Note: Some exceptions might be configured in a way that they require additional confirmation, whereas others will be executed immediately when selected as seen from the exceptions below.
1- Early deposit
Cancels the rest of the order and triggers the deposit component after confirmation.
2- Cancel order
Cancels the current order after confirmation. The order cannot be requested again, and all remaining picks receive the Canceled status. There is no deposit, and the results file will be directly generated.
3- Error report
The user can generate and report errors by selecting Error Report
4- Pause order
The user can save the status of what has been picked and request the order again at a later point in time. To do this user must select the Pause order menu, the order pauses after confirmation.
5- Cancel pick
This cancels the current step. All picks in this step are marked as "Cancelled" and are skipped if the order is paused and requested again.
6- Pick selector
To start a step without following the picking sequence, the user must select the Pick Selector.
7- Postpone
Moves the current step to the end of the order. The user will receive a notification:
8- Call support
Starts an xAssist call with an expert to receive remote support.
9- History
The history allows the user to view the results of previous picking steps. However, the user cannot make changes. The user navigates through picking steps with voice commands. The user sees the individual status of the picks included in one step that displays in different colours:
- Green – Completed
- Red – Canceled
To navigate within the history menu, use the voice commands Previous Step (takes the user to previous picking steps within the history menu) or Next Step (takes the user to next picking step within or out of the history menu).