Similar to users, devices must also be added to TeamViewer's Mobile Device Management (MDM) solution before apps and configuration can be pushed. Each entry on the Devices page represents a device that has been registered and lists important information in the device dashboard.
This article applies to all TeamViewer Mobile Device Management customers.
How to add a device to the MDM environment
💡Hint: When adding users, the ability to invite the users to add their devices is selected by default. The invited user will receive an email containing all necessary instructions on how to enroll their devices once they are added to the MDM environment.
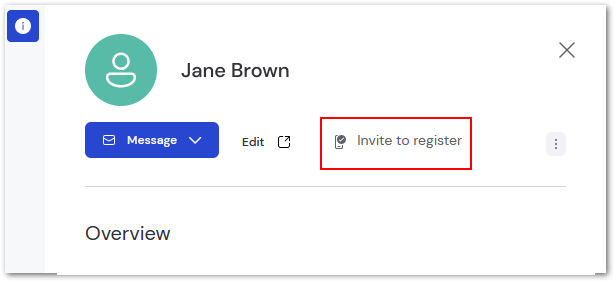
In the event that a user needs to add new devices to the MDM environment, an administrator can initialize the request. To begin, navigate to Users under Mobile Device Management on the Remote Management tab. Select the user who needs to add new devices, and click Invite to register at the top of the User drawer.
In the pop-up window that appears designate device ownership; User-owned, Company-owned, or Not set.
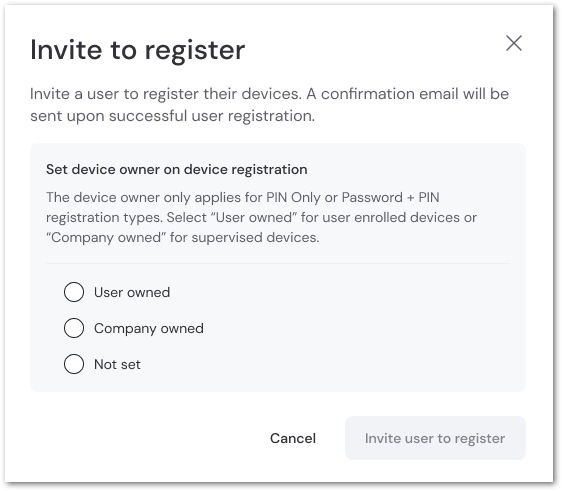
💡Hint: If User-owned is selected, the user will still have the option during registration to designate the device's ownership. If Not set is selected, the Ownership field will appear empty. Ownership can be edited at a later time.
An email is instantly sent to the user with a link to enroll their devices. As with the initial email, all necessary instructions for the user can be found in the email they receive.
How to set MDM device ownership
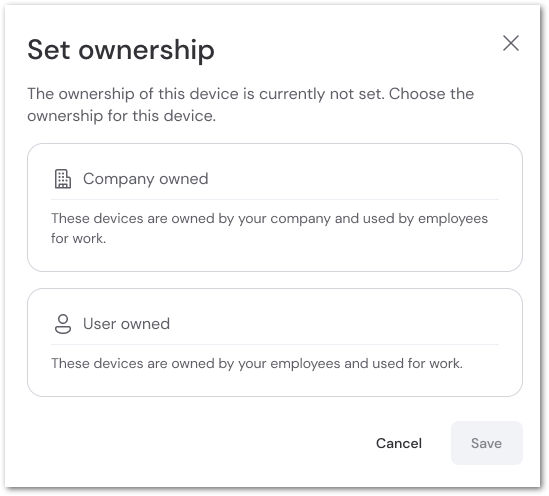
While ownership can be set up when a device is added, it is also possible to edit or update ownership status once the device is already added. To begin, navigate to Mobile Device Management on the Remote Management tab of TeamViewer Remote or the web app. Select Devices, and then the desired device. In the three-dot menu within the Device drawer, select Set ownership.

In the pop-up that appears, select Company owned or User owned. Click Save to confirm the selection.
How to force a check-in on an MDM device
In order for a device to provide and receive information via TeamViewer MDM, it must contact Ivanti Neurons for MDM. These checks are scheduled at regular intervals, but administrators can also prompt a device to check in on demand.
💡Hint: Forcing a check-in can expedite the process of applying configurations, updating policies, and more!
To begin, navigate to Mobile Device Management on the Remote Management tab of TeamViewer Remote or the web app. Select Devices, and then the desired device to be forced to check in. Click Force check-in to begin the process.

Confirm the request on the following pop-up by clicking Force check-in.
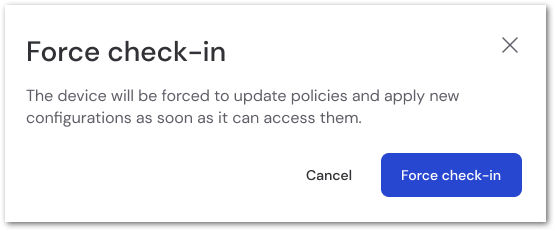
Once the device is accessible, the request will be initiated.
How to retire a device using TeamViewer MDM
When a device no longer requires management via TeamViewer MDM, it must first be retired before it can be deleted from the environment. Retiring a device is important in many cases:
- When a user leaves the company
- When a user replaces a device
- When the management tasks currently set to the device must be undone
To begin, navigate to Mobile Device Management on the Remote Management tab of TeamViewer Remote or the web app. Select Devices, and then the desired device to be retired. In the three-dot menu within the Device drawer, select Retire.

In the pop-up that appears, enter a notification to be sent to the user. Click the checkbox to acknowledge the process cannot be undone, and then select Retire device.

📌Note: If the device is corporate-owned, retiring the device also resets it back to factory settings.
How to cancel a device retirement request
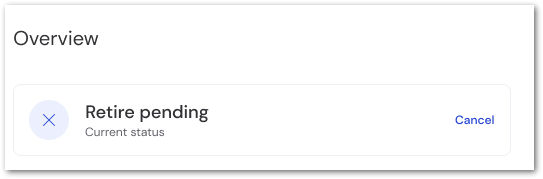
It is possible in some cases, where a device was incorrectly set to be retired, to reverse the process. The device drawer of a device set to be retired will show the current status of the request. If the request is still pending, click Cancel to the right of the status.
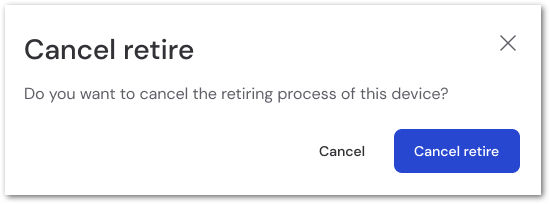
Confirm cancellation of the retirement in the next pop-up that appears.
📌Note: If the device retirement is in process (not pending), it may not be possible to cancel the request. In this case, please re-add the device once the retirement is complete.
How to wipe a device using TeamViewer MDM
Wiping a device removes all data and returns the device back to factory settings. To begin, navigate to Mobile Device Management on the Remote Management tab of TeamViewer Remote or the web app. Select Devices, and then the desired device to be wiped. In the three-dot menu within the Device drawer, select Wipe.

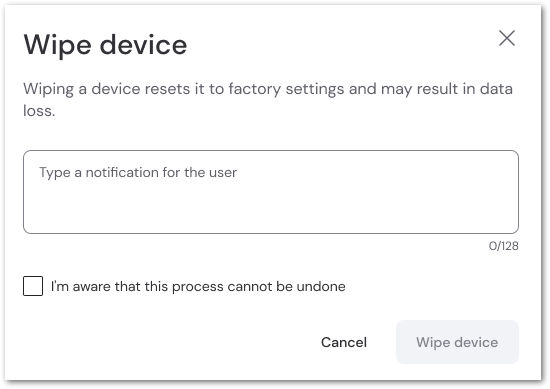
In the pop-up that appears, enter a notification to be sent to the user. Click the checkbox to acknowledge the process cannot be undone, and then select Wipe device.
How to cancel a device wipe
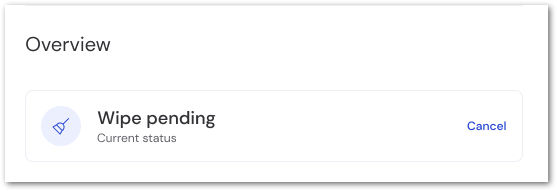
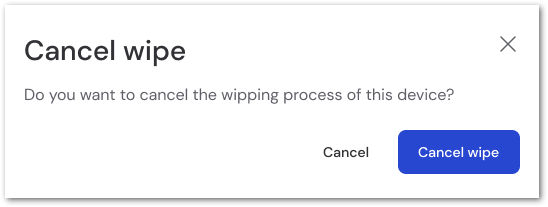
It is possible in some cases, where a device was incorrectly set to be wiped, to reverse the process. The device drawer of a device set to be wiped will show the current status of the request. If the request is still pending, click Cancel to the right of the status.
Confirm cancellation of the wiping in the next pop-up that appears.
📌Note: If the device wipe is in process (not pending), it may not be possible to cancel the request. In this case, please re-add the device once the wipe is complete and the device is set back up.
How to delete an MDM device
📌Note: A device must first be retired or wiped before it can be deleted from the MDM Environment.
Deleting a device is the final step in the removal of a device from the TeamViewer MDM Environment. This process removes the device from all MDM pages and ends all management of the device.
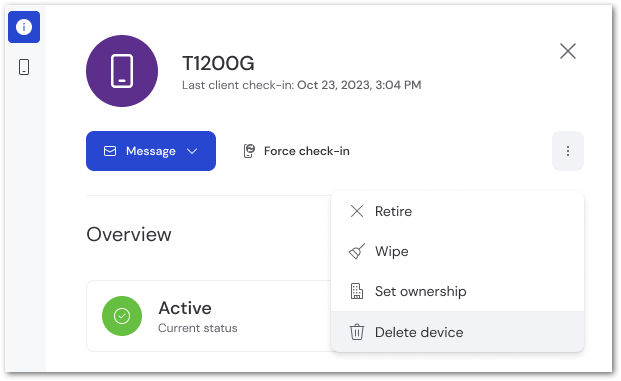
To begin, navigate to Mobile Device Management on the Remote Management tab of TeamViewer Remote or the web app. Select Devices, and then the desired device to be deleted. In the three-dot menu within the Device drawer, select Delete device.
Unlike wiping or retiring a device, no notification is sent to the user when the deletion occurs. Acknowledge the request by clicking the red Delete button.
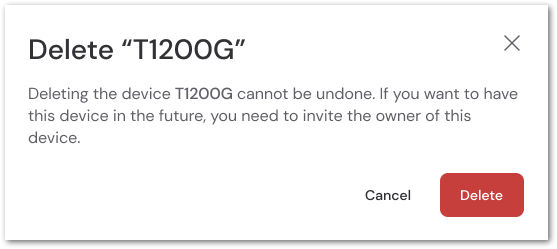
📌Note: Deleting a device cannot be canceled or undone. The device will need to be re-added in the case where the device again requires management via TeamViewer MDM.