The Mobile Apps Catalog shows all apps currently available via TeamViewer's Mobile Device Management (MDM) solution. This is where you can manage all current apps available to devices and users. The App Catalog is a customizable enterprise app storefront where IT administrators can directly publish private or in-house apps to their end-users. Apps that users can download from the App Store or Play Store can also be included.
This article applies to all TeamViewer Mobile Device Management customers.
With the Mobile Apps Catalog, you can:
- Include apps from the Apple App Store, Google Play Store, or Windows Store.
- Upload in-house apps to the App Catalog.
- Include private apps for Android enterprise devices that are hosted on Google Play Store for your domain.
📌Note: Core must be enabled for Android Enterprise in order to include privately hosted apps
How to access the Mobile Apps Catalog
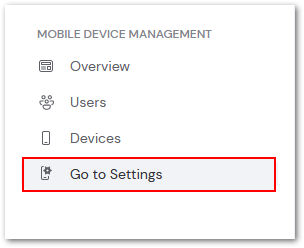
Accessing the MDM configuration portal is done within TeamViewer Remote or the Web app. To begin, navigate to the Remote Management tab and select Go to Settings, found under the Mobile Device Management section.
To manage the current app catalog, select Manage Apps in the upper right corner of the settings window. This will redirect you to the Ivanti portal.

How to add apps to the Mobile Apps Catalog
To begin adding apps to your App Catalog, click + Add Apps in the upper right corner of the screen.

Step 1: Select the Apps
On the next screen choose which apps to include in the catalog:
- Using the search bar at the top, search for specific apps found in the Windows or Apple App Store or the Google Play store

💡Hint: Can't find the right app? Be sure to select the correct country's app store to ensure accurate results!
- Select popular Business Apps provided within the portal
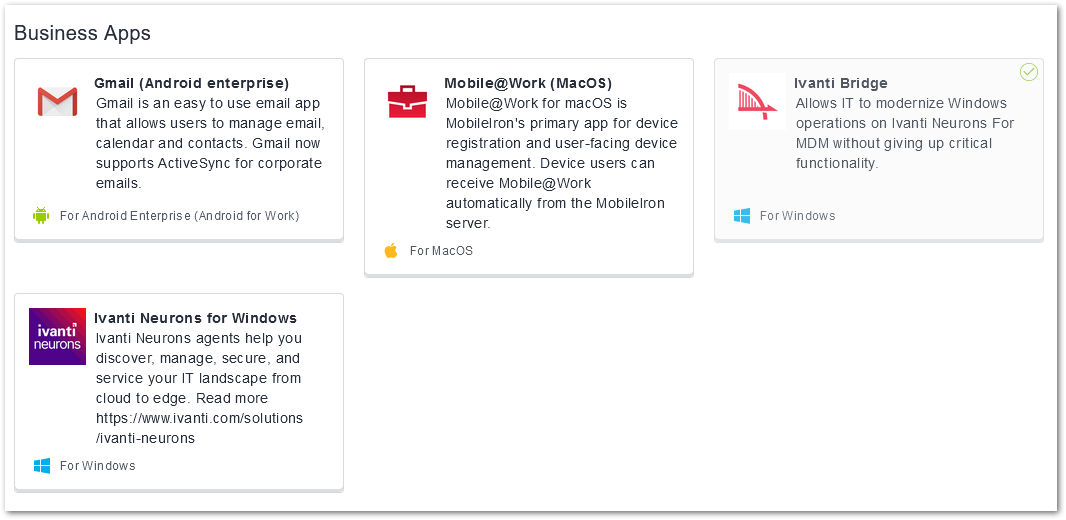
📌Note: For the business apps, additional setup is required. You will be brought to a second window to enter all the required information
Once done, select Next in the bottom right corner to proceed to the Description.
Step 2: Provide a description
On the next screen, add any descriptive details needed, including the Launch URL, optional comments to end users, and app category.
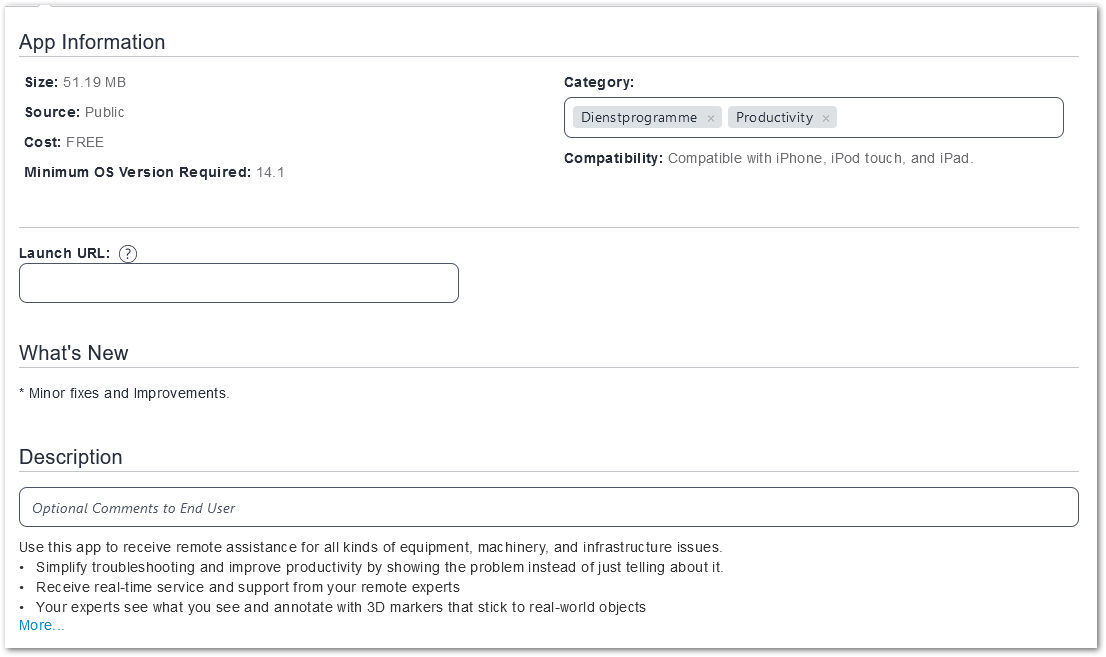
Once done, select Next in the bottom right corner to proceed to Deligation.
Step 3: Determine Delegation
Delegation refers to whether or not the app should be inherited by newly-developed spaces. By default, this is set to Do not delegate this app. Select Next in the bottom right corner to proceed to the next step.
Step 4: Determine Distribution
Distribution determines who can see the app in the App Catalog. There are three options:
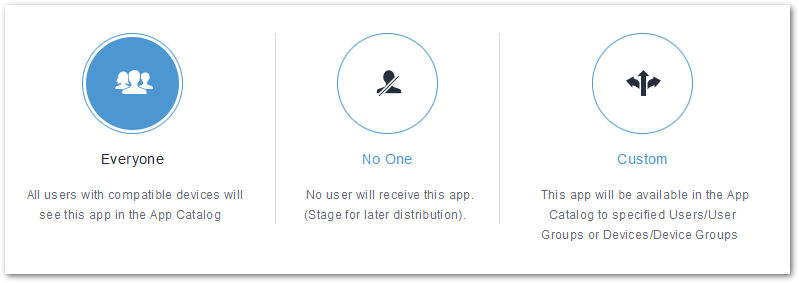
- Everyone - All users w/compatible devices will see the app in the App Catalog
- No one - No users will receive the app
💡Hint: Select No one for staging apps for later distribution
- Custom - The app will be available for specified users/devices in the App Catalog
Once selected, select the Distribution Filter.
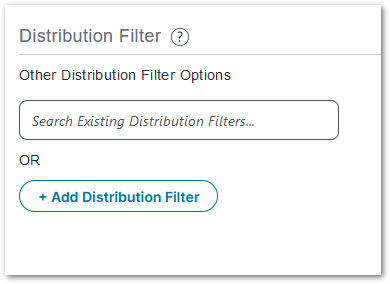
📌Note: Distribution Filters further refine who an app will go to based on defined rules. Only one distribution filter can be applied to an app. Previously added distribution filters will still exist in the Distribution Filters page.
Once completed, click Next in the bottom right corner to proceed to Configure.
Step 5: Finalize Configuration
App configurations allow each app to match your deployment needs, and present a seamless end-user experience when it comes to discovering, installing or using these applications on their mobile devices.
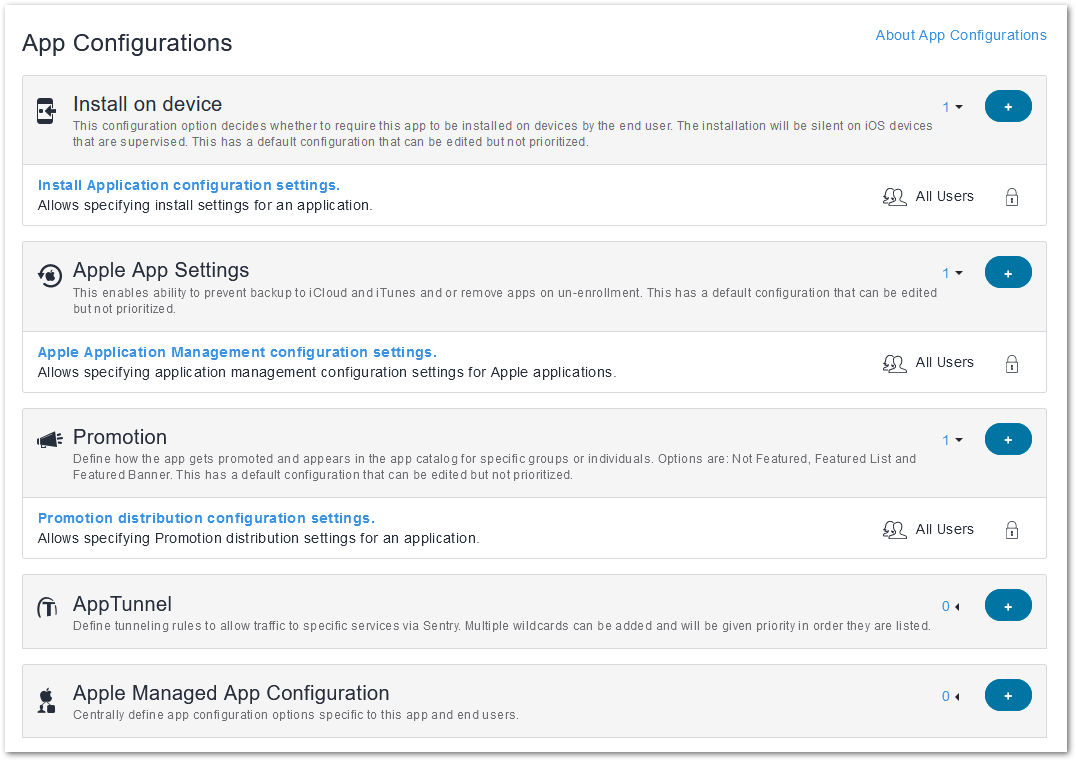
App configurations allow customization based on the target populations to ensure the end-user experience is unique for their needs. You can also use app configuration priorities to determine which users or groups get what configurations if they belong to multiple groups to which a config is distributed.
📌Note: Configurations depend on the OS of the app/location of the app store. Some configurations may not appear for certain apps.
Once the configuration is complete, select Done in the bottom right corner to add the app to your App Catalog.
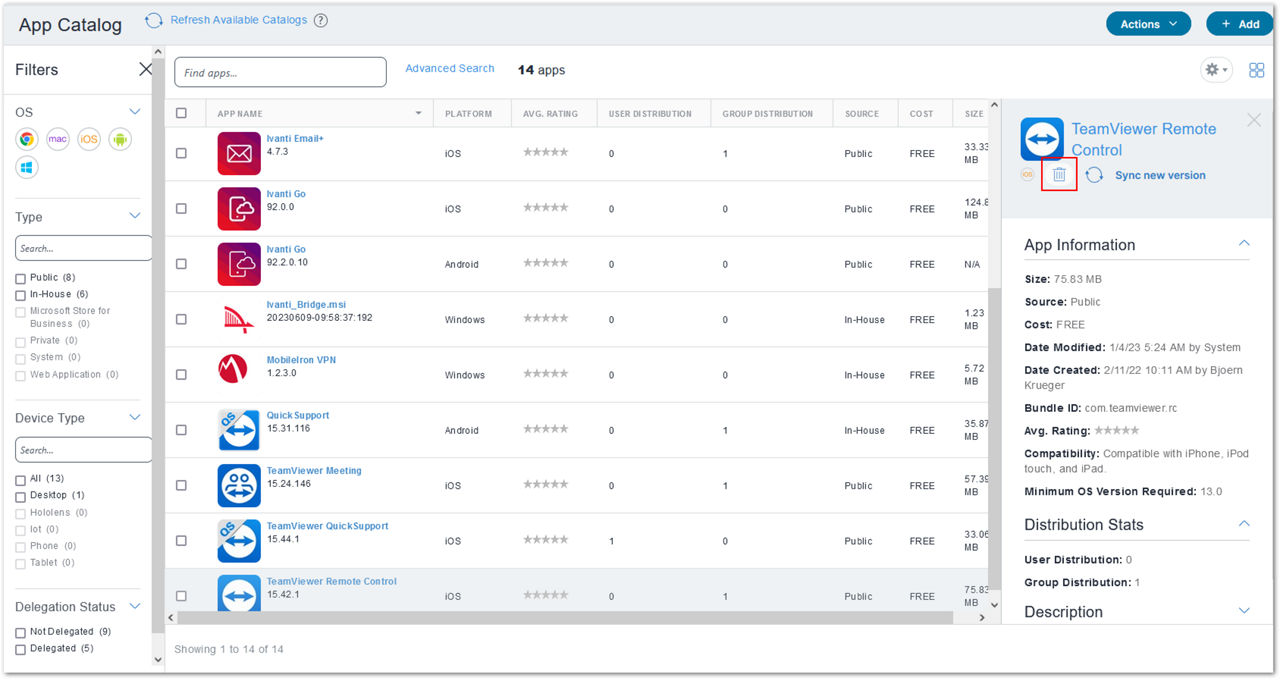
How to delete an app from the Mobile Apps Catalog
When an app is no longer required for distribution, it can be removed from the app catalog. This prevents any new installations of the app. To begin, click the app name in the App Catalog to produce the App drawer. Click the trashcan icon at the top of the drawer to delete the app.
Click the checkbox to confirm deletion and then select Delete App to finalize deletion.
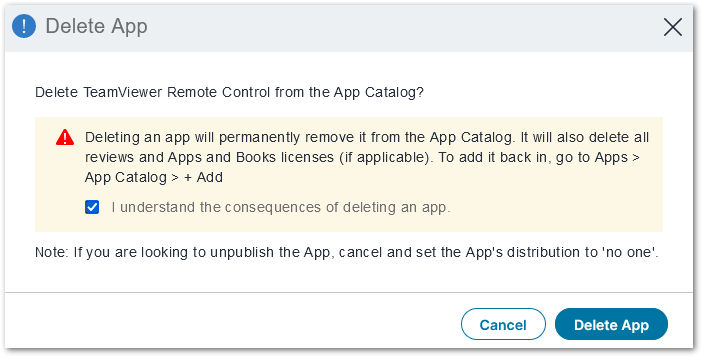
📌Note: Deleting an app will permanently remove it from the App Catalog. If any reviews have been added in the App Catalog, they will be removed as well.
How to update apps in the Mobile Apps Catalog
In the event a new version of an app included in the App Catalog is released, this version can be synced across all devices. To begin, click the app name in the App Catalog to produce the App drawer. At the top of the app drawer, select Sync new version.
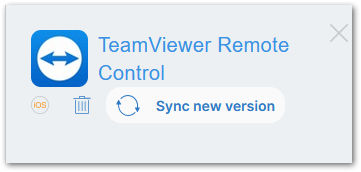
A pop-up notification will appear advising the sync is in progress. Once completed, the updated information will appear in the drawer.