The scripting functionality allows you to create pins and markers as well as to add content by using JavaScript. Workflows, for example, can be created faster by parsing information contained in a .csv or .xml file. Open the script console by clicking the Script button on the top menu. Scripting helps in automating the workflow creation process.

Note: If the Script button is missing in the top menu, it may be that Spatial Editor has not been updated to its latest version or that the functionality is set to be hidden.
- Make sure to update Spatial Editor to the latest version through the respective update notification in the application.
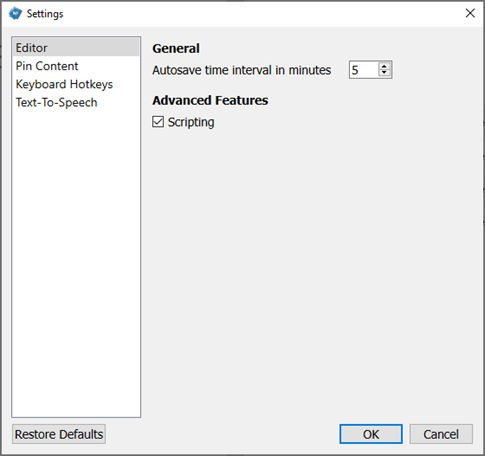
- Open the Settings Menu on top, activate the checkbox next to Scripting, and click on OK.
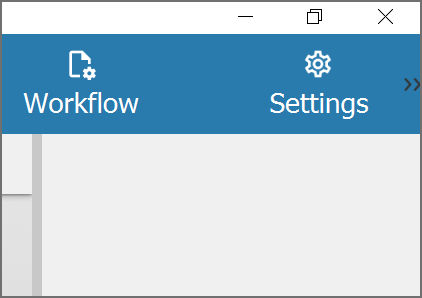
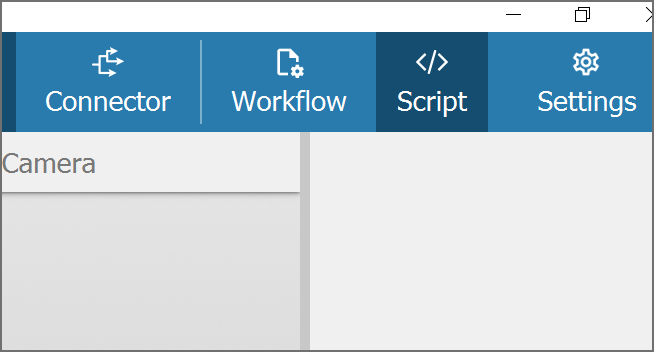
- The scripting menu looks like this:
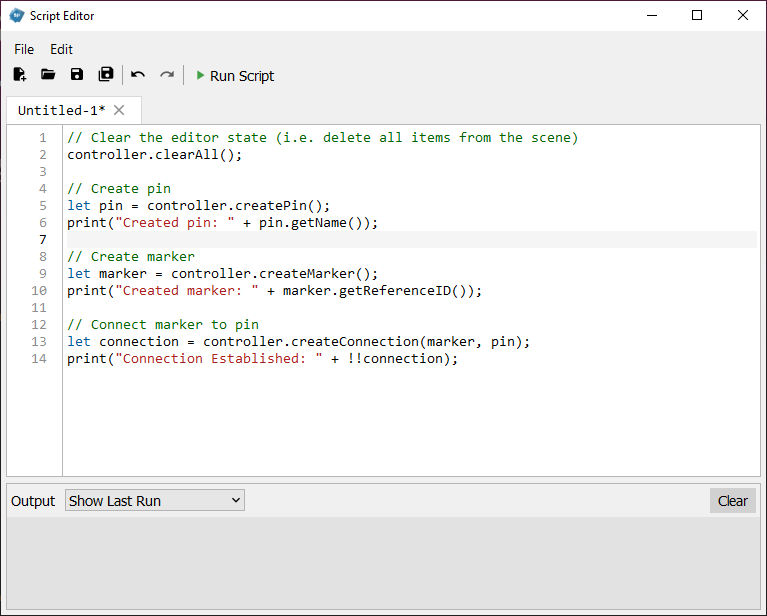
- Use the main text editing panel to write the script and run it by clicking on Run Script.
- The bottom panel is a console showing the output of the run script.
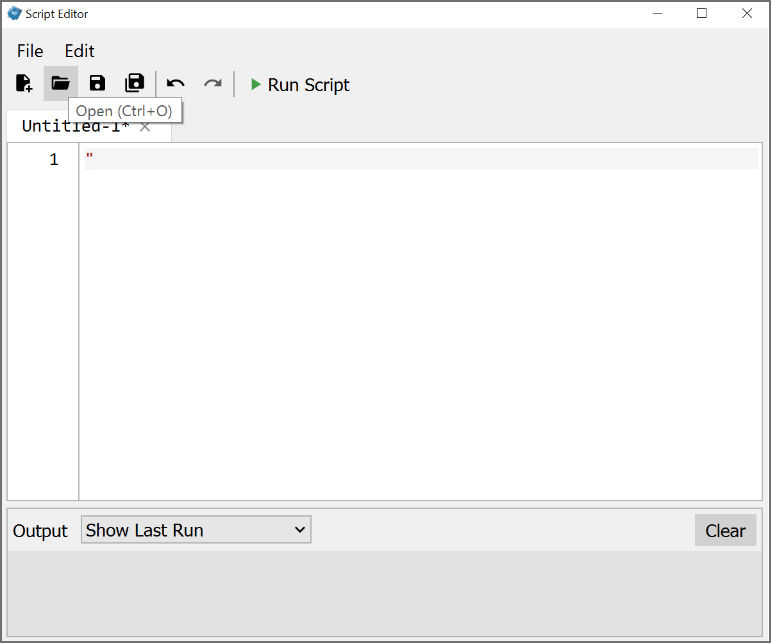
- Use the top menu icons to save, reopen, or create new scripts.
Note: CAD 3D file versioning and change management needs a bit more customization. The scripting feature allows one to parse through external CAD files and detect changes. TeamViewer can support you in the creation of custom scripts or PLM integrations.
Scripting documentation
The following documentation provides some example scripts and a collection of functions that are available in the editor. Check the examples and consult the documentation to create your own scripts.
Examples
How To Create And Connect Items.v3ps
How To Add Content To Pins.v3ps
How To Add Holograms To Pins.v3ps
How To Print Product Structures.v3ps
Step-by-step tutorial
Download this zip file for a complete tutorial on the scripting functionality. It contains a folder with a script for parsing an XML file and automatically creating pins with information on how to operate a printer. The XML file, a 3D model, pictures, and images are also included.
Manual Reality BOP Import
This functionality helps enable Siemens' Teamcenter to use its content in AR with the help of Spatial. Using the .v3ps and .rbop files, you can simply create a workflow by running a script.
To create a workflow using a script:
- Open Spatial Editor and click on New Project.
2. Click on Settings in the top right.
3. Make sure that Scripting is checked and click on OK.
Now you will see a new Script tab on the top.
4. Before loading the script, download the file and save it on your computer.
5. On clicking the Script tab, a new window will appear. Select the Open option and select the RBOP_Script_Release_v1.v3ps file you downloaded before.
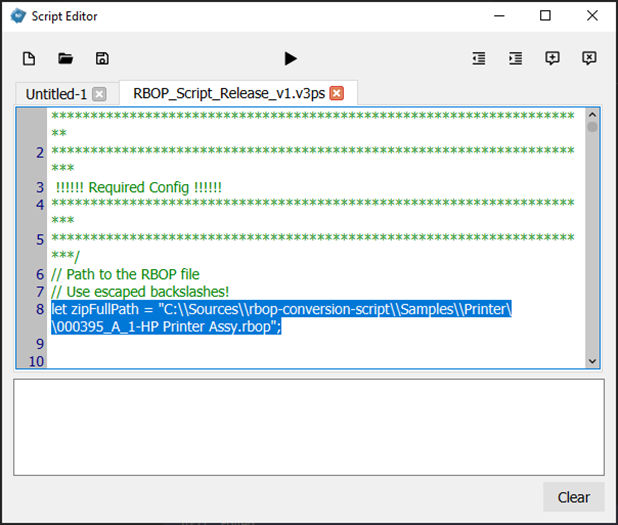
6. You will now be able to see the code included in the above mentioned file. Go to line 8 and change the path to the saved location of your RBOP export file.
Note: You need to use escaped backslashes as shown in the example below: let zipFullPath = "C:\\Sources\\Samples\\Printer\\000395_A_1-HP Printer Assy.rbop";
7. Click on Run Script.
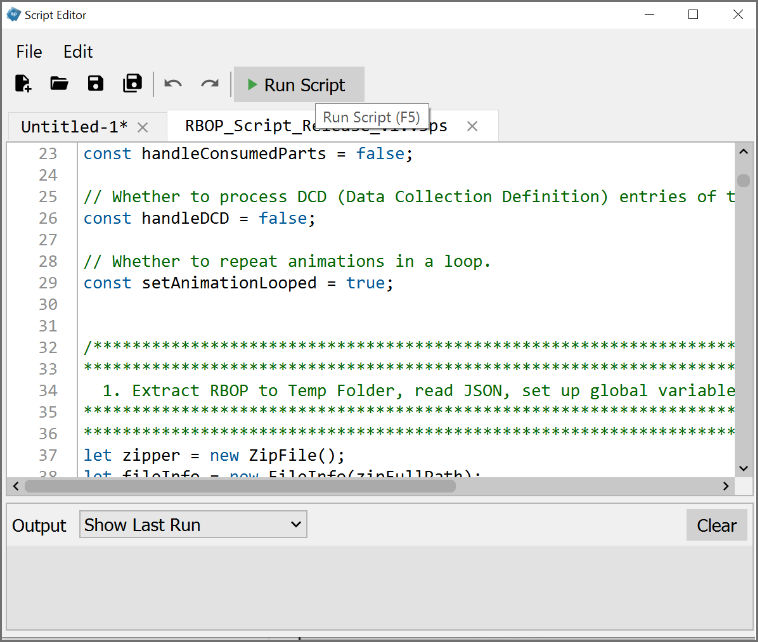
The script will take some time to run and will load the workflow in the background. You can minimize the corresponding window and see the workflow/model on the home screen.