Navigation path: eMeetings + tab: My Customers
Purpose
In the tab My Customers customers can be created and managed. Furthermore, you can create appointments with customers. Appointments created this way will be directly assigned to customers and performed chat conversations will be consolidated.
Feature description
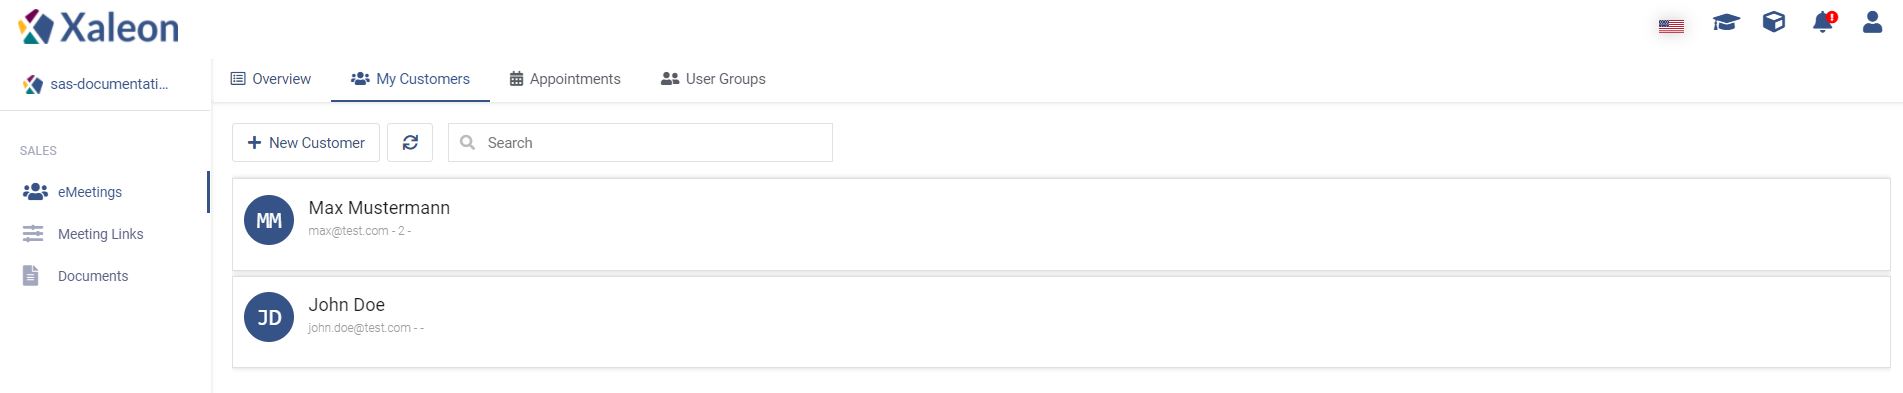
In My Customers you find a list of customers - through + New Customer you can add customers to your list.
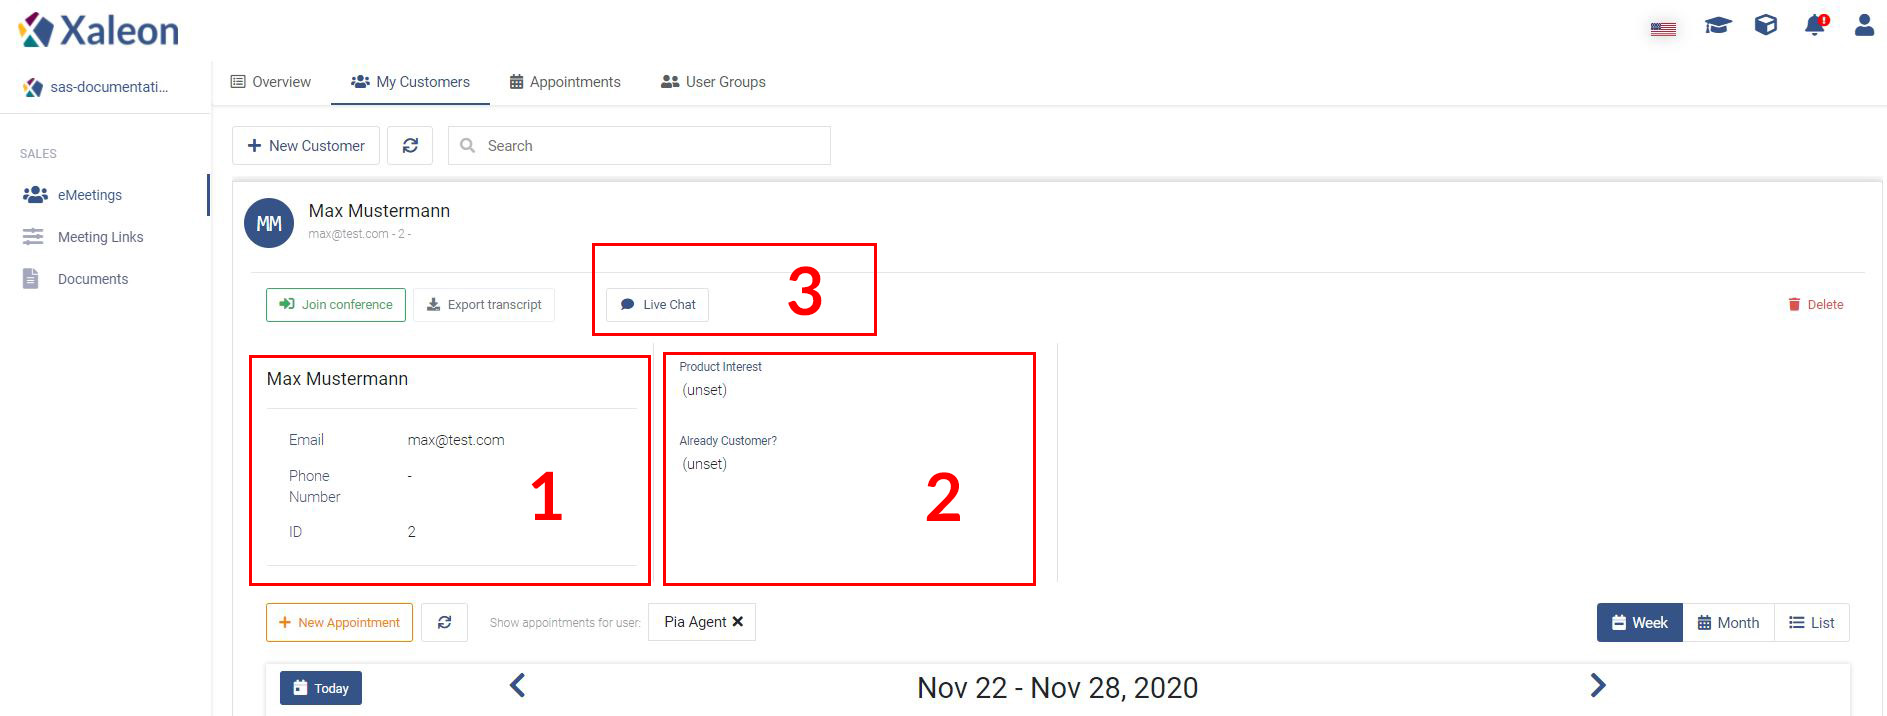
Once you click at a customer entry, the detail view opens:
- Here you can create the essential information about customers: First name, last name, email and ID (optional).
- This standard information can be extended, for example by adding more fields for all customers. These must be created by your organization.
- The Live Chat button gives you access to the shared chat communication with the customer that took place during appointments.
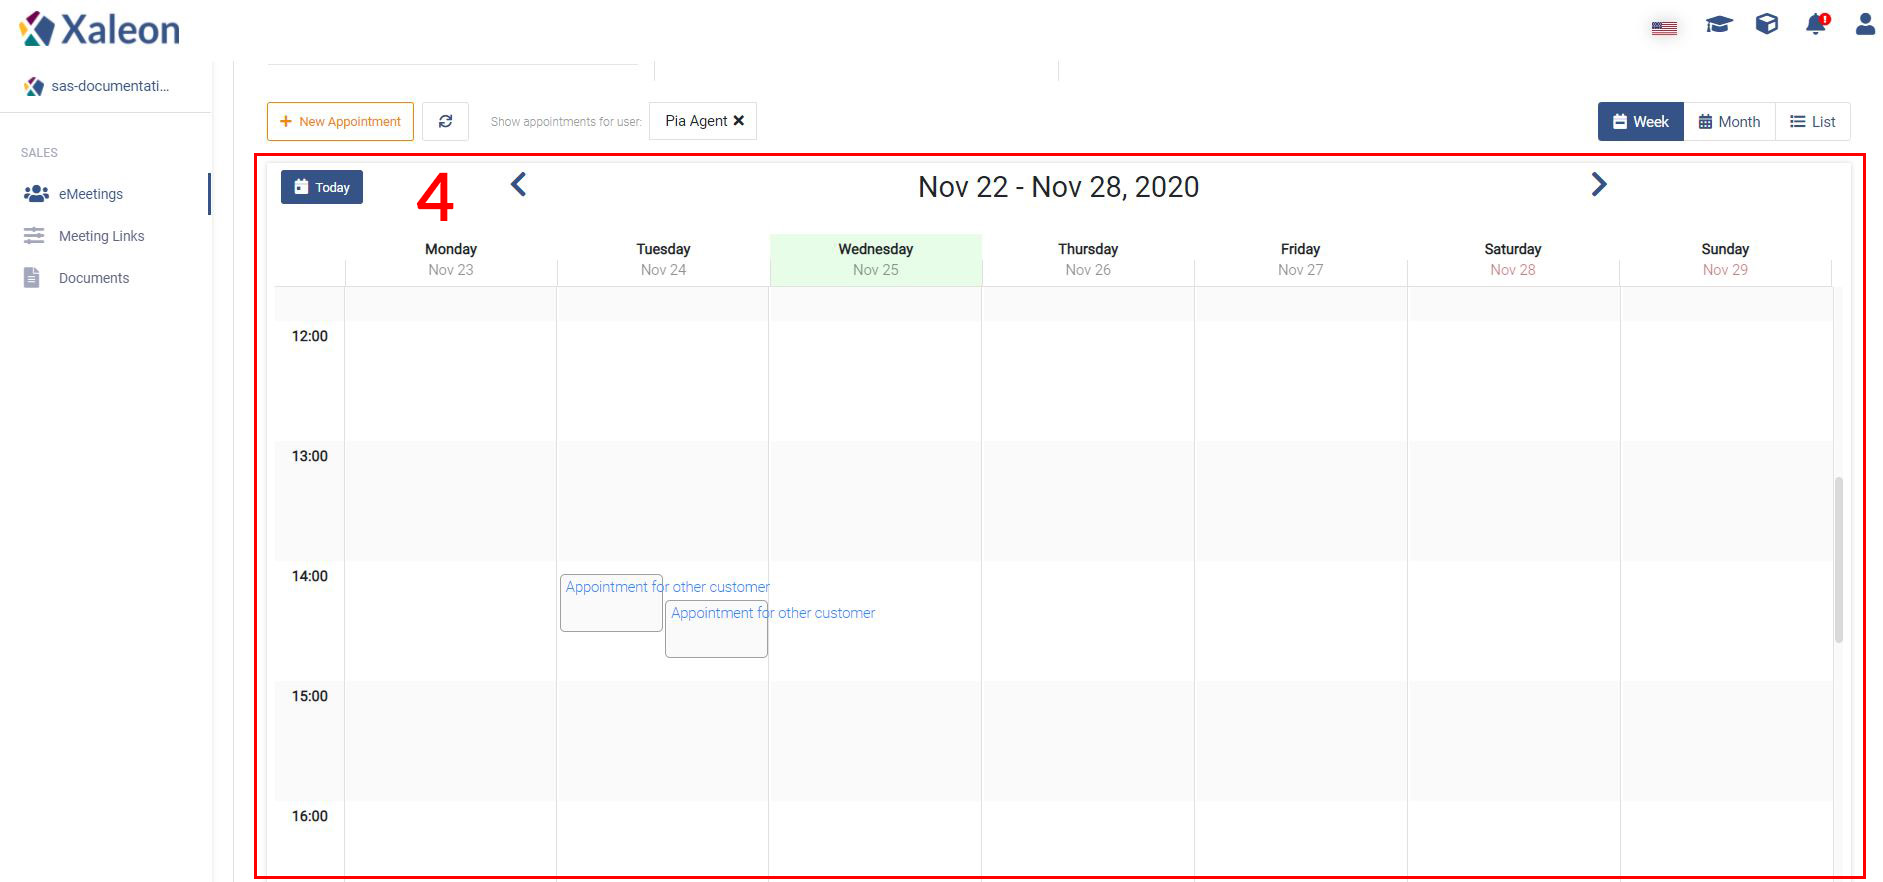
- Here you can create new appointments with the customer (description of the process in Appointments) and invite the customer to them. (see below)