In this article, you will find how to add your Remote Worker add-ons to your Premium or Corporate license.
This article applies to Premium or Corporate license holders who purchased Remote Worker add-ons.
On the admin side
1) Activate your license and set up a master account
First, you need to make sure you have activated your license on a master account. If you haven't done this yet, please follow the how-to guides here:
2) Add the Remote Worker users to your license
⚠If you are in a license downgrading process, please read this carefully before starting the procedure explained in the section below. If you want to transfer Tensor agents into Remote Workers, please make sure to delete the Tensor agents in the Administration menu of your license, before starting with adding them as Remote Workers. To do so, click on Company administration on the left side and select Licenses. Now go on the Tensor line, click on the three dots ( ⋮ ) and Assign. On the right side, select all future Remote Workers users and click on Remove.
To add your remote worker add-ons to your license, please follow this procedure:
1) Log into your TeamViewer master account under https://login.teamviewer.com/
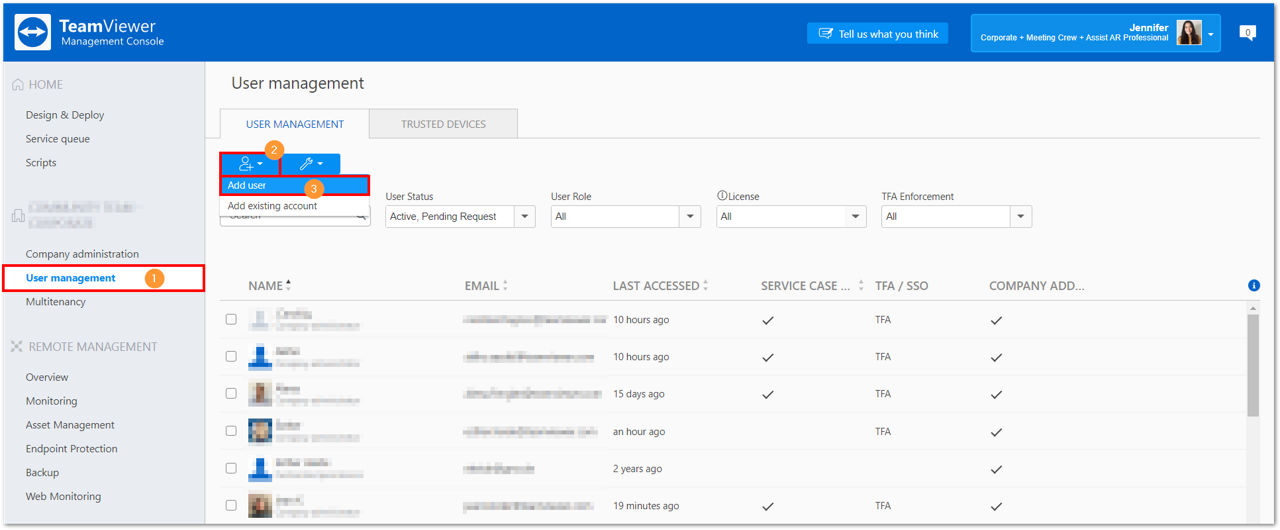
2) Go to the User Management tab, click the +User icon and click Add User.
3) Create the user profile by entering a name, the user's e-mail address, a password and in the TeamViewer Licenses tab, select Remote Worker.
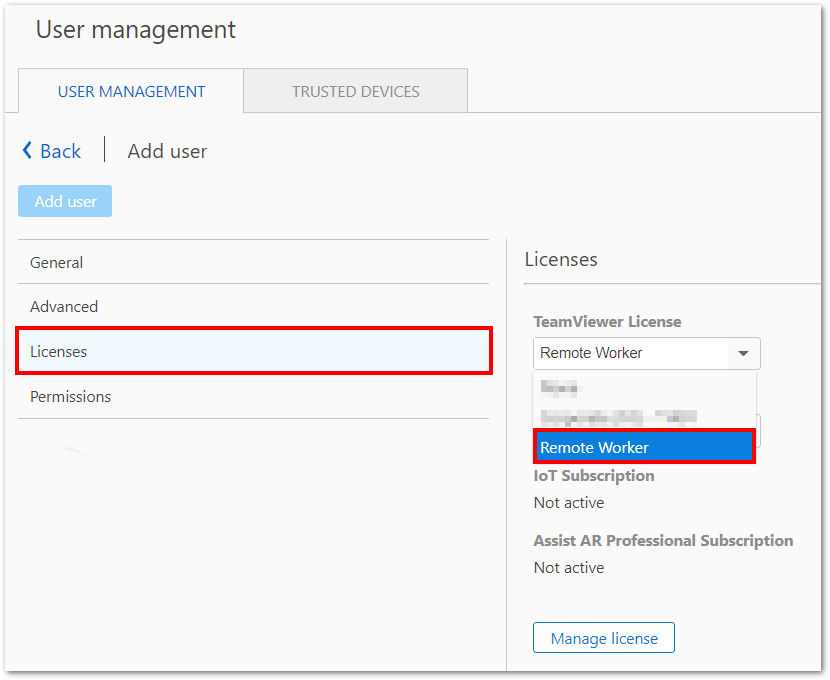
4) Click on Add user to confirm.
The user can now log in with their account in the TeamViewer client and start using your TeamViewer license.
📌Note: If you want to add a user that already has a TeamViewer account, please add him via the button Add existing account and follow the instructions. Learn more about the procedure here.

Once the user has been added to your User Management tab, you can assign the Remote Worker add-on as described above in step 3).
How to manage the add-ons
You can manage the add-ons in the company profile administration tab. To access it:
1) Log in to your master account under https://login.teamviewer.com/
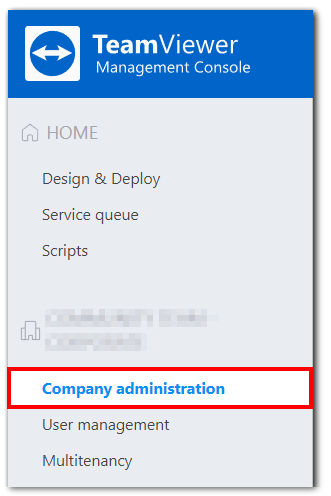
2) Click on Company administration on the left side of the Management Console.
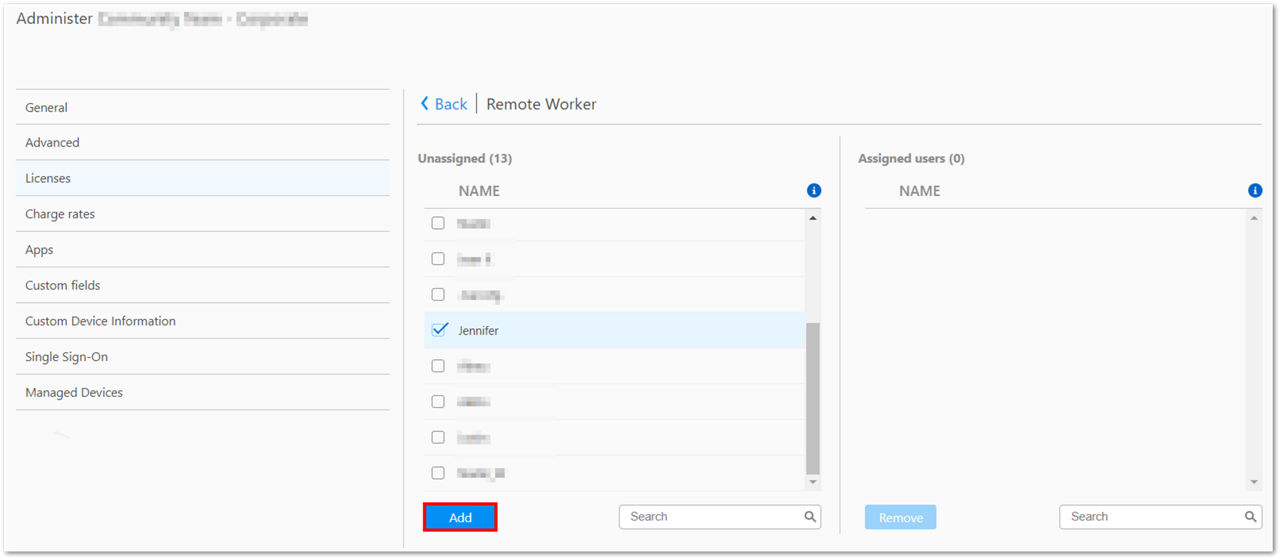
3) Click on the tab Licenses and on the Remote Worker add-on line, click on the three dots ( ⋮ ) and Assign.
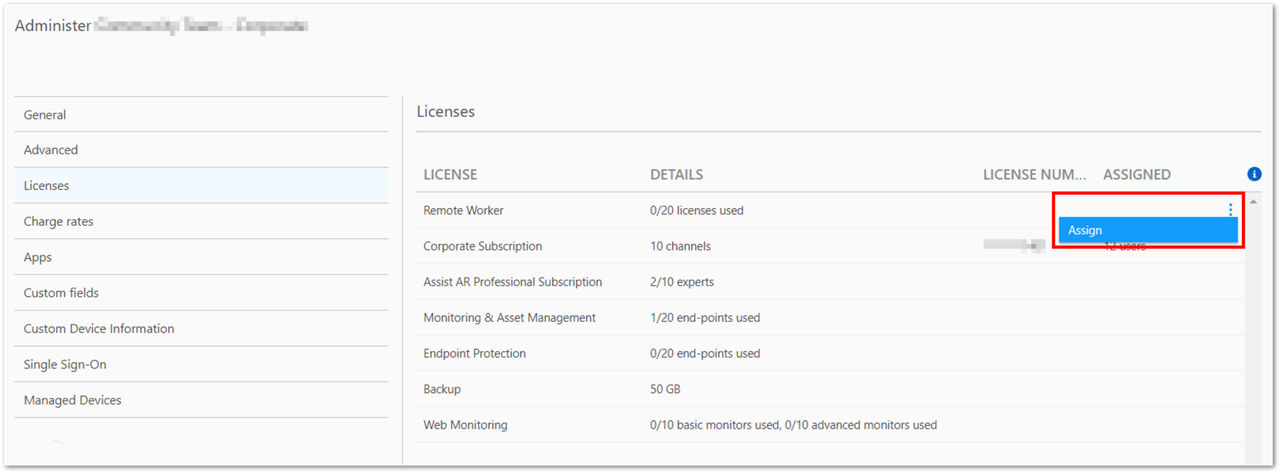
4) In this window, you are able to Add or Remove new users to your Remote Worker add-on. Select one or several accounts and click on Add.
3) Assign the user's devices to the master account
Now, Assign all endpoints to the master account and enable Easy Access
a) You can either assign the devices manually:
How do I assign a device to my TeamViewer (Classic) account? - TeamViewer (Classic) Support
This article applies to all TeamViewer (Classic) licenses. General By assigning a device to a TeamViewer (Classic) account, the device can be remotely managed and monitored by the account at any time. Remotely monitoring a device gives you the ability to check for common issues like outdated antivirus protection, a disabled firewall, missing…
And enable Easy Access: All about passwords
This article applies to all TeamViewer (Classic) users. General There are different passwords in connection with your TeamViewer (Classic) usage. This article explains the different kind of passwords and their tasks and the way how to manage the different passwords. 💡Hint: TeamViewer (Classic) highly recommends to always use unique and strong passwords…
b) Or execute a mass assignment and enable Easy Access via the deployment (.msi): Mass deployment improvements
This article applies to all TeamViewer (Classic) customers with a Corporate or Tensor license. This article applies to TeamViewer (Classic) version 13.2 or newer. Supported Windows versions: Win 7, Win 8 and Win 10 This article explains how you can deploy TeamViewer (Classic) Host and TeamViewer (Classic) Full in a mass deployment scenario on Windows.…
📌Note: Make sure to add the parameter --grant-easy-access to your deployment.
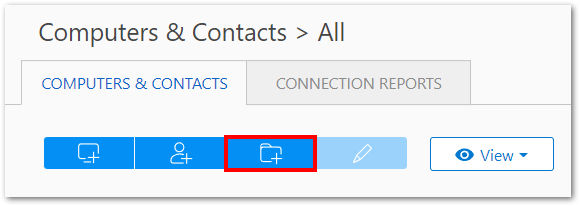
4) Create groups
In your master account, create groups within your Management Console, or via the TeamViewer (Classic) client and place the devices accordingly.
5) Share the groups with the respective users
So the users are only seeing the devices they are supposed to connect to, share the groups in Read-only mode to the respective users.
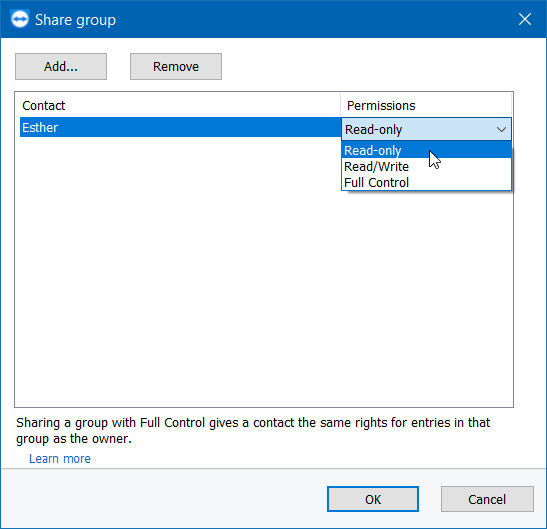
📌This will not only share the groups but also transfer Easy Access to the users.
Please find how to proceed here: Sharing groups
This article applies to all TeamViewer (Classic) free users and customers with a Business, Premium, Corporate or Tensor plan. General You have the option to share groups with with individual contacts from your Computers & Contacts list. In this way, entire groups can be made available to other contacts quickly and easily. 📌Note: A…
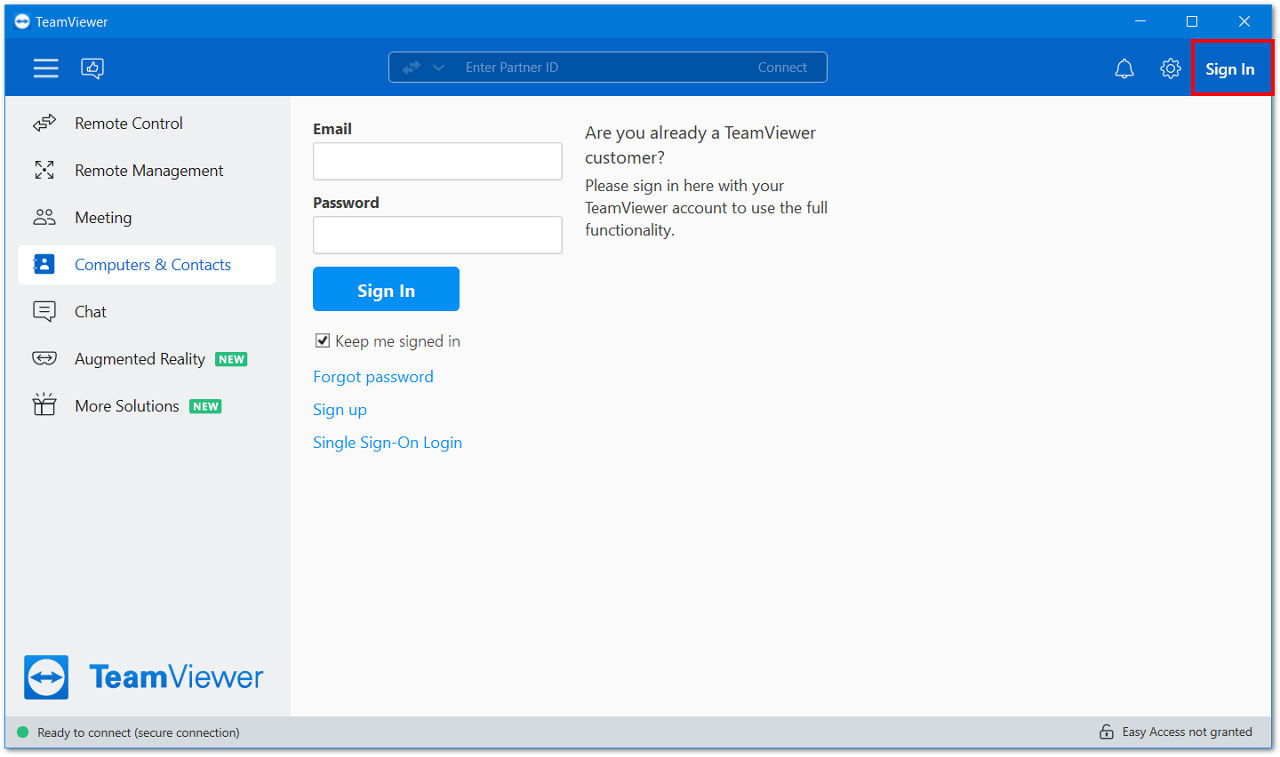
3) Go to the Computers & Contacts tab. You will find the computer(s) you can connect to that the admin has shared with you.
4) Double-click on the computer you want to connect to. A pop-up will appear asking you to confirm. Click on Add to license.
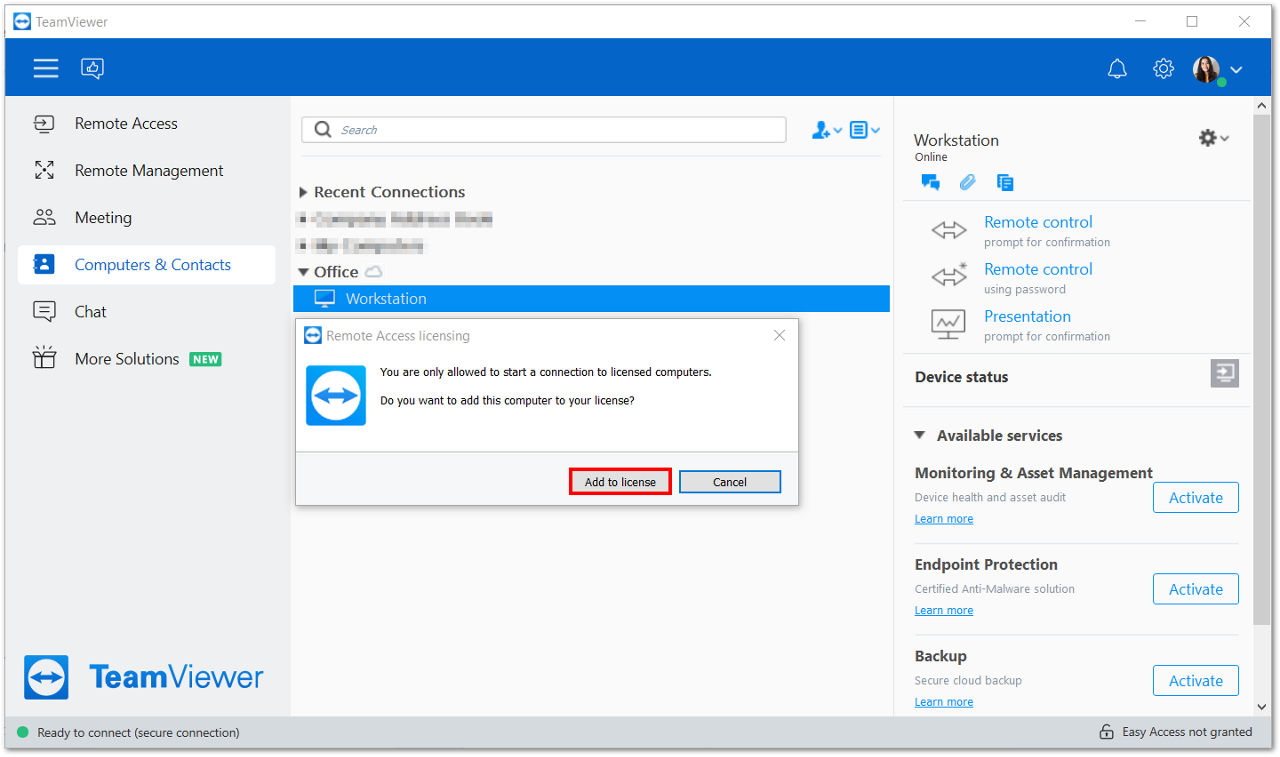
5) You are now connected to your remote computer.