Navigation path: Rules > Routing Rules
Summary
Purpose
Routing Rules allow you to assign incoming messages to the right team member or team. Make sure that specific questions are answered by a team member with the right skillset.
Functionalities / need to know
- Routing Rules can be created for WebChat or Calling.
- A Routing Rule consists of condition(s) (which are the main argument), actions and fallback (conditions).
- Manage and define tags (skills) of your agents in the User Management.
- Use Routing Rules within Flows
Feature descriptions
Your first Routing Rule
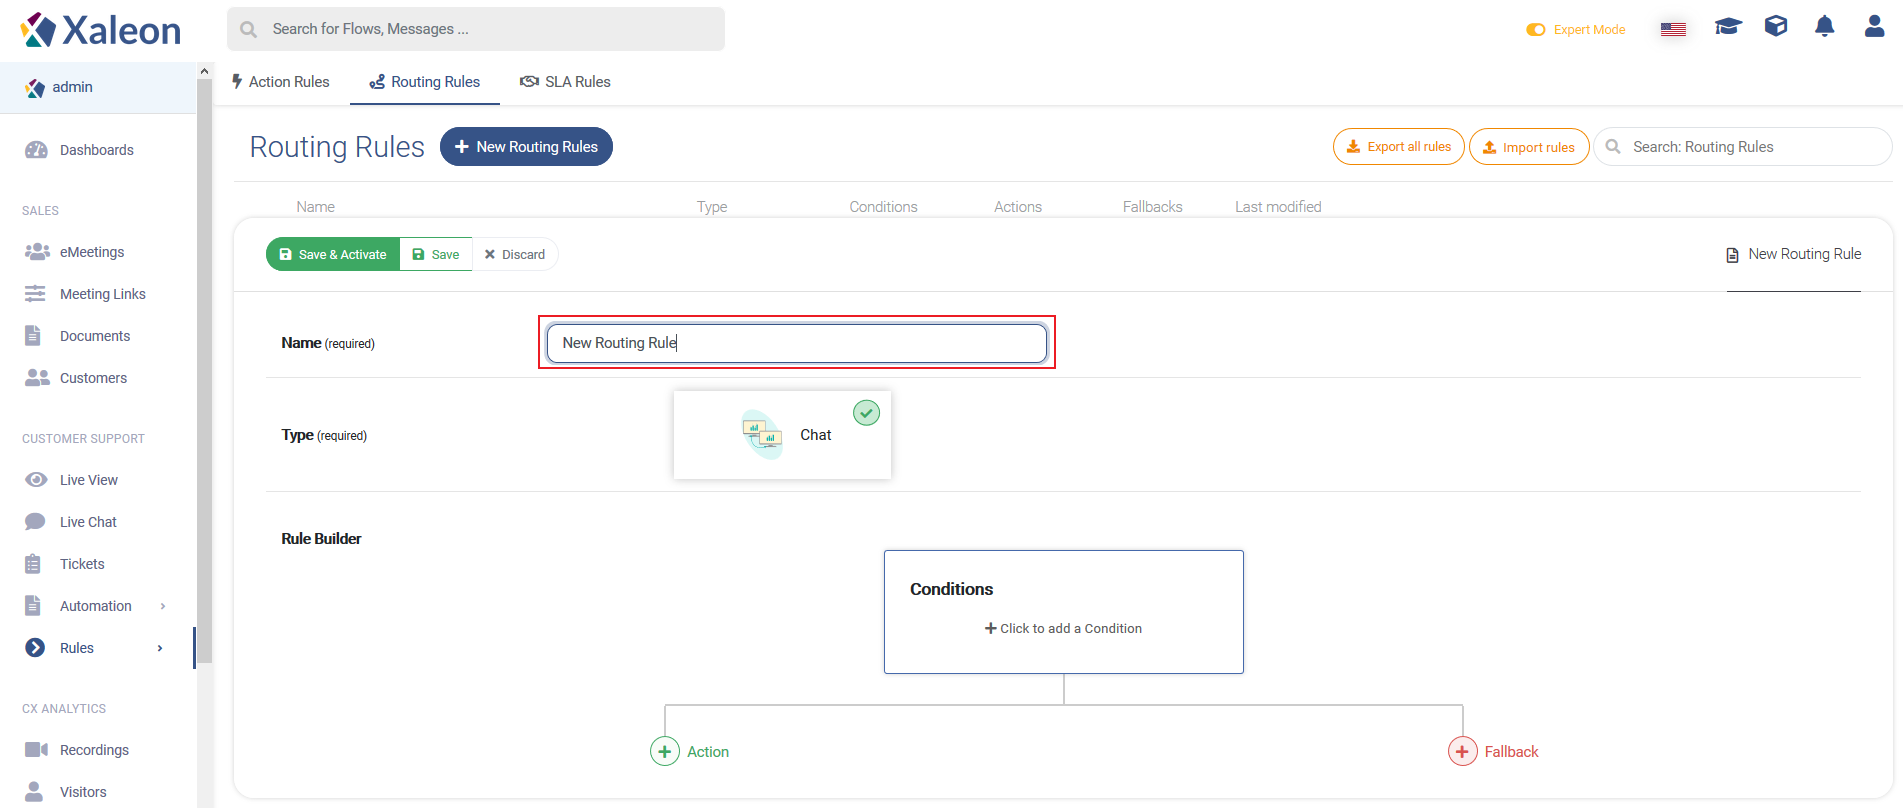
To create your first Routing Rule click + New Routing Rules. As a first step, make sure you give your rule a descriptive name.
Type
Choose for what channel the rule shall be applicable: WebChat or Calling.
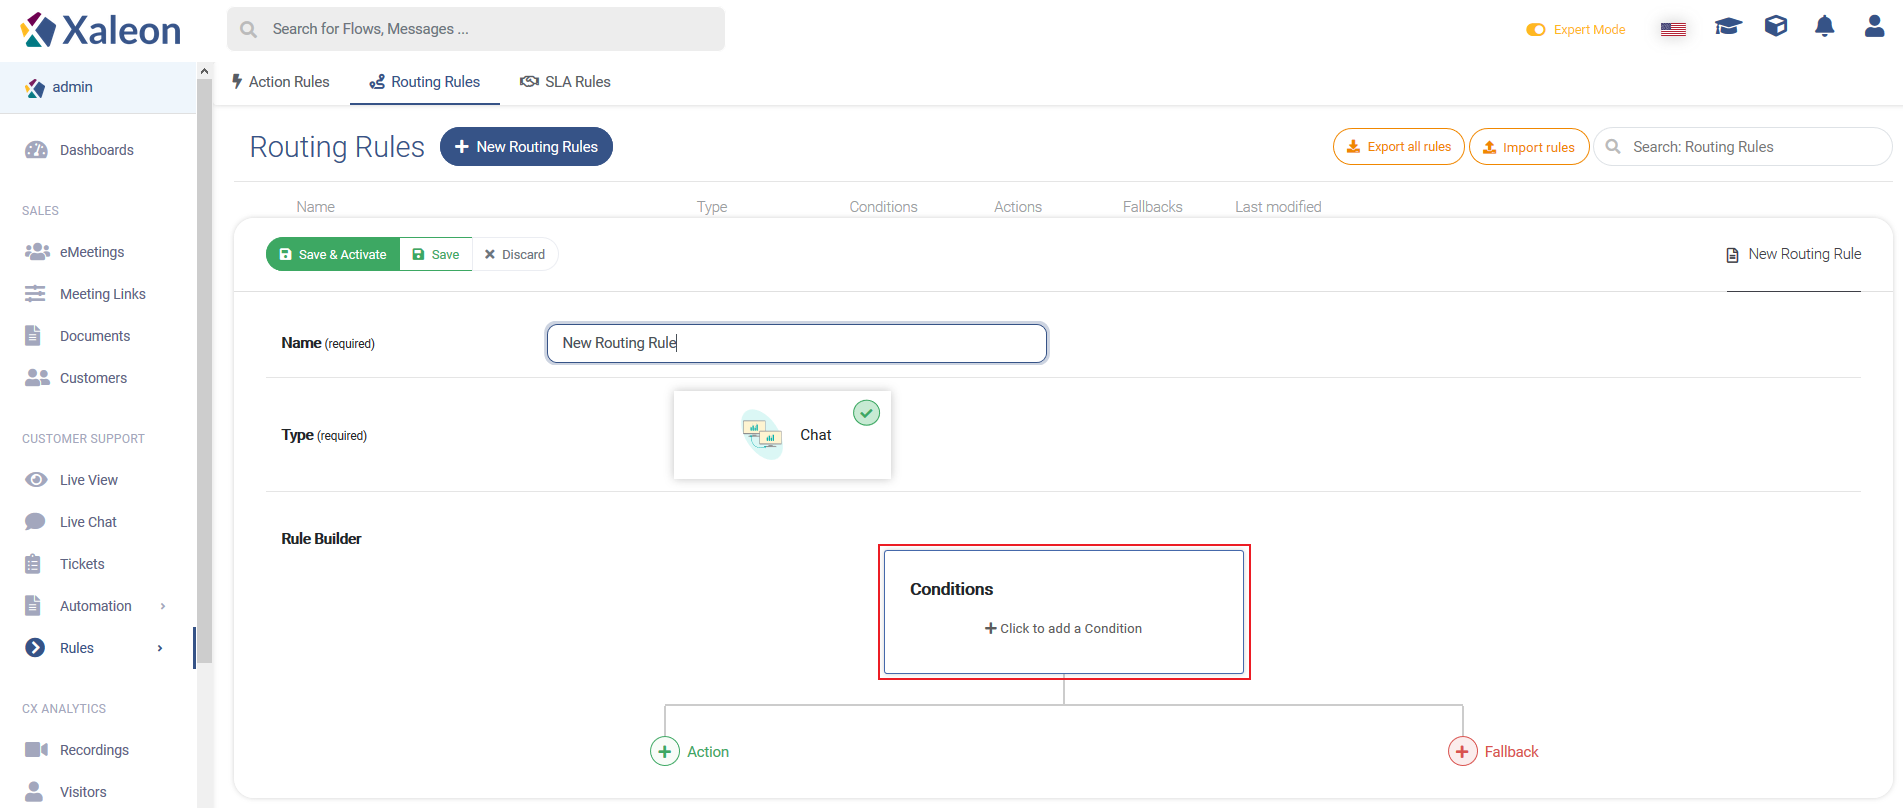
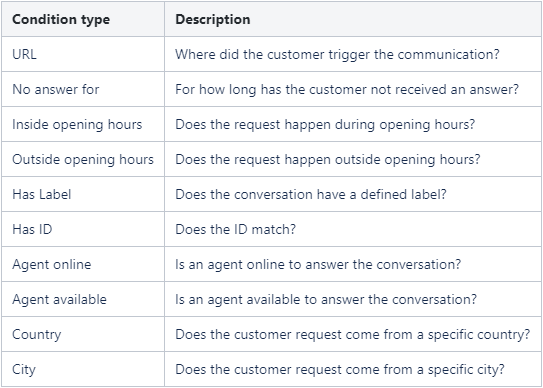
Conditions
By clicking the Conditions element, the conditions configuration opens. There you find following condition types:
Action
If the condition is matched, you can:
- Route the message/customer to the right agent
- Send a System Message to bridge the conversation
- Send a pre-defined Flow
- Send the user to a Queue
📌Note: A customer can be in a queue for at max 1h and 30m
Routing to
Firstly, set who you want to route the message to:
Secondly, define the required state of your agent:
System message
System messages are re-usable and can be used to:
- inform the customer about being routed to an agent
- bridge the conversation while the customer is waiting for the agent
- inform the customer that currently no agent is available (e.g. due to opening times etc.)
Fallback (conditions)
If your set out Conditions do not match, no action will be triggered. To ensure an action, you can define fallback conditions that trigger new actions.
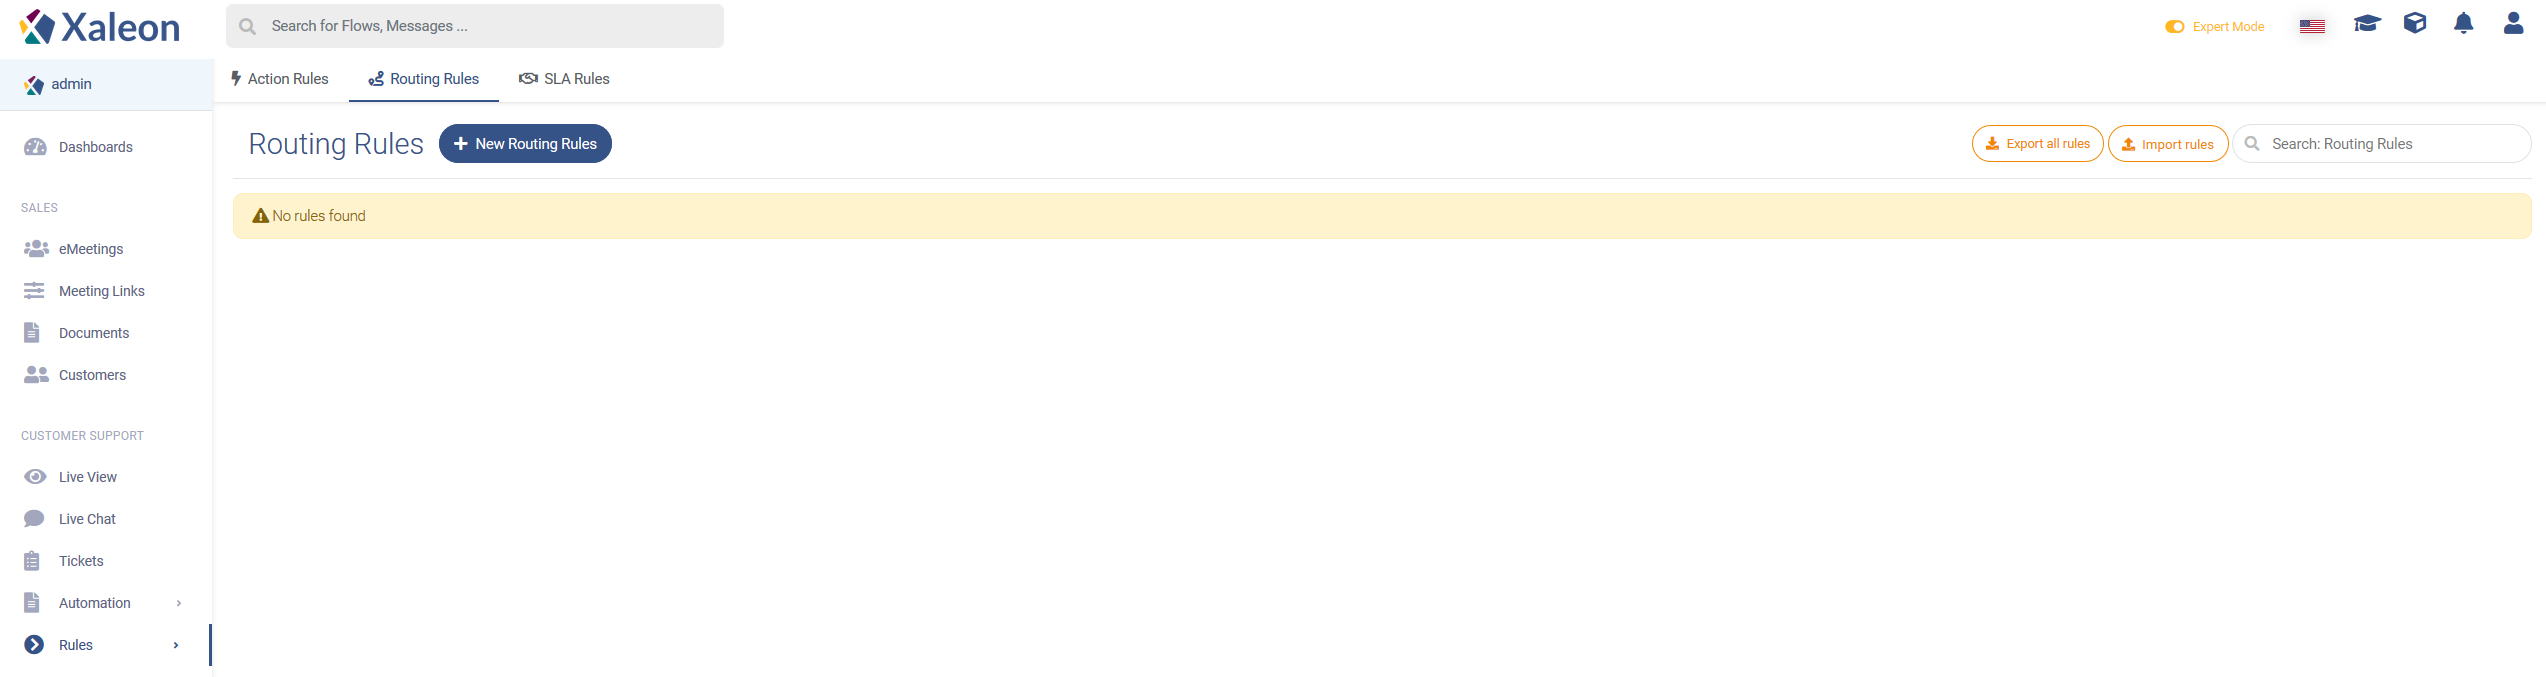
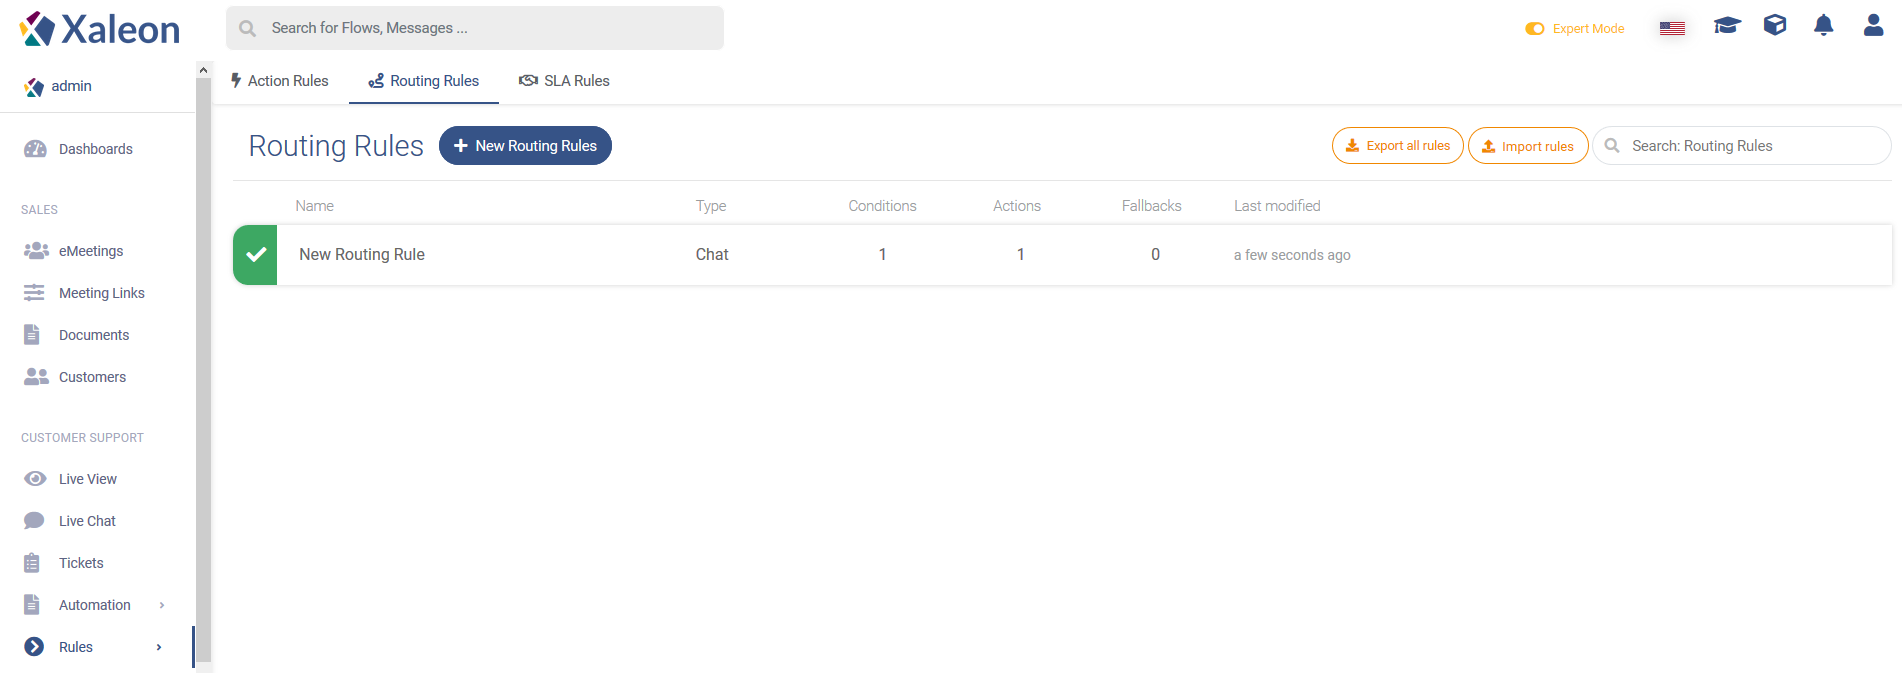
Routing Rules Overview
In the Routing Rule menu/overview you will find a list of created rules. Here you can create, search for, update and de/activate them.
Continue reading here