Data collection
After creating the project, the dataset needs to be populated with images for every object mentioned. The system then trains itself on these images collected.
Note: A minimum of 20 images are required for training.
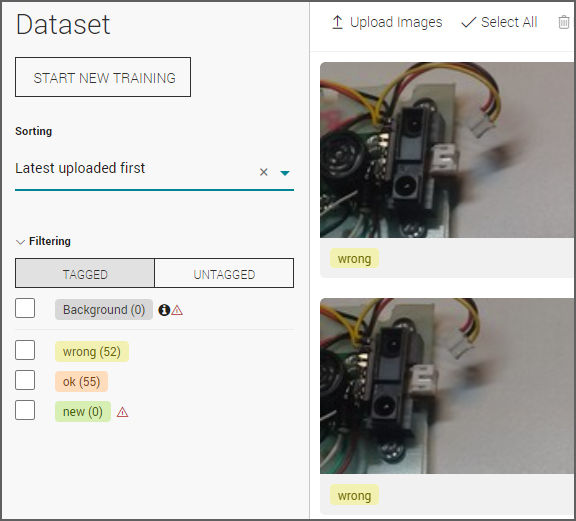
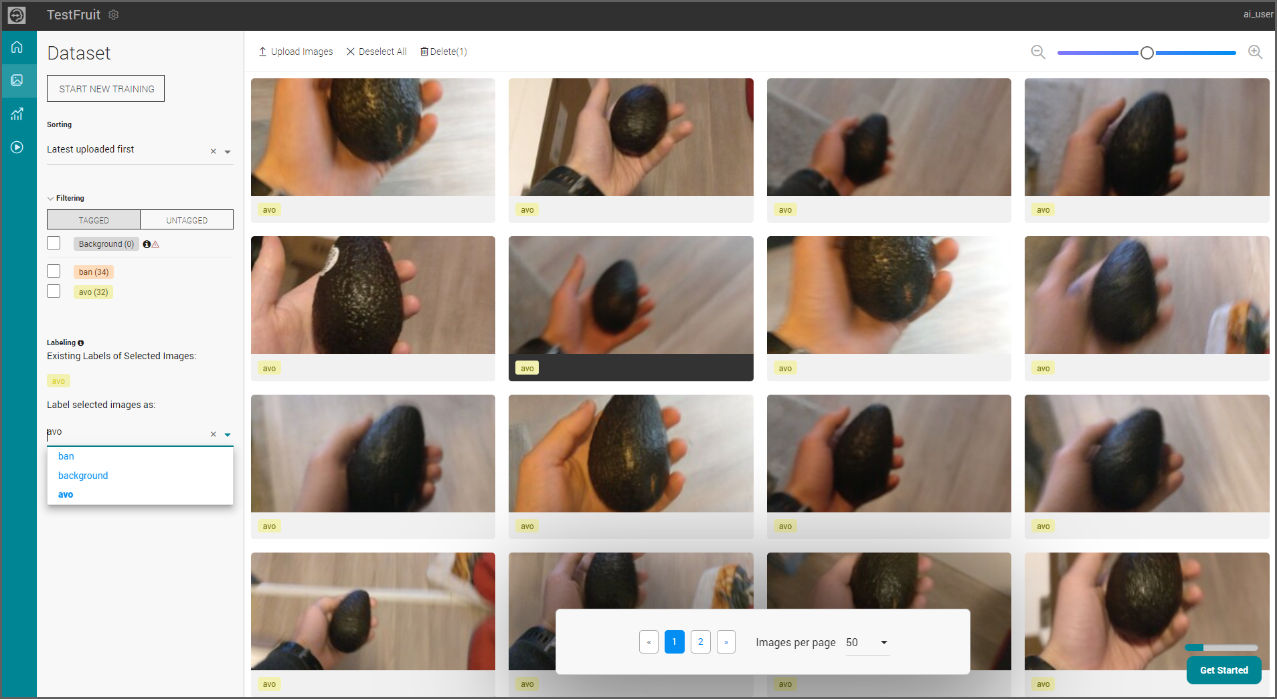
The dataset tab also gives an overview of the image set, the objects are mentioned and the images can also be sorted and filtered accordingly.
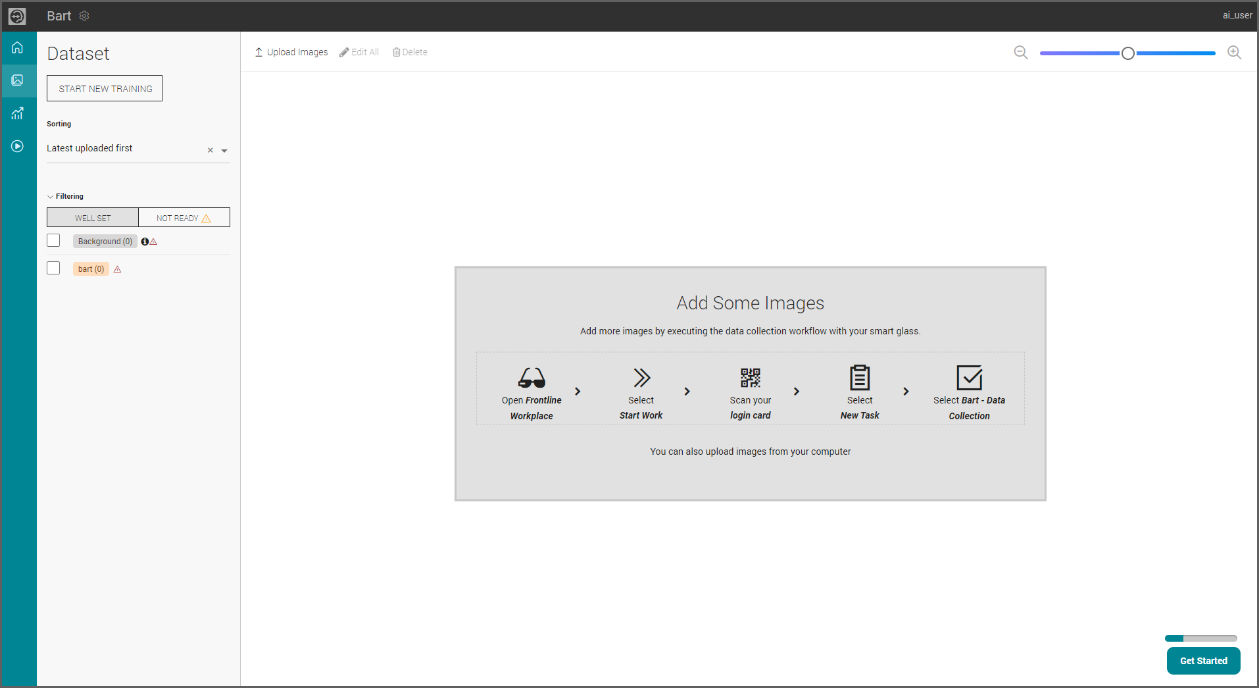
Users can upload images either directly through AiStudio or by using Frontline Workplace.
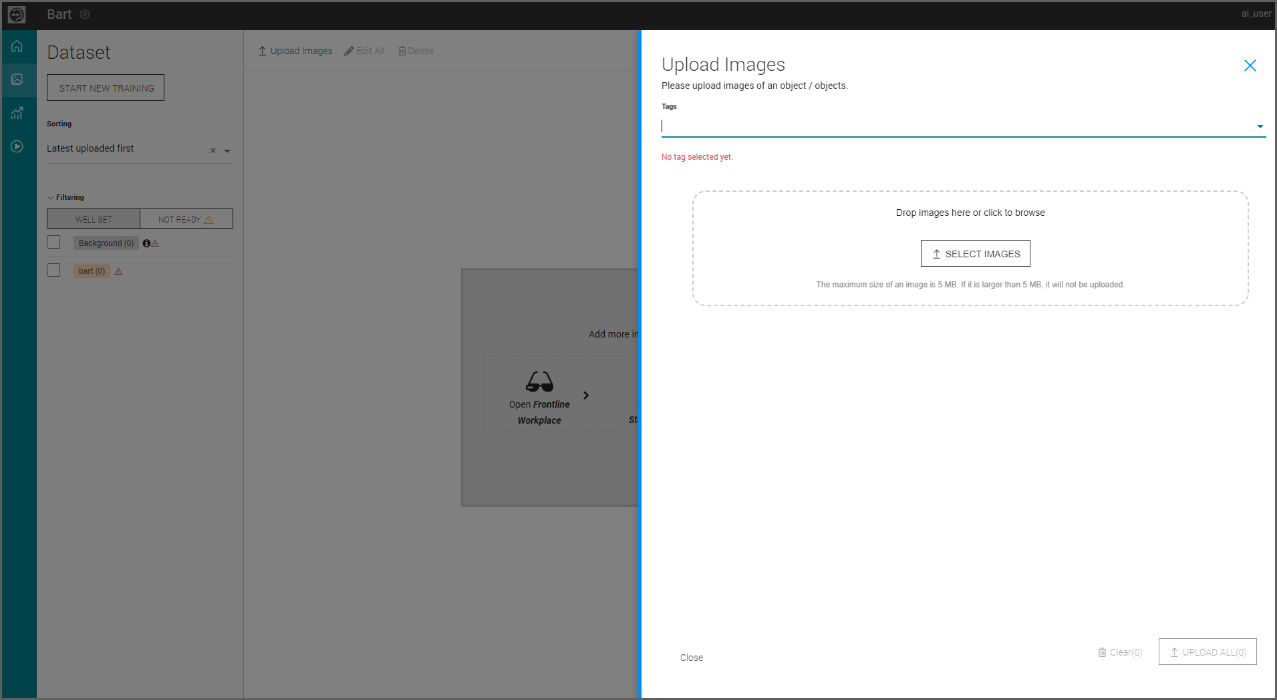
Uploading images directly through AiStudio
- On the dataset tab, click on Upload Images and select images to be uploaded.
- Images need to be tagged accordingly so that the model is trained accurately.
3. Upload the annotations files. Currently, the supported formats are TeamViewer AiStudio, COCO and YOLO.
Note: Image annotation is the practice of labelling images to train AI and machine learning models. It often involves human annotators using an image annotation tool to label images or tag relevant information, for example, by assigning relevant classes to different entities in an image.
4. If annotations aren't added, the image would up in the not ready tab and then you will have to manually add the annotations/tags as explained below.
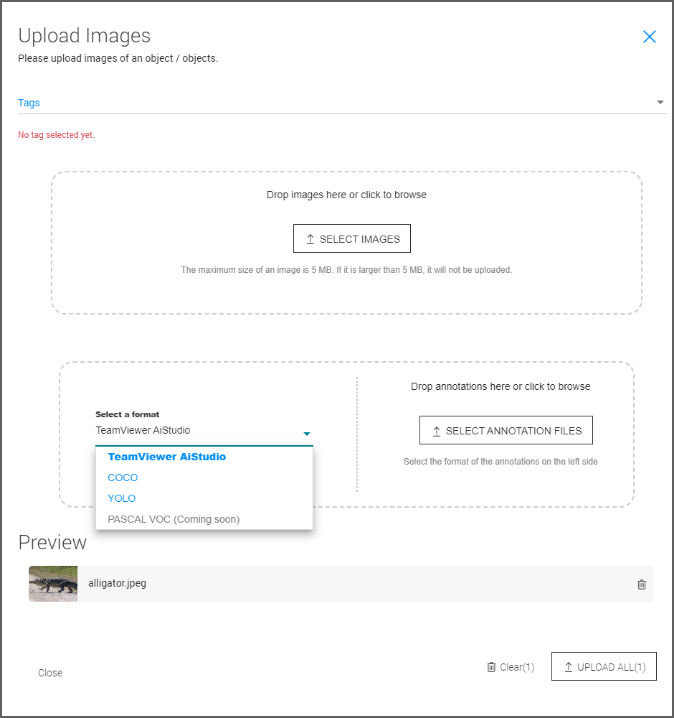
Note: TeamViewer Aistudio format can have one (.json) file per image or one annotations.json file for all images.
COCO format can have one (.json) file for all images.
YOLO format can have one (.txt) file per image with the same name as the image file and a (.name) file containing object mapping.
Uploading images and videos by using Frontline Workplace
To enable this:
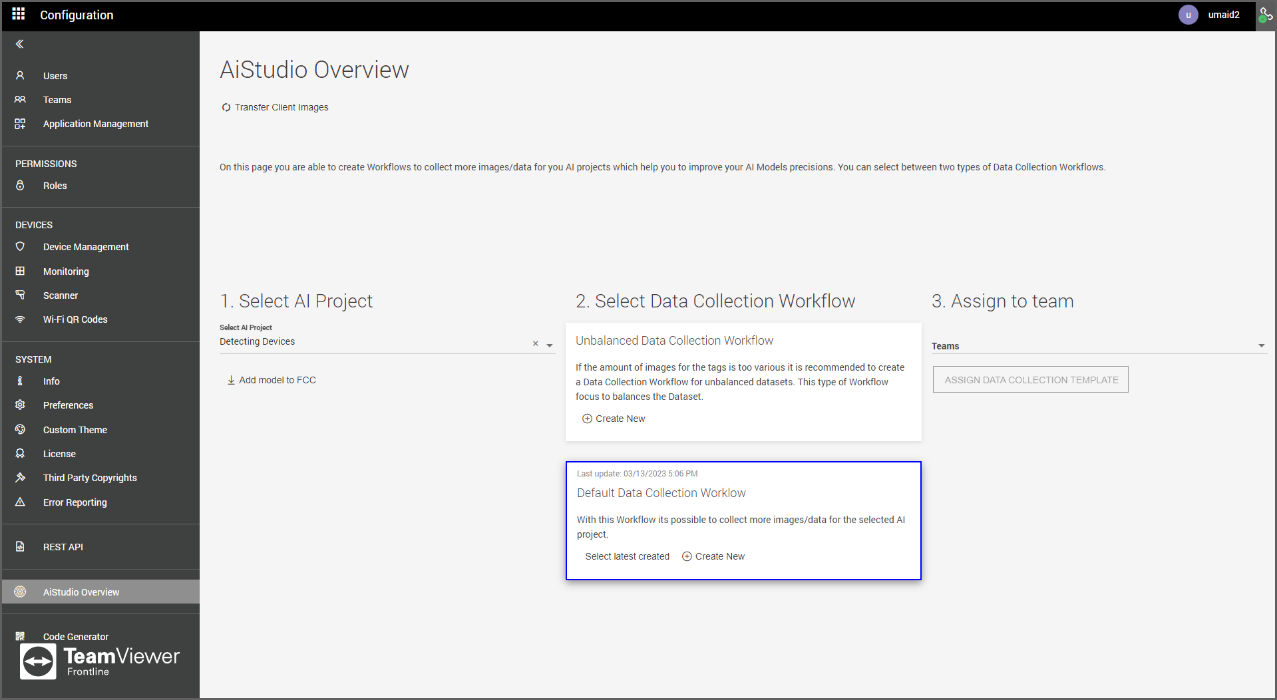
- The user needs to add the AiStudio Project to FCC.
- Go to Configuration -> AiStudio Overview from the FCC dashboard.
- Select the AI Project to which you want to add the images.
- Click on Create New under Default Data Collection Workflow.
- After that, a new tile will appear on the right "3. Assign to team". Assign a desired team whose members would be able to collect images.
- The members of this team will see the Data Collection workflow under New Tasks when they log in to Frontline Workplace.
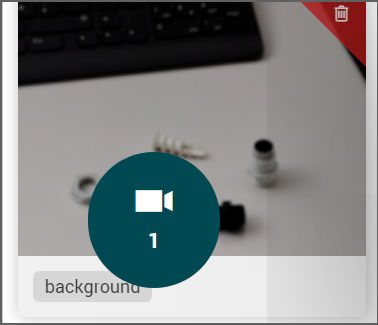
- On running the workflow, the user can either choose between an image or a video to record. Video recording is only available for image classification projects and for class backgrounds.
- Click on Transfer Data Collection media in the top right corner. The images will be transferred to the AiStudio database.
9. The video isn't directly transferred to the database. The user needs to go to AiStudio and review the needed video and frames.
10. Record the video.
11. Go to the dataset page
12. Click on the Video button to access them.
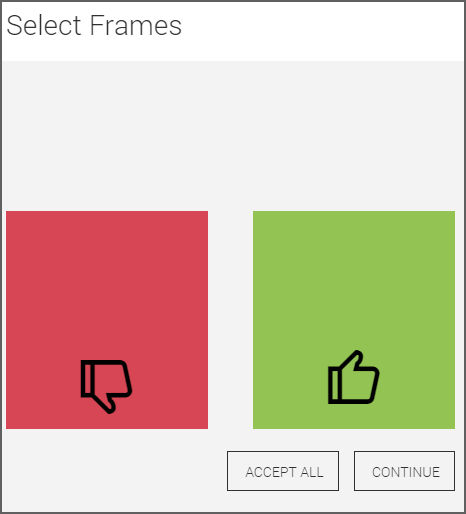
13. A modal will open where the user can set the Frame rate. It is the rate at which the videos would be sampled.
14. Now, the user would see the different frames, they can be accepted by clicking on the green thumbs up, rejected by clicking on the red thumbs down or all of them can be selected by clicking Accept all.
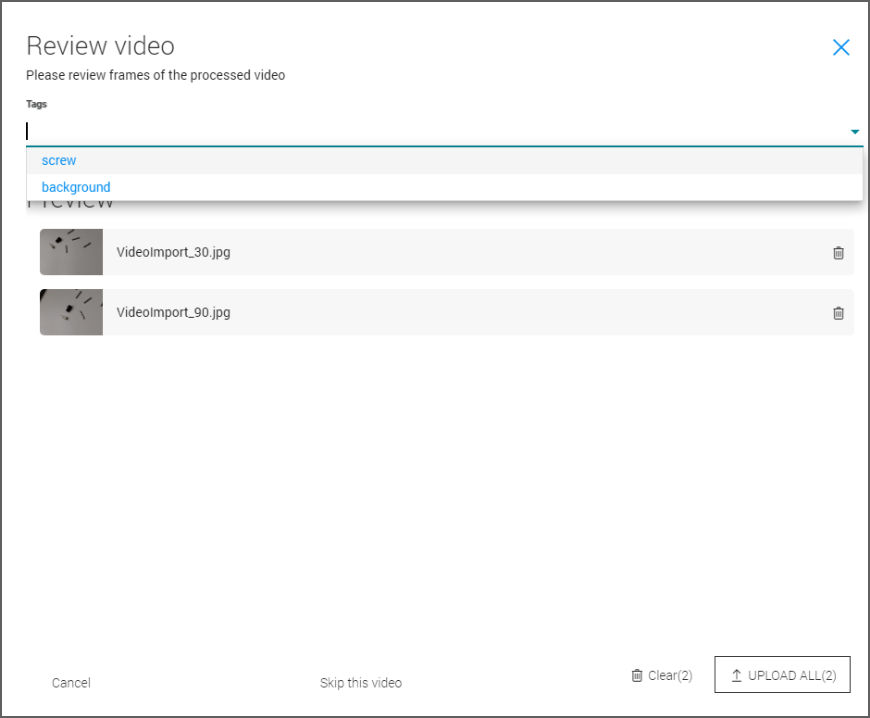
15. After this, you can add the desired tag to the selected frames.
16. Once all the information has been reviewed, the frames can be added to the dataset by clicking on Upload.
Note: The maximum video length can be 20 seconds. After recording the video, the frames need to be reviewed in the web app before adding them to the project to train a model.
Deleting images
It is possible to delete irrelevant images or to edit tags after uploading them.
To delete the images:
- Select the images.
- Click on Delete on the top.

Editing an existing tag for an Object Detection project
It is better to tag images correctly for accuracy.
To edit the tags:
- Select images.
- Select the desired option from the dropdown menu Label selected images as.
- Click on Save.
Note: Multiple images can be selected by pressing Ctrl while clicking.
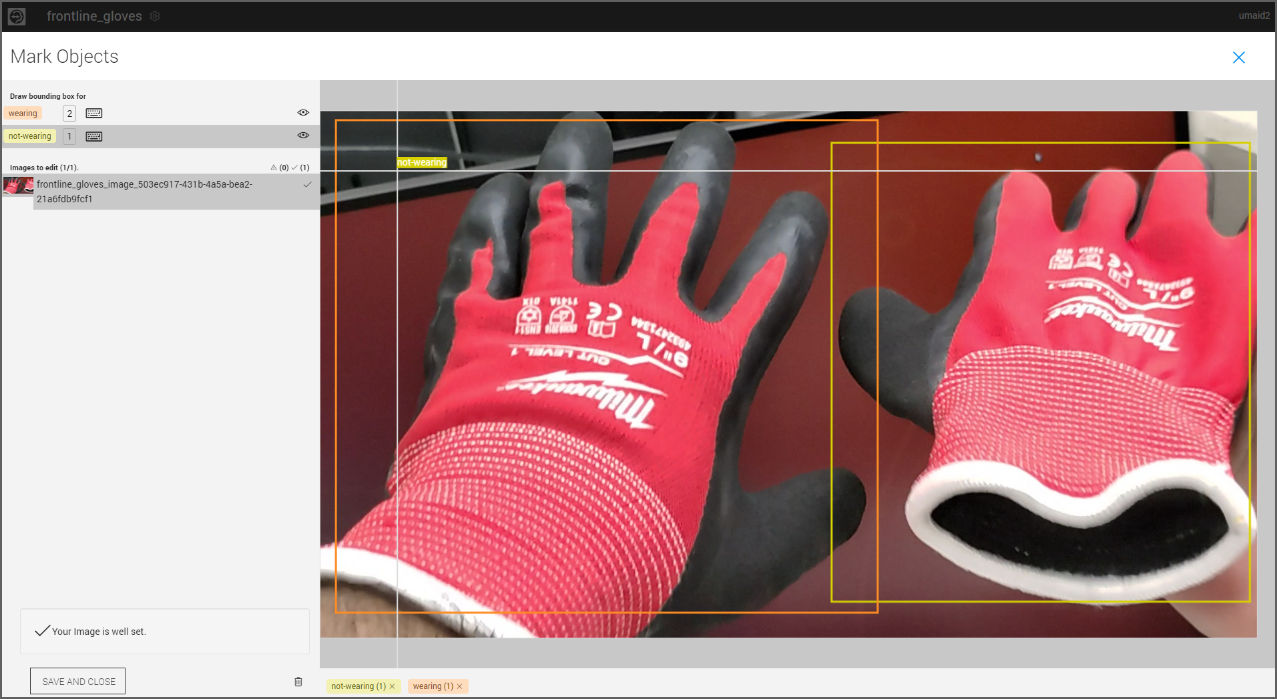
Editing an existing tag for an Image Classification project
It is better to tag images correctly for accuracy.
To edit the tags:
- Select the image in which you want to edit the boxes.
- Select the tag you want to edit.
- Form a box within the image you want to tag.
- Do the same with other tags and Save.
Sorting and filtering images
The images present in the dataset can be filtered and sorted according to the user's requirements. The options are present on the left as shown in the image below: