It is crucial to keep TeamViewer updated to guarantee secure and efficient remote access to your computer. Updating to the latest version of TeamViewer will enable you to take advantage of new features and enhancements that can significantly improve your remote access experience. In this article, we'll show you how to update TeamViewer using the auto-update or manually.
This article applies to all TeamViewer Remote users.
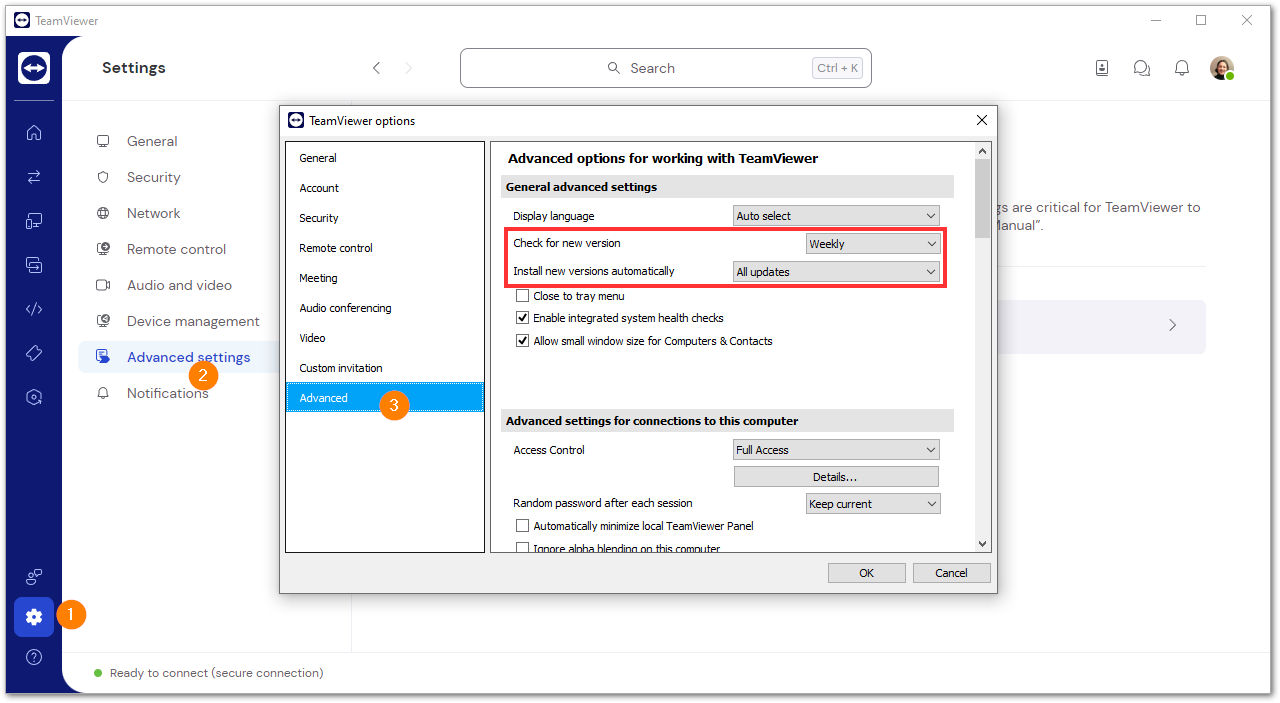
How to update TeamViewer (auto-update)
TeamViewer's auto-update is set by default to check for updates weekly. You can configure the auto-update via Settings ➜ Go to this device's settings ➜ Advanced settings ➜ Open advanced settings.
We suggest keeping TeamViewer up-to-date through the auto-update, but you may also update manually.
How to update TeamViewer manually
To update TeamViewer manually, please follow the instructions below:
- Open TeamViewer and sign in with your TeamViewer account.
- Find the TeamViewer icon in the Windows tray, right-click the TeamViewer icon, and click on Check for new version.
- If available, a pop-up will appear mentioning the new version. Click the Update button to get the update started.
- TeamViewer will restart automatically, and the new version will be installed.