With SCIM (System for Cross-domain Identity Management), it is possible to synchronize users and Microsoft Entra Groups from Microsoft Entra ID (formerly Azure AD) to TeamViewer.
📌Note: This requires a Microsoft Entra Premium license subscription.
It allows administrators to create, update and deactivate users within Microsoft Entra ID and keep their TeamViewer accounts automatically updated within 1h (the current Microsoft Entra update interval).
This article applies to TeamViewer customers with an Enterprise/Tensor license.
Prerequisite
To be able to use this feature, you must meet the following requirements:
- Have a valid Tensor license for TeamViewer
- Have an Microsoft Entra Premium license subscription
- Follow the manual below to set up SCIM
- It is recommended to combine the SCIM Sync with the Single Sign-On Microsoft Entra Setup
Create TeamViewer Script Token
- Sign in to TeamViewer at https://web.teamviewer.com/.
- Go to Admin settings.
- In the Authentication section, click Apps and token.
- Click Profile settings.
- Click Add app or token.
- Click Create script token.
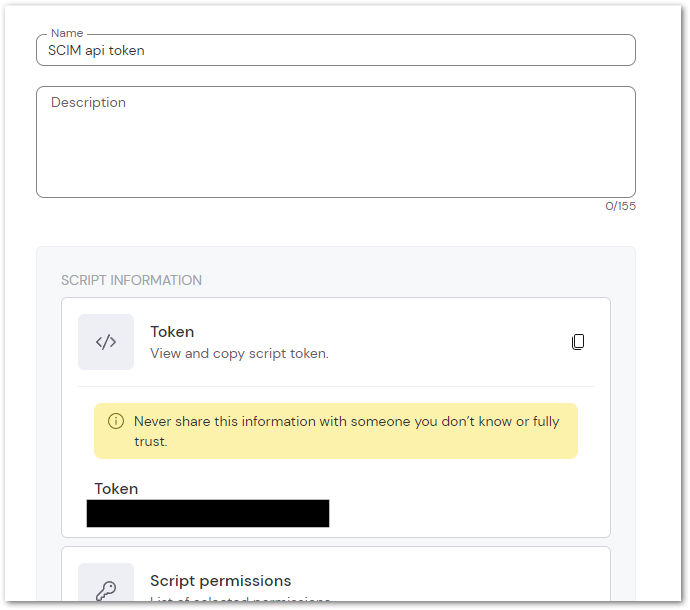
- Enter a name for your API token and select the following options for the token.
Account management
- view online state
- view account data
- view email address
- view license
User management
- create users
- edit users
- view users
User groups
- create user groups
- delete user groups
- edit user groups
- read user groups
To create your script token, click Save.
After the token gets created, you will see the token in the overview. Click the three dots menu (⋮) to view the API Token. Copy the token; you need it later in the Microsoft Entra ID.
Setup SCIM Provisioning in Microsoft Entra ID
📌 Notes:
- It is recommended to combine the SCIM Provisioning with the Single Sign-On for Microsoft Entra
- If you have already created the Application for Single Sign-On, you can use the same App also for the SCIM Provisioning.
- The following steps are based on the fact, you have already created an Enterprise Application. If not, please refer to the Single Sign-On for Microsoft Entra ID Article, because there, it is described how to create an Enterprise Application.
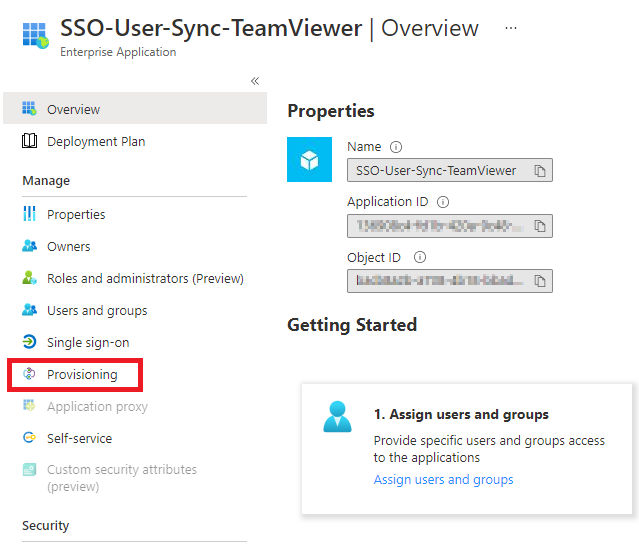
1) Go into your created Enterprise Application and select Provisioning
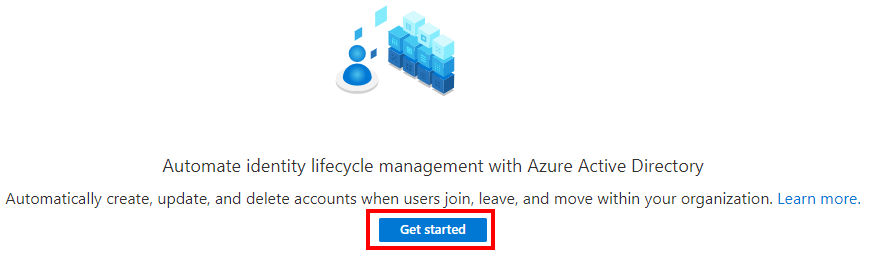
2) You will see a new Windows. Please click on Get started.
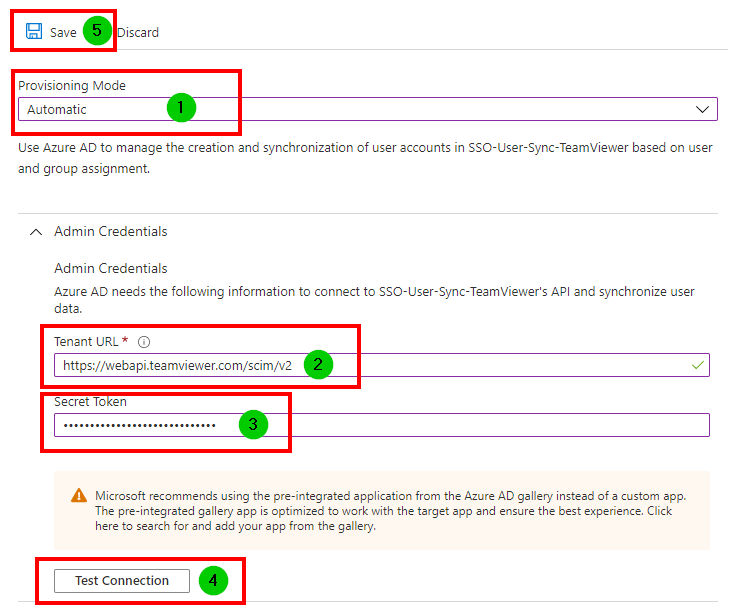
(1) Select the Provisioning Mode Automatic
(2) Enter the Tenant URL https://webapi.teamviewer.com/scim/v2
(3) Enter for the Secret Token the API Token which you have already created
(4) Click Test Connection
(5) If the Test Connection was successful, you can click Save
3) Now you can edit the Mappings for your provisioning
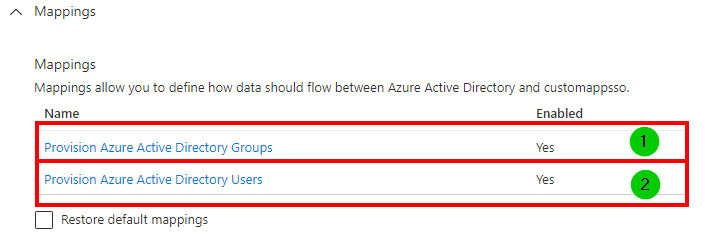
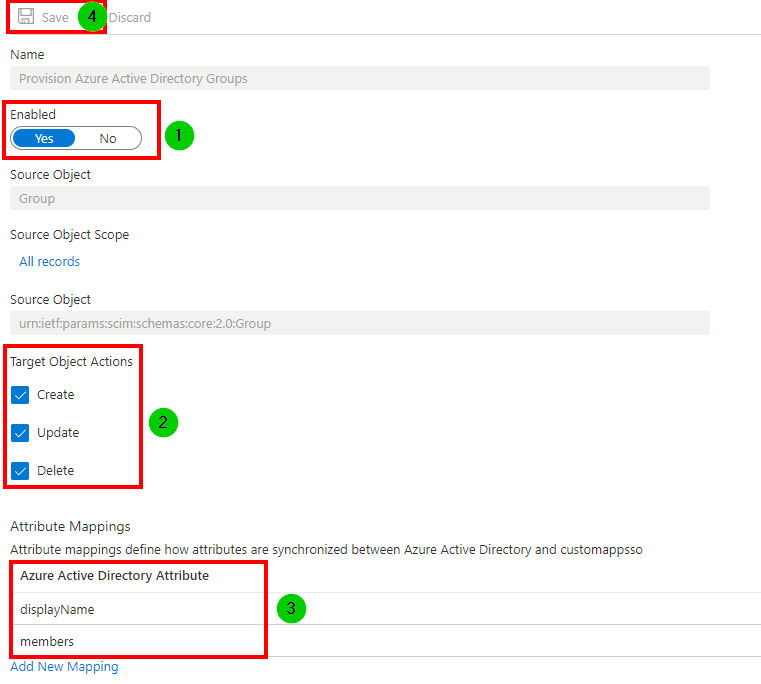
First, edit the Provision Microsoft Entra ID Groups
(1) If you want to use the Microsoft Entra ID Groups for the TeamViewer User Groups, please enable it
(2) Activate all Options for Target Object Actions
(3) Make sure you have set only the Microsoft Entra ID Attribute as displayed on the Screenshot. Delete all other entries, if you see them
(4) Click Save
4) In the next step edit the Provision Microsoft Entra ID Users
(1) Please check if the User Sync is enabled
(2) Remove the "Delete" Option, because the SCIM API can't delete Users in the TeamViewer (Classic) Management Console
(3) Make sure you have set only the "Azure Active Directory Attribute" as displayed on the Screenshot. Delete all other entries, if you see them
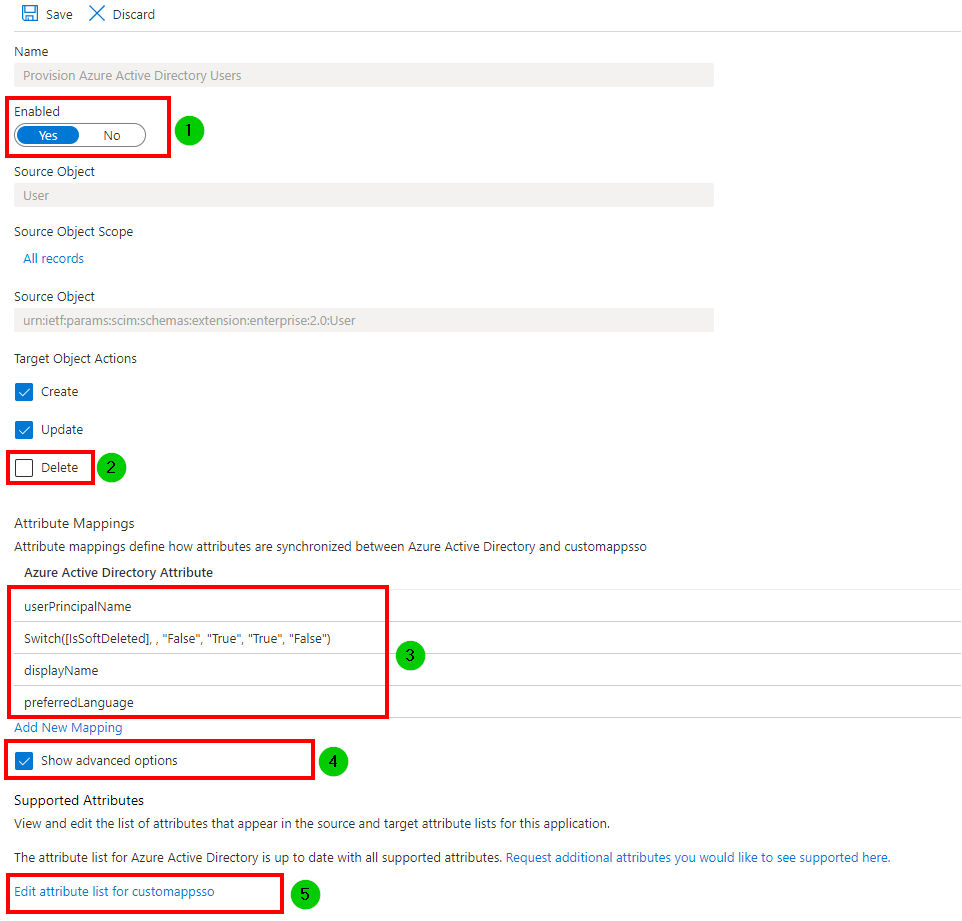
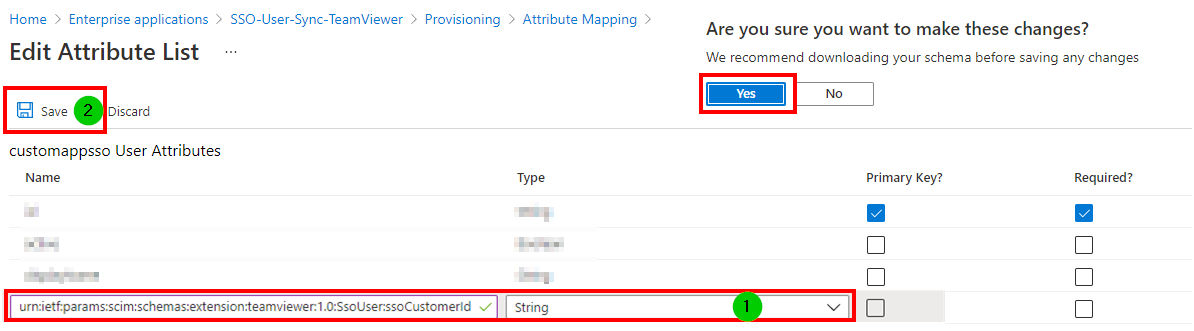
5) Activate the Option Show advanced options and click after Edit attribute list for customappsso
6) In the Attribute List create a new String
7) Enter the Value urn:ietf:params:scim:schemas:extension:teamviewer:1.0:SsoUser:ssoCustomerId
8) Click Save and confirm the Changes with Yes
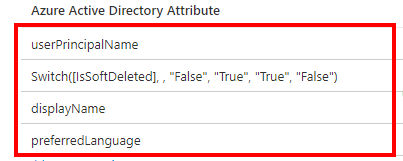
9) Back in the Azure Active Directory Attribute, edit the Attribute preferredLanguage
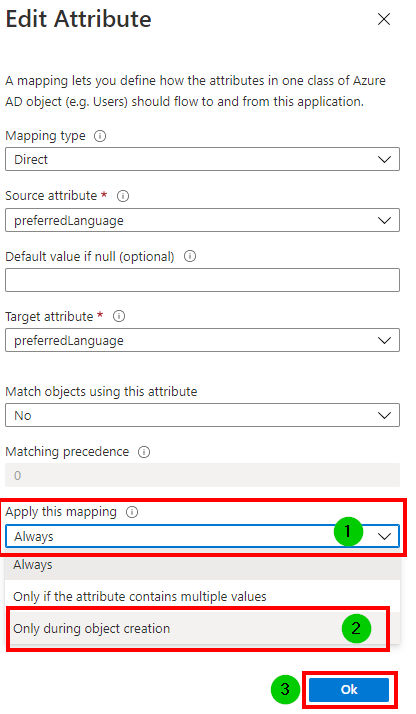
10) When you edit the Attribute preferredLanguage
(1) Change Apply this mapping from Always
(2) to Only during object creation
(3) Confirm the Change with OK
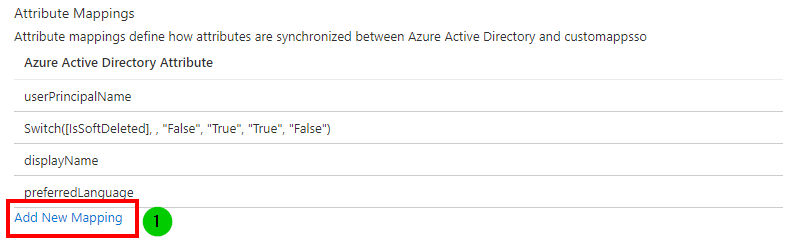
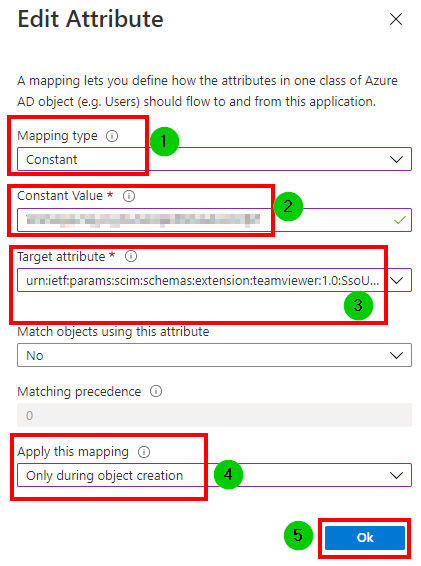
11) Again in the Azure Active Directory Attribute
(1) Click Add New Mapping
(2) Change the Mapping type to Constant
(3) Enter for Constant Value the Custom Identifier which you already use from the Single Sign-On for Microsoft Entra ID
📌 Note: If you don't use the same Custom Identifier, the User Sync won't work correctly
(4) Select for the Target attribute the previously created custom attribute urn:ietf:params:scim:schemas:extension:teamviewer:1.0:SsoUser:ssoCustomerId
(5) Change Apply this mapping from Always to Only during object creation
(6) Confirm the Change with OK
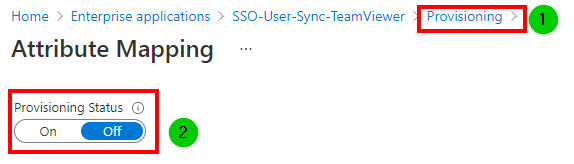
(1) In the Navigation Bar click on Provisioning
(2) Switch the Provisioning Status from Off to On
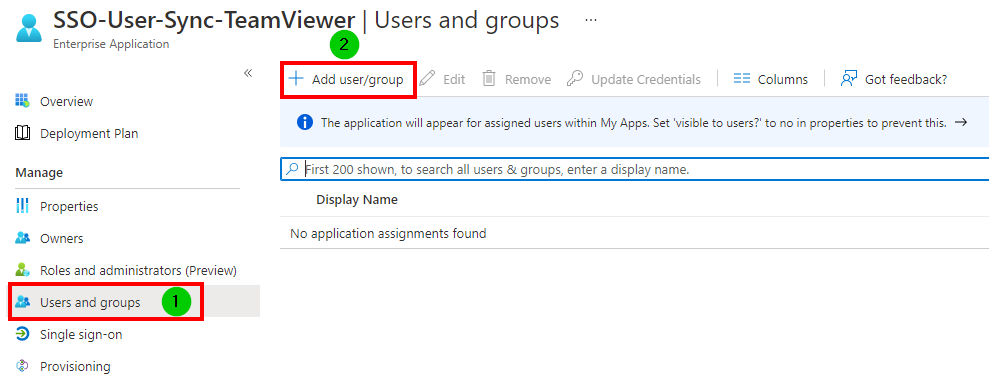
(1) Click in the Application on Users and groups
(2) Click Add user/group
📌 Note: You have to assign an Microsoft Entra ID Group if you want to use the selected Microsoft Entra ID Group for the TeamViewer User Groups