xSetup is an Android smart glasses application used to install or uninstall Frontline applications.
Install and get started with Vysor
Vysor aids in the installation of xSetup and Frontline Workplace and lets you view the screen of smartglass from your desktop. To get started with Vysor on your desktop follow the steps below:
1. Download and install Vysor on your computer. The launch screen will appear right after installation.
2. Connect the smart glasses to your computer using a USB cable.
3. Select the View Device button to view your smart glasses screen.
Note: If the device screen can not be viewed, enable the USB debugging of the device.
How to Enable USB Debugging
a. Go to Settings -> About Device -> Build Number.
b. Tap on Build Number 7 times, now Developer Options are enabled.
c. Go to Settings -> System -> Developer Options (Advanced) and enable USB Debugging.
Install xSetup
1. Download the latest xSetup bundle from Downloads.
2. Unzip the bundle. Here you will find the xSetup APK needed for installation.
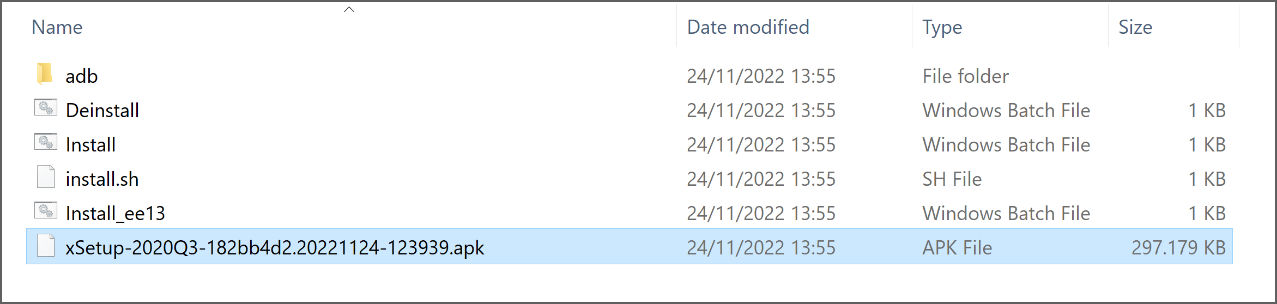
Note: You might have to download and install 7-zip to enable unzipping the
xSetup bundle before accessing the APK file for installation.
3. Drag and drop the xSetup-<version>.apk file directly onto the field area of your Vysor application.
⇒ After a few installation processes, the xSetup application will now appear under MY PROGRAMS.
4. Enable the "Allow from this source" toggle and allow all other permission pop-ups while opening the application. This will prompt you to scan code screen.
Note: To continue with the configuration, scan the setup code and connect to Wi-Fi.
A QR code is generated that can be used to install the application on a device and is linked to the designated server. In cases where a user has no access to the Application Management page, administrators can generate a PDF document with the QR code to send it to the user or print it out.