TeamViewer (Classic) allows the ability to install a permanent Host module onto a device when connected via QuickSupport. This allows for the ease of instant connection from QuickSupport, and the ability to remotely assist in the installation of the Host module for future connections.
📌Note: For this article, custom QuickSupport and Host modules were used, which do require a license. For steps to instruct a remote user to download your custom QuickSupport module, please see here.
This article applies to all TeamViewer (Classic) users using Windows OS.
For free users
Utilize the free QuickSupport and Host module downloads, available from our website.
For licensed users
Licensed users are able to utilize Customized QuickSupport and Host modules in this process. This allows you to customize the exclusive brand experience. More information on creating custom modules can be found here.
For licensed users on a Company Profile
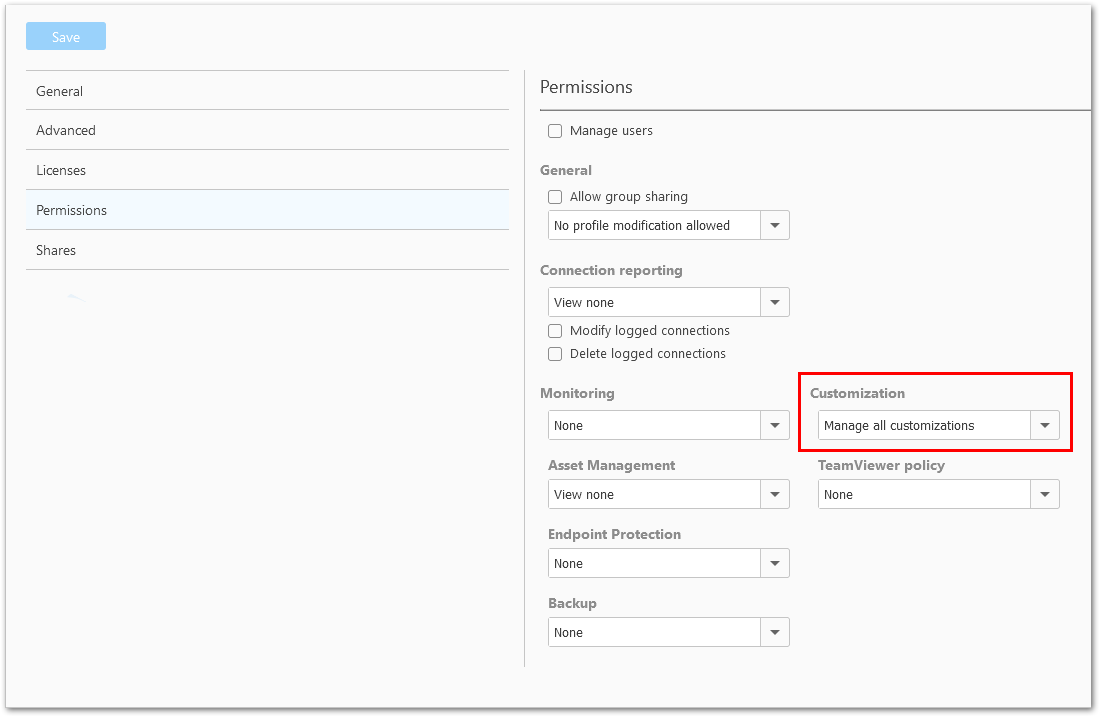
Any user of a Company Profile who will perform such installations must have specific user permissions to allow the implementation of the customization of the module.
For any user who is not a Company or User Admin, please ensure the Customization permission is set to Manage all customizations.
Install TeamViewer Host via QuickSupport
📌Note: This function is only available in connections between Windows devices.
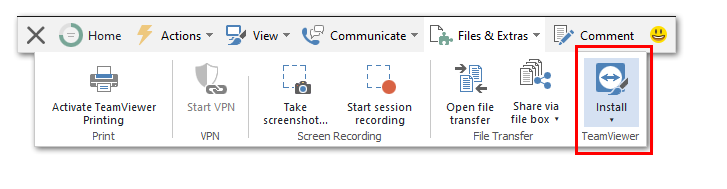
1. Connect to the remote device via the QuickSupport module. In the top toolbar navigate to Files & Extras - the Install option will appear on the right side of the drop-down menu.
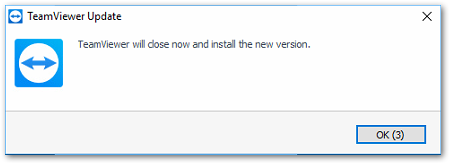
2. Select the desired custom module from the drop-down that appears. Once the installation is started, a prompt will appear informing that TeamViewer will need to close to install. The session will be terminated.
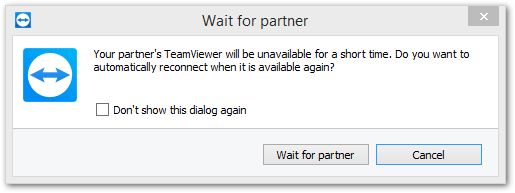
3. Once disconnected, the user performing the installation will receive a pop-up as well. This prompt provides the ability to automatically reconnect to the endpoint once the installation is complete. Select Wait for partner to confirm.
Once installation is complete, a prompt will appear allowing reconnection to the device. The reconnect will not require a new password.
4. When you are connected back to the computer on the first screen, you will be prompted to set a personal password for Unattended Access.
Once the installation process is complete, a prompt will appear for the end user. This prompt will request the end user to confirm that the assigned account is authorized to connect to this device, even unattended.
Once Account Assignment is confirmed, the device will automatically appear in your Computers & Contacts list