General
This article applies to all TeamViewer Meeting users.
In this article, you will see the benefits of having a TeamViewer account, how to get it, and how to edit it if necessary.
Please read this article for more information about the TeamViewer account in general - especially for the TeamViewer Core product:
Features included
You can create a free TeamViewer account in order to use the following functions:
- Synchronize your data on different devices
- Plan meetings
- Personal meeting ID
- Activate your TeamViewer Meeting License
📌Note: You can use all other functions even without a TeamViewer account. However, we recommend using a TeamViewer account
Creating a TeamViewer account
1. Go to https://meeting.teamviewer.com/logon/sign-up
2. Enter the desired account data.
📌Note: The password must be at least 6 characters long and contain a capital letter, a lower-case letter, a number, and a special character.
3. Click Create Account.
That's all! The account is created and you will be logged in automatically with your account name.
Please note that after you create your account, you will receive a confirmation email. You must click on the confirmation link to ensure the creation of your account.
Logging into you TeamViewer account
Prerequisite: you have a TeamViewer account.
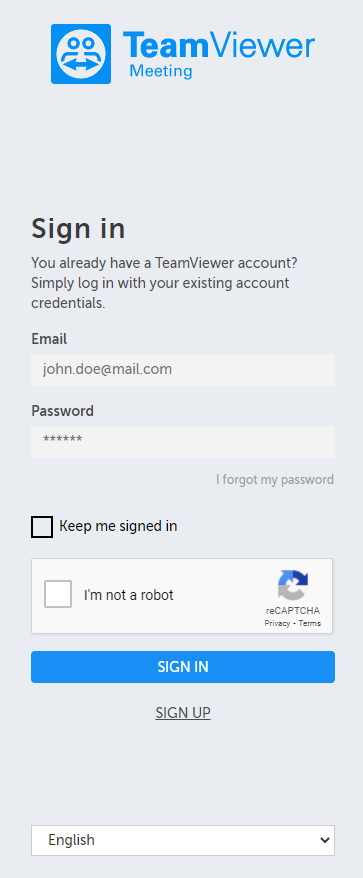
1. . Go to https://meeting.teamviewer.com/logon for the web version or start your TeamViewer Meeting application.
2. Enter the account data that you wish to use to log in.
💡Hint: If you activate the Stay logged in checkbox, you do not have to log in a new each time.
3. Click on Sign in.
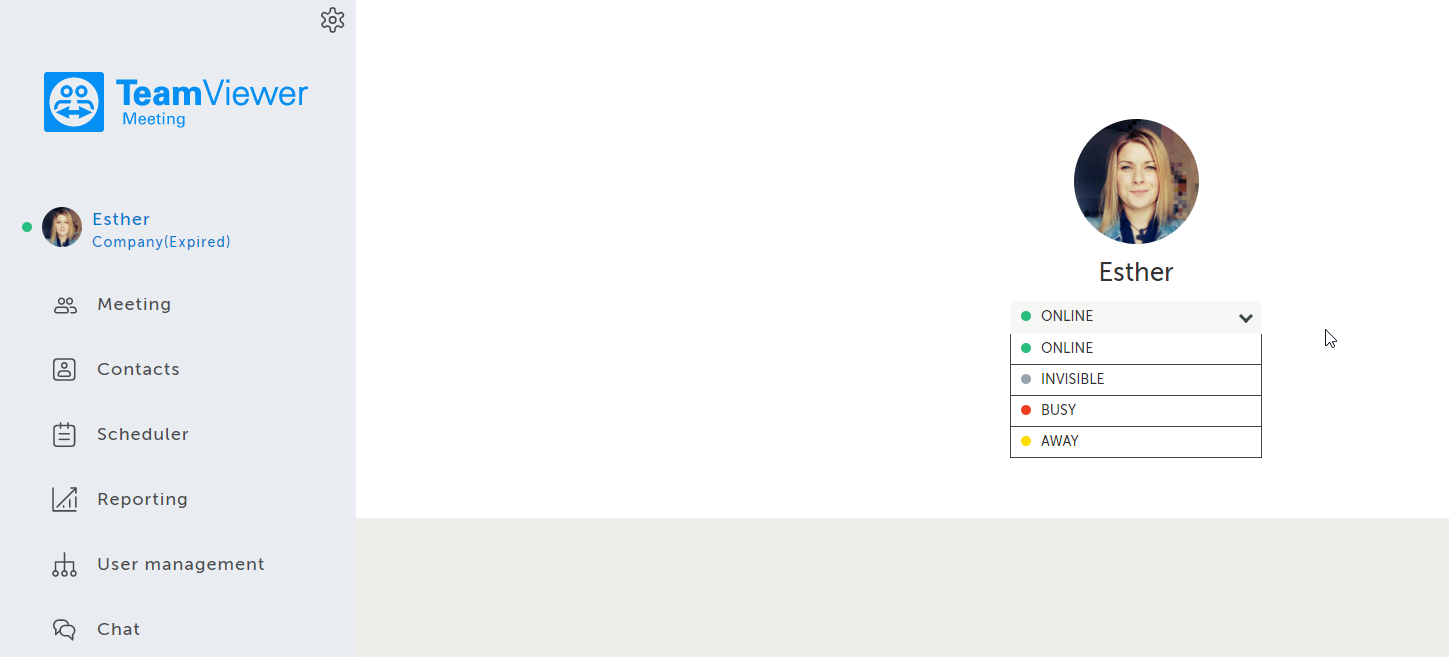
You will be logged in with your account name. By default, your status is online after each login.
a) To change your status click on your user name and choose your status.
Logging out of your TeamViewer account
1. On the navigation bar, click on your user name and click on Sign out.
You will be logged out of your TeamViewer account.
Making changes in your TeamViewer account
via the online console at meeting.teamviewer.com
1. Click on the gear wheel icon and choose Manage Account
2. Here, you can change your Display Name, Email address, password, you can activate the Two Factor Authentication and change your profile picture.
For more information on the email for Trusted Devices, please check this article.