The target of the TeamViewer App for Microsoft Teams is to enable supporters and end users to use remote control and remote assistance, share devices and monitor their active sessions and connection history.
Please keep in mind that Integrations are not included in basic license packages. They have to be purchased separately as AddOns. For more information, please visit our website: http://www.teamviewer.com/integrations
Audience
This document intends to address all users using both TeamViewer and Microsoft Teams.
Prerequisites
It is assumed that the reader is familiar with using Microsoft Teams. The support user needs to have a valid TeamViewer login/password and an associated valid license.
Software Requirements
The TeamViewer App for Microsoft Teams is supported on the desktop, web, and mobile versions of Microsoft Teams.
Teams on the web support recent versions of main browsers.
The desktop version is available on Windows, Mac, and Linux.
Mobile clients are available on iOS and Android.
Details available at:
Get clients for Microsoft Teams - Microsoft Teams
Learn how to use the various clients available for Microsoft Teams which include web, desktop (Windows and Mac), and mobile (Android and iOS).
About TeamViewer app for Microsoft Teams
The TeamViewer-Microsoft Teams app embeds TeamViewer remote control functionality into Microsoft Teams. This allows you to:
- Create and join a support session directly from a Teams conversation
- Share devices to other Teams members
- View TeamViewer active Sessions
- View TeamViewer connection history
About this manual
This manual describes the installation and configuration of the TeamViewer App for Microsoft Teams. It also provides a short overview of the various features provided by the application.
Installation
TeamViewer Installation
Installing the TeamViewer application is required for supporters in order to be able to initiate remote control and Pilot (Augmented Reality) connections and optional for all other users on Windows, Mac and Linux. If the full TeamViewer client is not installed on the aforementioned Operating systems, a run-once version of TeamViewer is downloaded when you try to join a TeamViewer session as the supported party. On mobile (Android, iOS) the respective TeamViewer client (Quick Support or Pilot) is required. We recommend installing the TeamViewer application as this will reduce the time required to join a session. However, please note that you will need administrator access on your system to install TeamViewer.
To install the TeamViewer App, follow the below steps
- Download the TeamViewer installer by invoking the following URL: https://download.teamviewer.com/download/TeamViewer_Setup.exe
- Run the downloaded application. Choose the Default Installation option as shown below and then click the Accept – Finish button
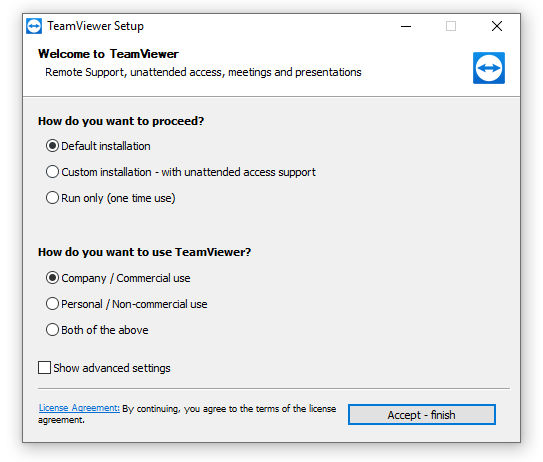
- In case the User Account Control dialog pops up, click the Yes button. TeamViewer installation will proceed and complete.
TeamViewer App for Microsoft Teams installation
The app can be found and installed directly from the Microsoft Teams Apps store (Apps icon in the left sidebar menu)
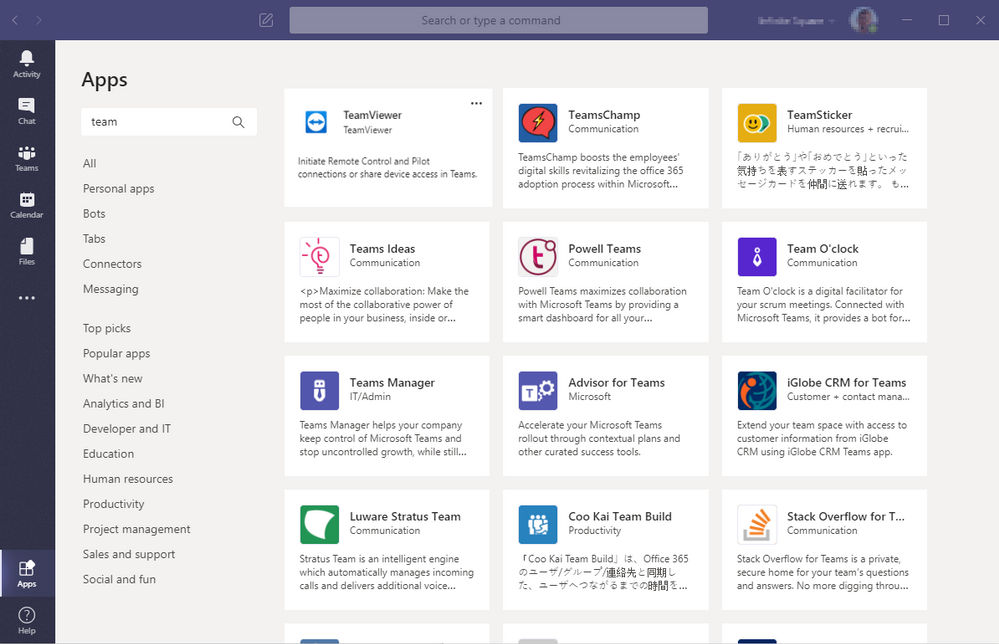
It can be installed personally to get personal tabs, and/or for a specific team or a group chat to provide configurable tab and extensions to their users:
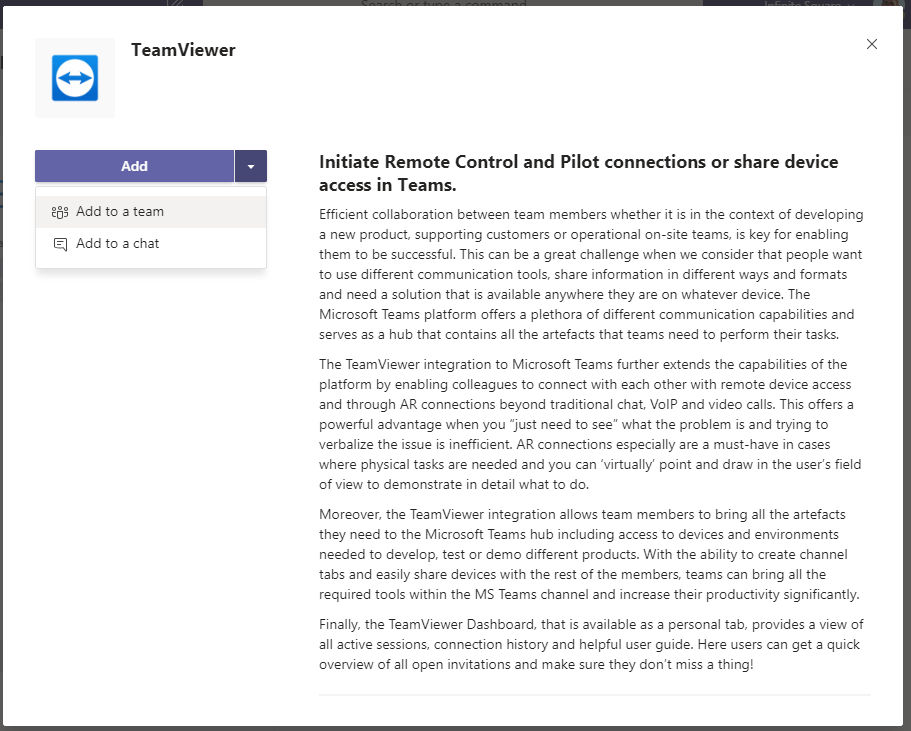
You can also add directly to a group chat or a team via the Apps menu / More Apps (specific permissions in Microsoft Teams may be required).

Using TeamViewer app for Microsoft Teams
The TeamViewer app for Microsoft Teams is composed of 4 main components:
- A bot (in the Activity tab)
- 4 Static tabs: Help, Settings, Active Sessions and Connection History
- A configurable tab TeamViewer for channels and group chats
- Messaging extensions available in the command box and compose area
First connection
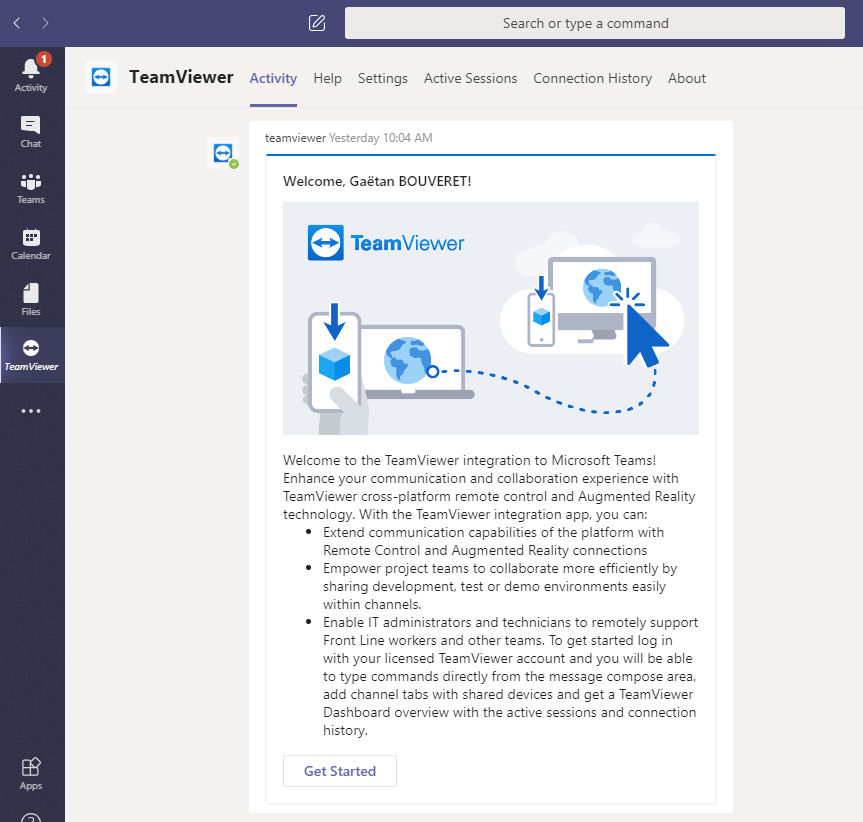
After installation, the bot sends you a welcome message with an overview of the app features.
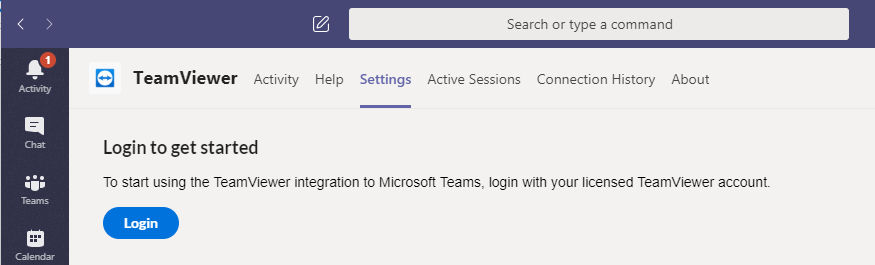
A Get Started button leads you to the Settings tab to login and check your available licenses.
Login
You need to login with your licensed TeamViewer account to be able to use all different features of the TeamViewer integration e.g. to initiate Remote Control and Pilot connection invites, share devices etc. However you don’t require a TeamViewer account or to login to the integration app in order to receive connections on your device.
Also logging in with a valid TeamViewer account is required on all tabs with the exception for the Help tab.
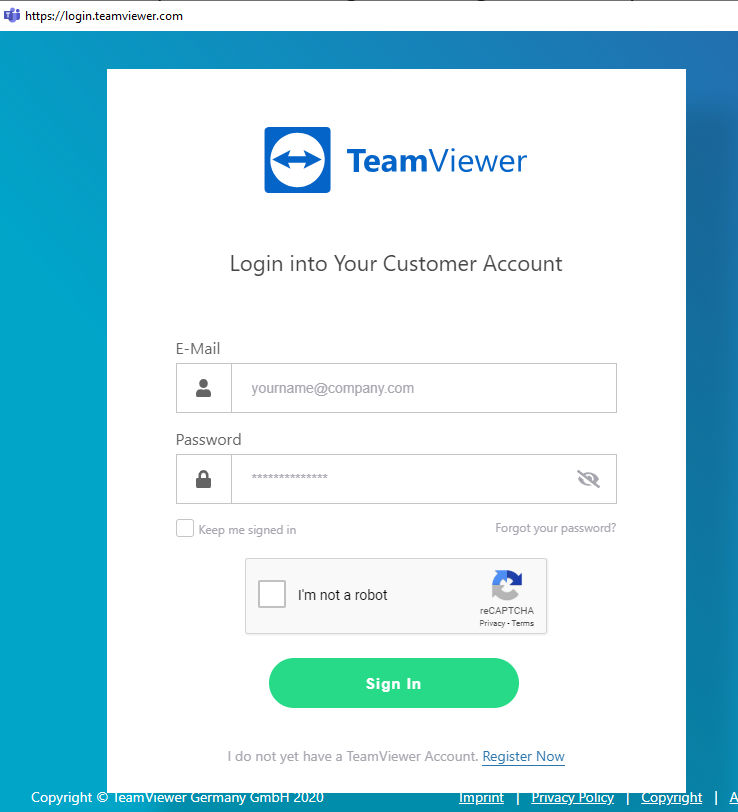
Clicking on Login opens a popup, where you will need to enter your TeamViewer credentials and grant permissions required by the application.
Logout
You can logout from all authenticated tabs using the top right menu displaying your account name.

Important: when you logout, all your selected groups shared in tabs, and all automatically invited users will be removed.
Help Tabs
This tab is displaying a knowledge base about the application.
Settings Tab
You can find information about your TeamViewer licenses depending on your TeamViewer account’s role.
- If you are a TeamViewer administrator then you will be able to see your current license status for Remote Control and Pilot features, and you will have the ability to allow or block them for all users of your Teams tenant.

Here is an example of Pilot license blocked:
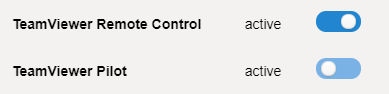
- If you are not a TeamViewer administrator, then you can see which licenses are available (i.e. active if you have the license AND the administrator has allowed it), but will not be able to change them.
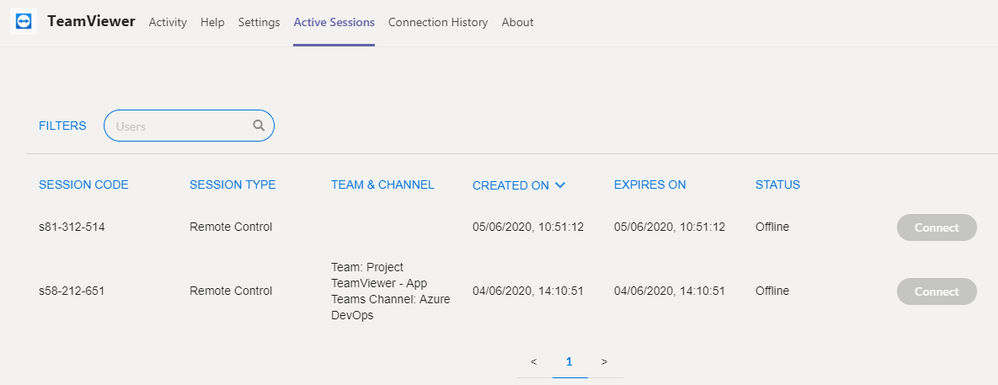
Active Session tab
In this tab, you can find the active sessions created in Microsoft Teams through the messaging extensions (described later).
- If you are a TeamViewer administrator or have the required permissions, then you can see sessions of your company’s employees and filter them by username
- If you are not an administrator, you can only see your own sessions.
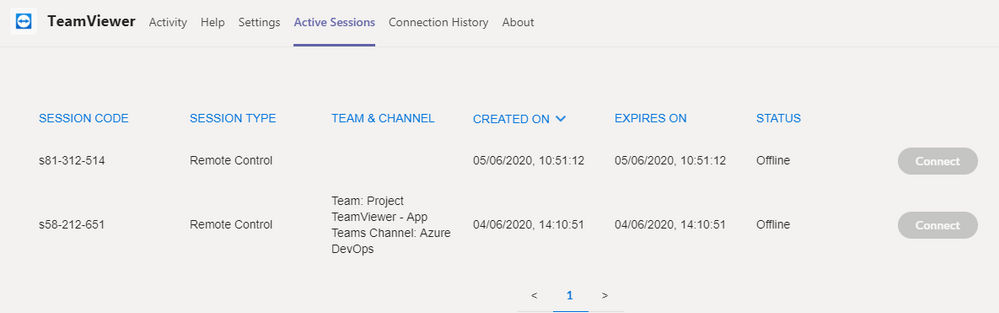
In the Active Session tab, you can find the following information:
- Session code: code of the TeamViewer session created
- Session type: Remote Control or Pilot session
- Team & Channel: when created in a channel, display the name of the Team and Channel
- Created on: date and time of the session creation
- Expires on: expiration date of the session
- Status: session state (Online or Offline)
- Connect button: when session is online, Connect button becomes active and can be used to start the connection.
The list of active sessions and session status (online or offline) is automatically refreshed every 30 seconds.
You can sort data based on any column (sorted on “created on” descending by default) and use pagination if needed.
Connection history
In this tab, you can find listing of all connections created in Microsoft Teams through the messaging extensions (described later).
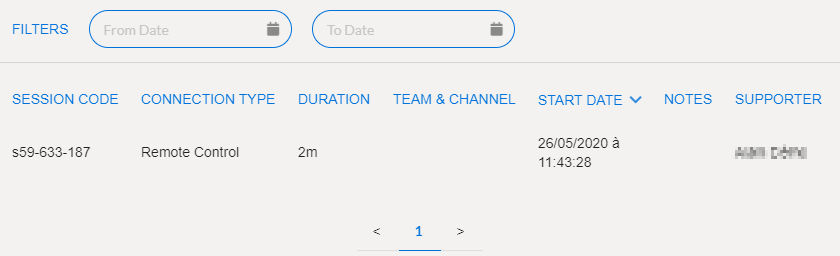
- If you are a TeamViewer administrator, then you can see connections of your company’s employees and filter them by username or on a specific period (From / To Date).
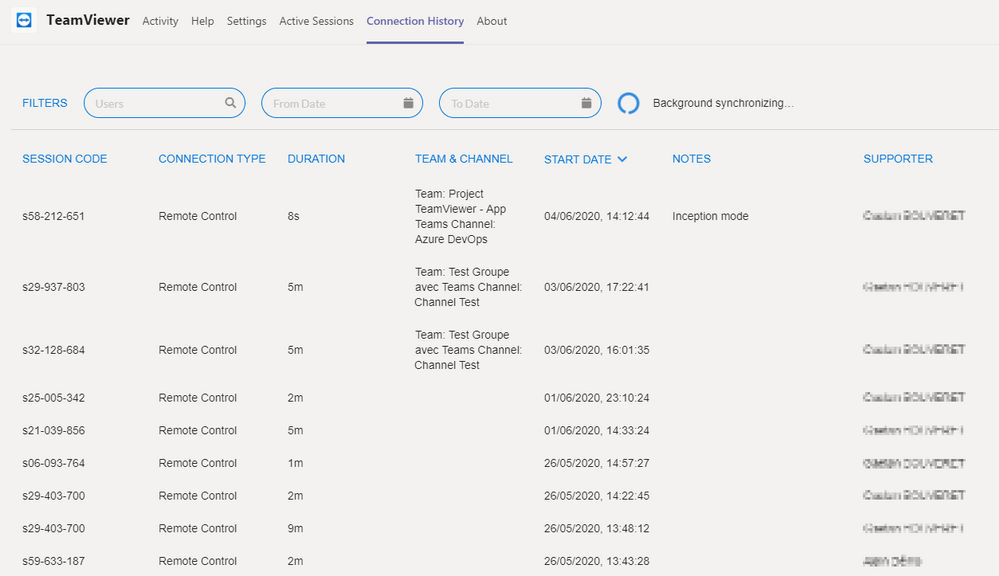
- If you are not an administrator, you can only see your own connections and filter them on a specific period (From / To Date).
Connections list is automatically refreshed on first load and every 30 seconds, while you’re viewing the tab.
- The following information are available in the table:
- Session code: code of the TeamViewer session created
- Connection type: Remote Control or Pilot session
- Duration: session’s duration
- Team & Channel: when created in a channel, display the name of the Team and Channel
- Start date: start date of the connection
- Notes: supporter notes
- Supporter: supporter username
You can sort data (sorted on “Start Date” descending by default), use pagination and filters if needed. You can click on a connection to show more details.
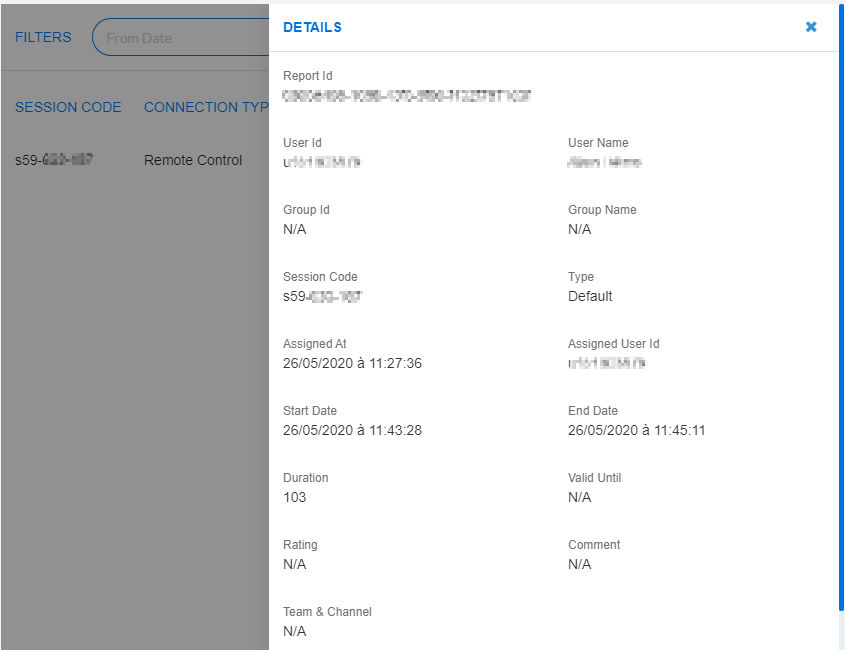
Here are the properties displayed in the details panel:
- Report id
- User Id and Username
- Group Id and Group name
- Session Code and Type
- Assigned at and Assigned User Id
- Start and End date of the session
- Duration and expiration
- Rating and comments
- Team & Channel
A loader with a warning message “Background synchronizing…” is displayed when the automatic background synchronization is started to update the connections every time you go to the tab with a minimum of five minutes between them.
Channels and groups Configurable tab
Initial configuration
You can add a configuration TeamViewer tab to a channel or a group chat if you have the permission to do so in Microsoft Teams:
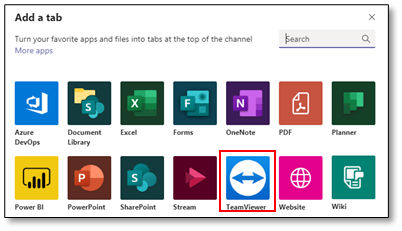
- Click on the + icon on a group or channel
- Select TeamViewer in the app list (app must be installed for the Teams or group chat)
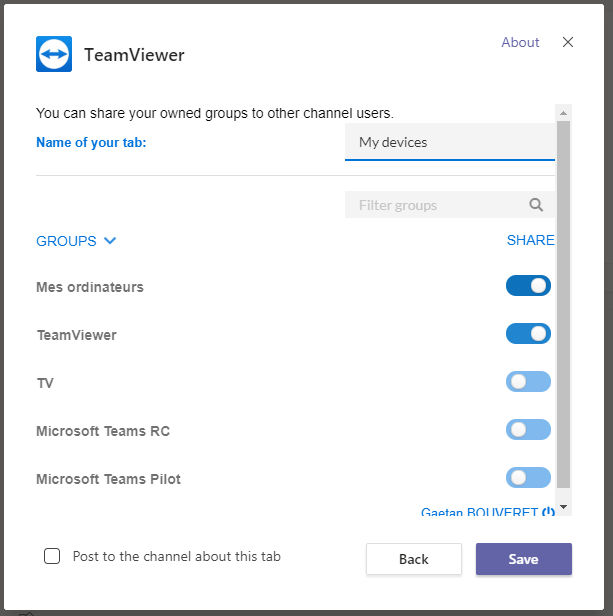
You can give a name for the tab and select which groups (at least one) you want to share to other channel or group users:
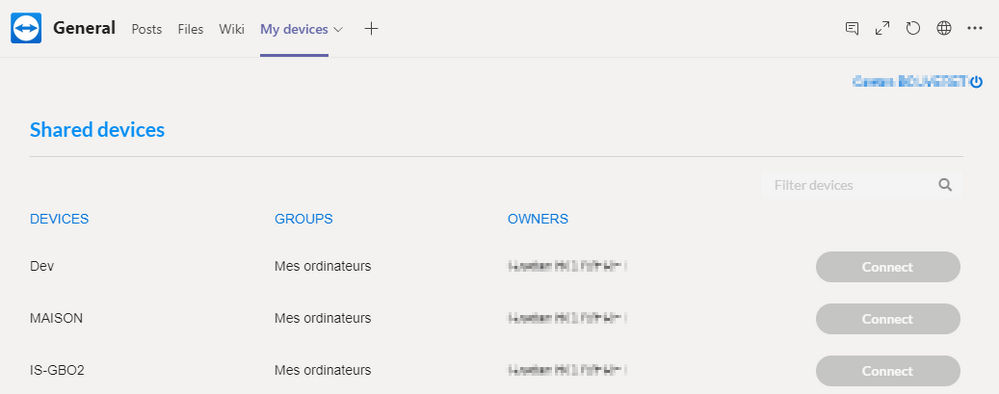
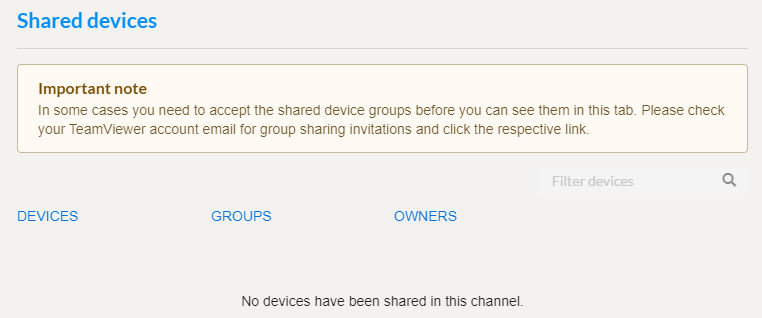
After this, all devices from these groups will be displayed for channel or group users with the following information:
- Devices: device name
- Groups: devices group name
- Owners: owner of the group (useful when several groups have the same name)
- Connect button
You can filter the list by device and group names.
Devices list and statuses are updated automatically every 30 seconds.
Automatic sharing
When another user (who has logged in to a TeamViewer account before) goes to the TeamViewer tab, then the shared groups of the tab will be shared automatically with their TeamViewer account.
If this is an external user (his TeamViewer account is part or a different company), then they will receive an invitation email to accept the group sharing and see a relevant message at the top of the tab, as shown below.
Notes:
if you do not have permissions in TeamViewer to share a group, it will be automatically removed from the tab’s configuration.
- If you logout from the Microsoft Teams app, then all shared groups are removed from all tabs, and invited users by the automatic sharing system will have their access removed.
Tab settings
Once a tab is configured, you and other users can edit the tab (depending on Microsoft Teams permissions) via the Settings option.

They can add or remove groups to the tab. All devices from all these shared groups will be available and follow the same automatic sharing process.
If a device is online, the Connect button will become blue, and you can start a remote control connection by clicking on it.

You can also rename the tab or remove it.
Messaging extensions
You can create Remote Control or Pilot connection invitations through the two following of extensions.
Message Compose area
You can create invitation cards directly from the compose area:
- By mentioning the app directly in your text: “... @TeamViewer“
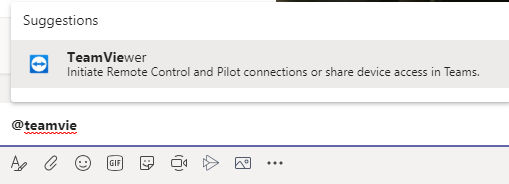
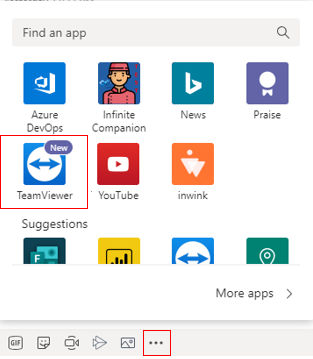
- By selecting the TeamViewer app from the bottom menu
Both actions will trigger a popup. Depending on your TeamViewer license(s), you may get one of these cases:
- If you have both Remote Control and Pilot licenses and the administrator has not restricted any features, you will then be presented with a popup to select what type of connection you want to create, as shown below.
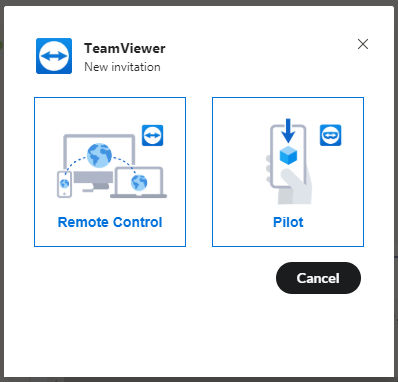
- If you only have one available type of TeamViewer license or the administrator has allowed only one, then the respective type of connection invitation is created and the card is added to the channel or chat.
- If you have a TeamViewer license, but the functionality is restricted by the administrator, or you have no available license, then you will see an error message.
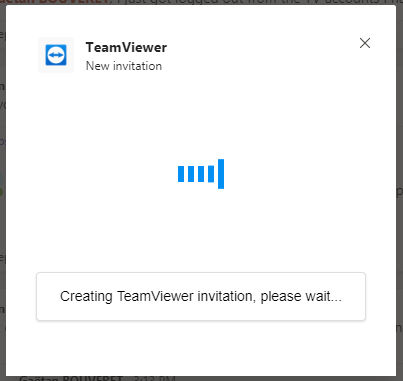
The invitation card is added to your compose area, and you must send the message in order to share your invitation to other chat users.
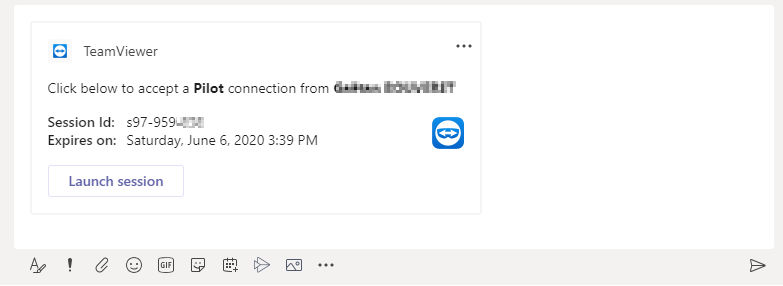
When the user who wants to receive the support clicks on Launch session then their device is ready to receive the connection
A second (supporter) card is also sent in parallel by the TeamViewer bot in the Activity tab of the application. This supporter card lets you:
- Join the session as administrator
- Refresh status of the session (Offline / Online)

📌Note: status should be automatically updated during the first few minutes after the invitation has been created.
Command Box
On top of Microsoft Teams there is the Command box where you can mention the app to generate session invitations similar than in the compose area:
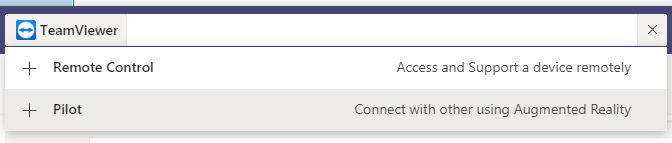
You can choose between Remote Control and Pilot to directly create session with the right type.
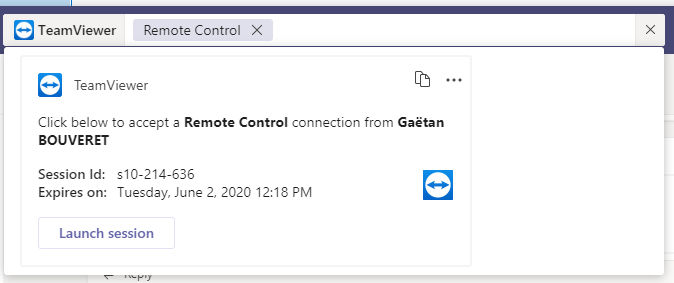
You can then copy/paste the card with the top right icon in the compose area to share it in a discussion.
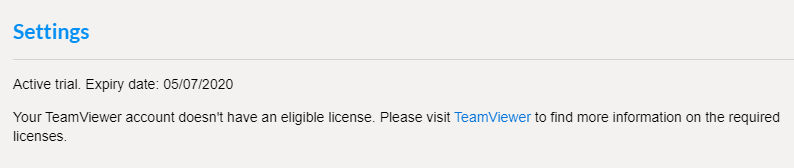
Trial Version
If you do not have any TeamViewer licenses, a trial version is automatically activated for a duration of 30 days.
During this period, all features of the integration application will be available. Please note that this trial version only refers to the integration of TeamViewer into the Microsoft Teams app and does not affect other TeamViewer products but only remote control and Pilot connections for Microsoft Teams.
You can check the end date of your trial in the Settings tab, and the “trial” mention is displayed in the logout link.