As with all other applications on Windows devices, TeamViewer Remote can be uninstalled via Apps & Features in the Windows settings. Please see below for specific instructions.
This article applies to all TeamViewer Remote Users using Windows OS
How to uninstall TeamViewer Remote
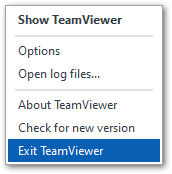
Step 1
Locate the TeamViewer Remote icon in the system tray. Right-click the icon and select Exit TeamViewer.
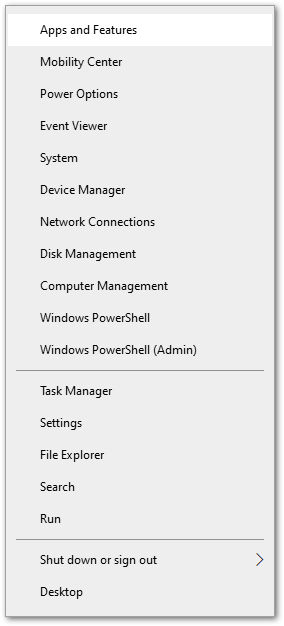
Step 2
Right-click the Windows Start Menu and select Apps & Features.
Step 3
Locate TeamViewer in the list of programs. Select the application and then click Uninstall.
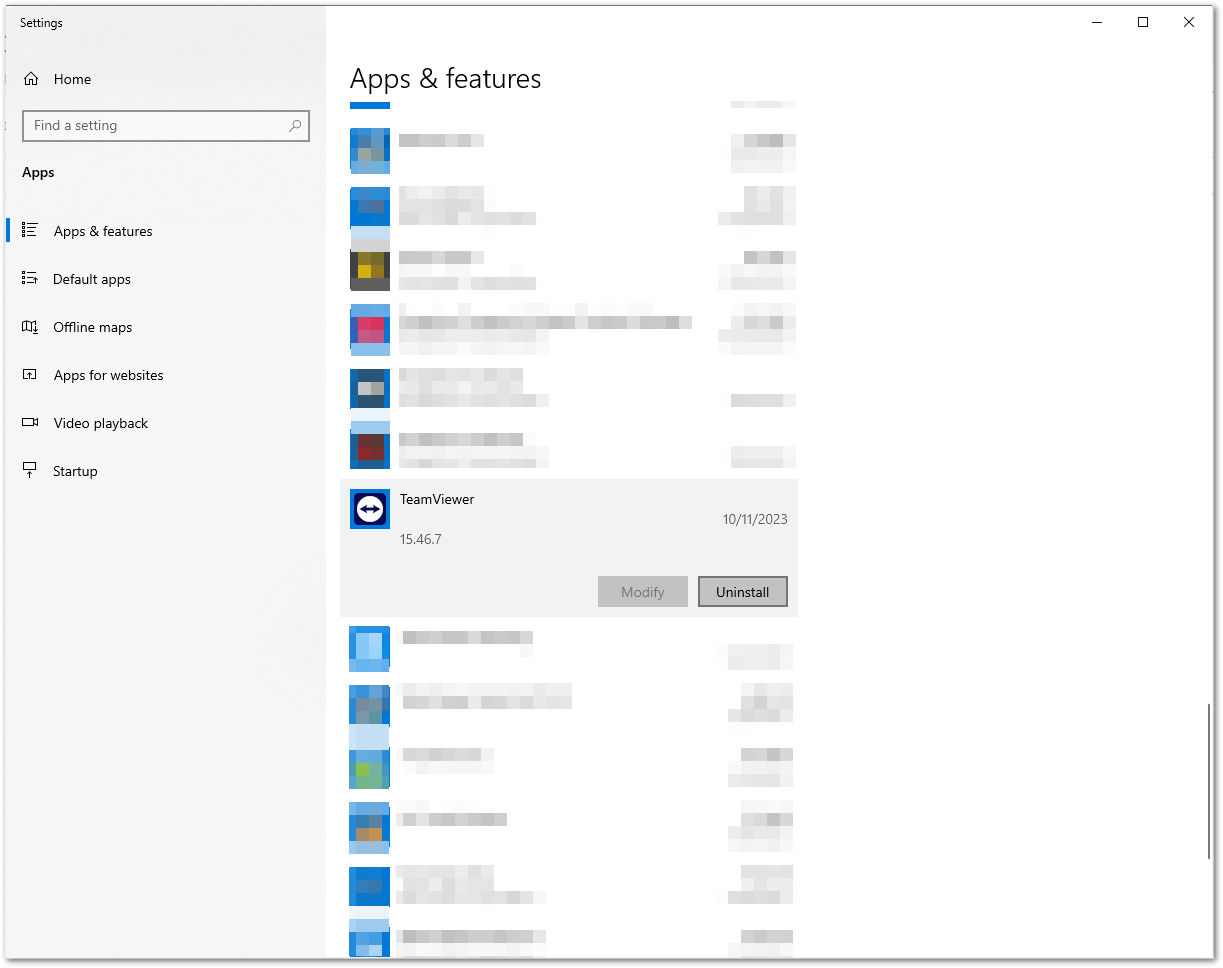
Confirm the intent to uninstall in the pop-up that appears to initiate the uninstall process.

Step 4
The window that appears contains information regarding TeamViewer Remote as well as additional options. In the event of troubleshooting or where TeamViewer will not be installed again on the same device, check the box to Remove settings as well.

💡Hint: Removing settings during the uninstall process ensures a fresh installation the next time TeamViewer Remote is installed.
Select Uninstall at the bottom of the window to proceed. Once the process is completed, the progress bar will fill completely with green. Click Close to quit the uninstaller.
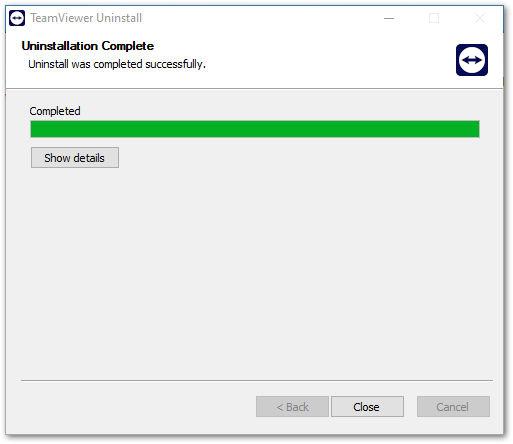
Once completed, restart the machine to finalize the uninstallation process.
How to perform an advanced uninstall of TeamViewer
The following steps provide details on how to manually remove remnants of TeamViewer Remote from the system via the Registry due to issues during uninstallation. This utilizes the Regedit command.
🚨 Important: Incorrect changes to the Windows Registry can disable the operating system. To safeguard against such an accident, we recommend you back up your existing registry by choosing Registry ➜ Export Registry File when the Registry is open and running. We are not liable for any actions that may occur as a result of making these registry changes - you are making these changes at your own risk.
Step 5
Right-click the Windows Start Menu and select Run. In the Run window, enter regedit.
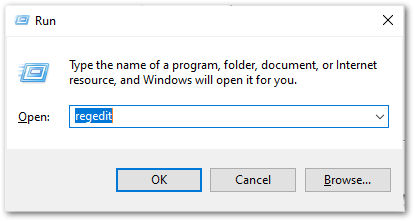
💡Hint: You can also press the Windows logo key + R to bring up the Run window.
Step 6
Navigate to the following locations and delete the TeamViewer folders found there:
[HKEY_CURRENT_USER\SOFTWARE\TeamViewer]

[HKEY_LOCAL_MACHINE\SOFTWARE\TeamViewer]

📌Note: If you had a previous installation of TeamViewer as well, you may need to also remove the TeamViewer folder from the following location: [HKEY_LOCAL_MACHINE\SOFTWARE\Wow6432Node\TeamViewer]
Once completed, exit the Registry and restart the machine.