This article applies to TeamViewer Servicecamp customers.
This manual will guide you step by step through the process of creating a new staff agent.
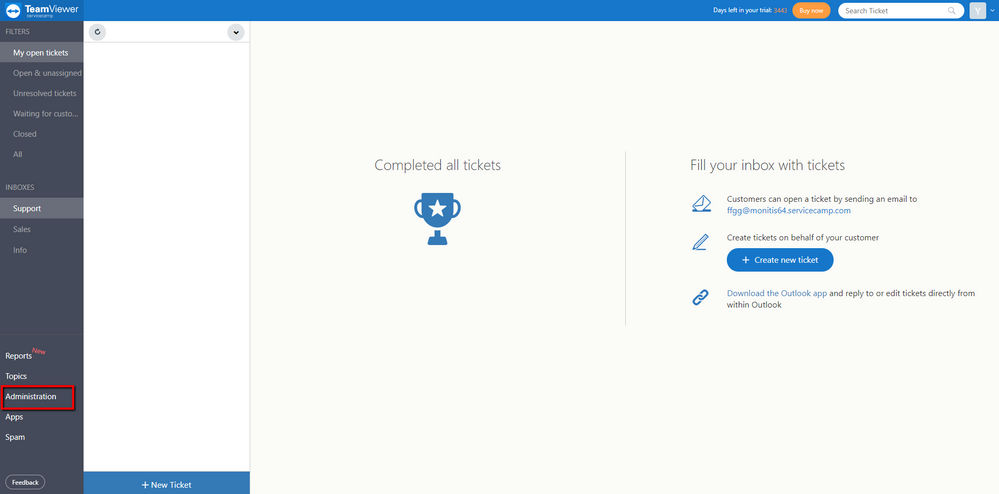
By clicking the Administration link at the bottom part of the left menu, you will be forwarded to the Administration Panel.
The Administration Panel contains all general administration function of Servicecamp.
By clicking the Staff Agents link on the top part of the left menu, you will be forwarded to the Staff Agents Panel.
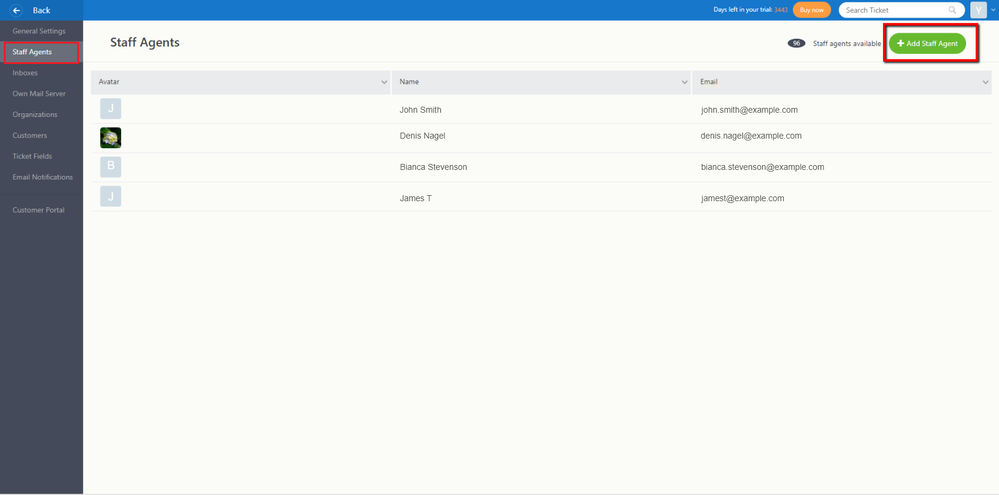
The Staff Agents Panel gives you a view of all staff agents, which are currently working on this instance of Servicecamp. In order to create a new staff agent, click the green + Add Staff Agent button at the top right side.
The following pop-up view will now be displayed:
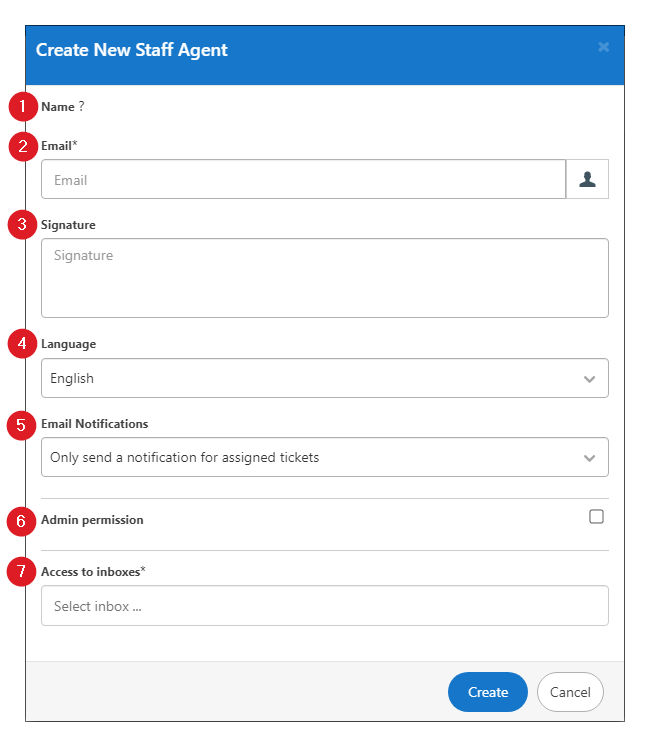
- The name of the new staff agent will be automatically taken from the staff agent’s TeamViewer account after their first login to the Servicecamp instance.
- The staff agent’s E-Mail has to be inserted here.
- E-Mails will contain the staff agent’s signature.
- The staff agent’s language.
- It can be chosen which kind of E-Mail notifications the staff agent will receive.
- Checking the field will give the staff agent admin permission.
- It must be selected to which inboxes the staff agent will have permission.
📌Note: All fields which are highlighted by a star have to be filled, otherwise the staff agent cannot be created. Hit the blue “Create” button to create the new staff agent.