Preapproved access is a feature that allows designated users to request and gain access to your device environments for a specified time frame without the need for real-time authorization. The key benefits of preapproved access include:
- Streamlined Maintenance: Suppliers can request access ahead of time, reducing delays during maintenance windows.
- Enhanced Security: Access is only granted to authorized users, reducing the risk of unauthorized access.
- Automated Session Closure: Sessions are automatically closed after the approved time frame, ensuring security compliance.
This article applies to all TeamViewer customers with a TeamViewer Enterprise/Tensor license and Conditional Access addon or Tensor Pro or Unlimited licenses.
How Preapproved Access Works
Step 1: Define the requesters and approvers
Define the requesters
The requesters must be added as contacts. To add a user as a contact, please follow the instructions below:
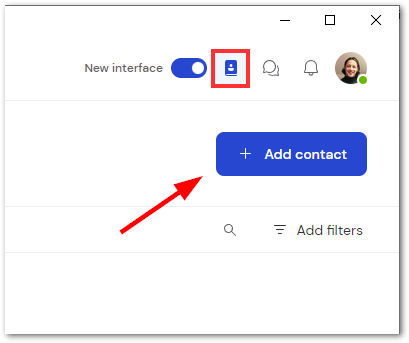
- Sign in to web.teamviewer.com.
- On the top right corner, click the Contacts icon.
- Click + Add contact.
Define the approvers
The approvers are most likely users who are part of your company. Therefore, make sure they have been added as users to your company, within the User Management section.
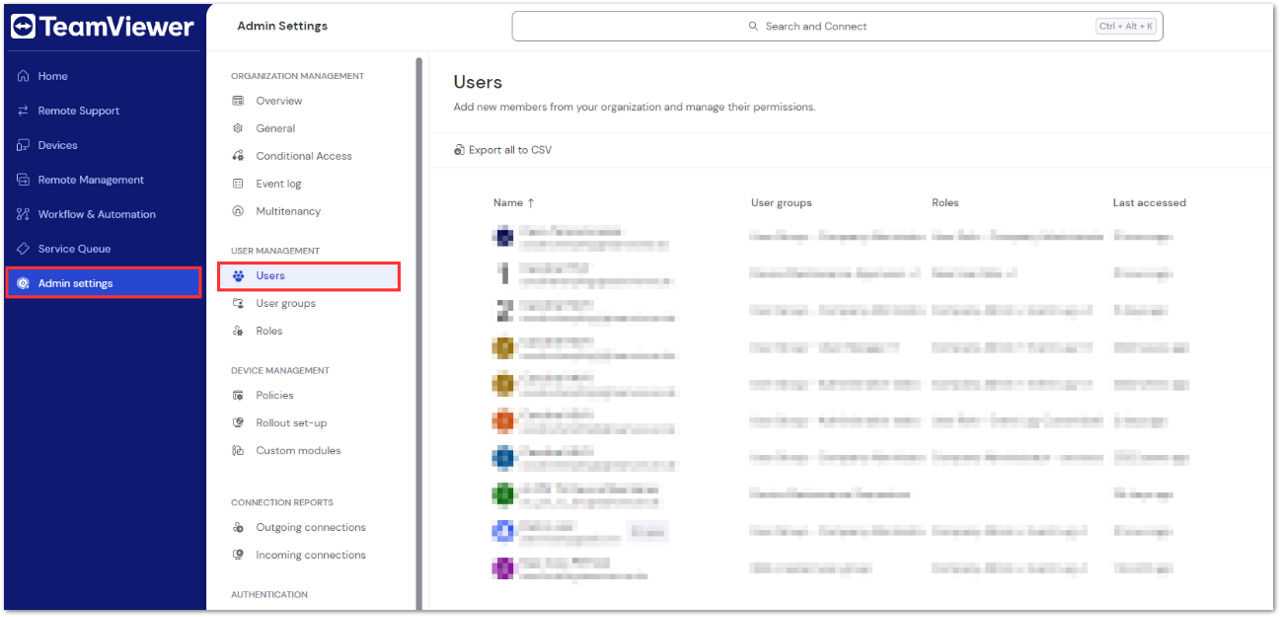
Please find more information on how to add users to your company here.
Step 2: Set up the devices
Now, set up the devices (or device groups) by granting the required permissions to the requesters and approvers.
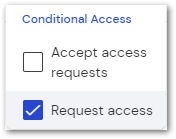
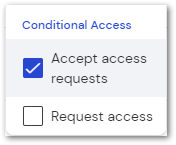
Requesters will get the permission called Request access.
🚨 Important note: Once the permission is set, the requester will see the device in their device list but won’t be able to connect to the device. They will only be able to connect to it once the request has been approved.
Approvers will get the permission called Accept access requests.
If you have placed all the relevant devices within the same group, you can grant these permissions via the group. Please find how to proceed here: How to edit manager permissions via device groups
If the relevant devices are split across several groups, you can also grant the permissions for each device individually. Please find how to proceed here: How to edit group manager permissions on a single device
Step 3: The requester places a preapproved access request
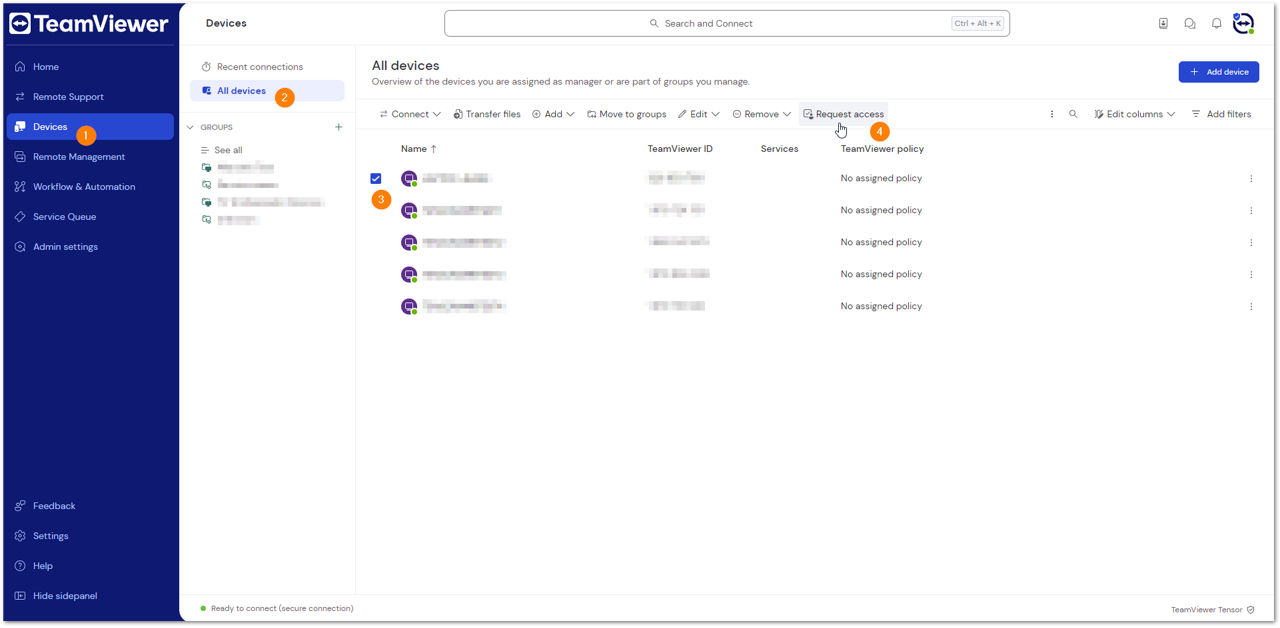
As the requester now sees the devices, they can request access.
To request access:
- Go to the devices list.
- Select the device you want to request access for.
- Click Request access.
Now, they can fill out the form when they need access. Once done, click Send request.
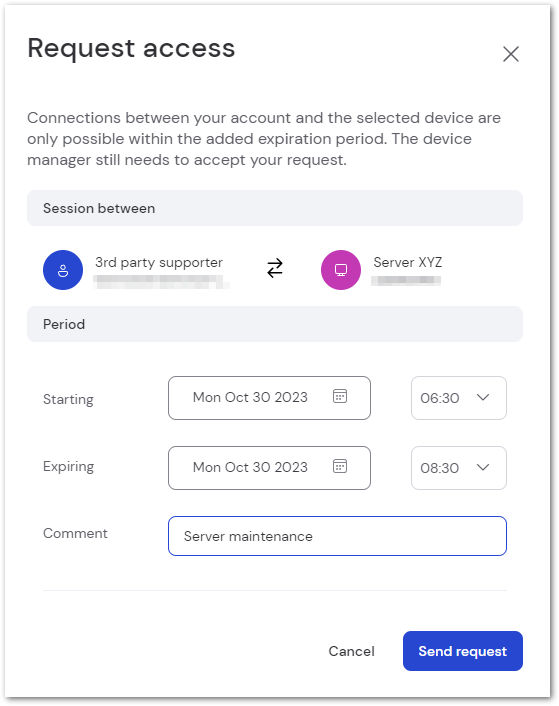
📌Note: The indicated time will be in Coordinated Universal Time (UTC).
Step 4: The approver reviews the request
Once sent, the approver will receive an e-mail informing them about the request.
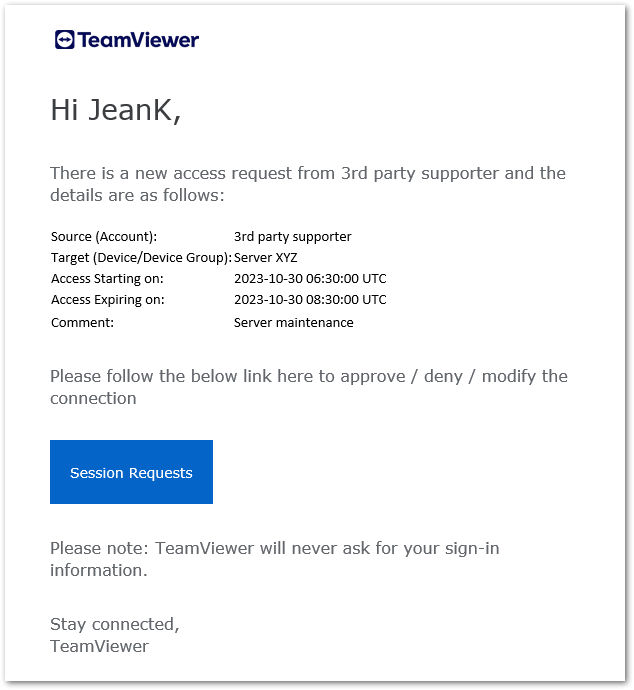
After clicking on Session requests, the approver can decide whether to approve, deny, or edit the request.
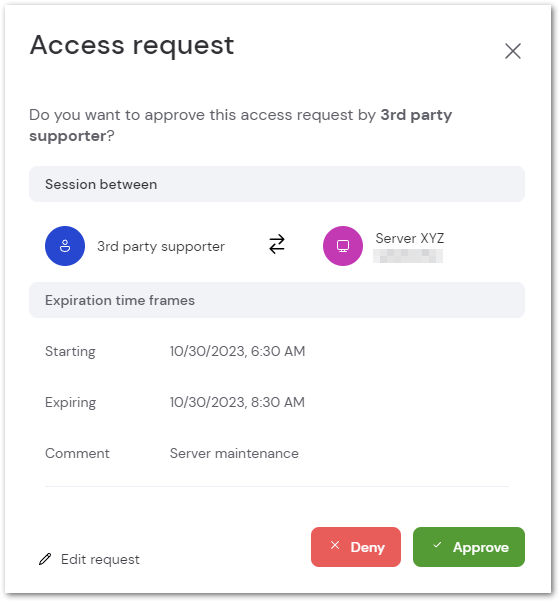
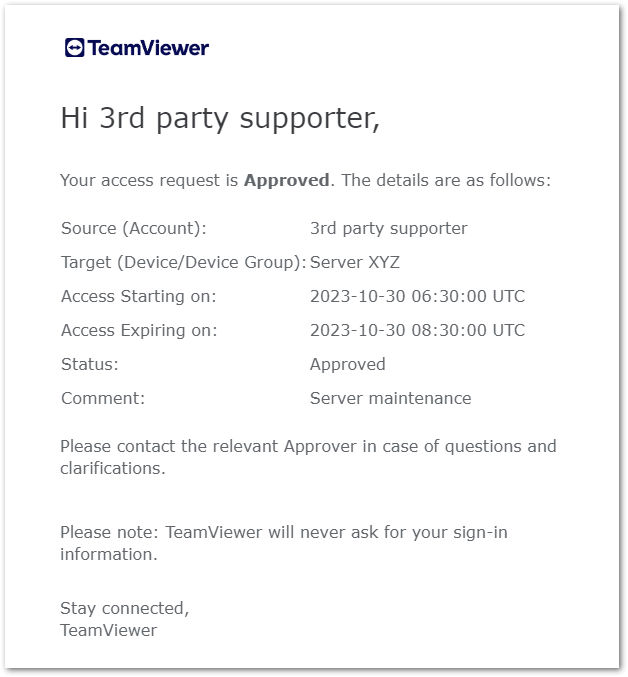
Once the request has been approved, the requester will receive a notification.
📌Note: A valid TeamViewer Tensor license needs to be activated on the approver's account.
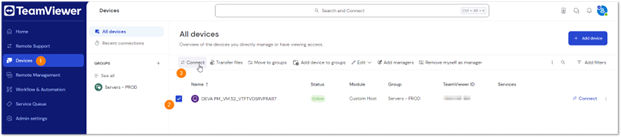
Step 5: The requester connects to the device
The requester can now connect to the remote device by accessing the device list, selecting the device, and clicking Connect.
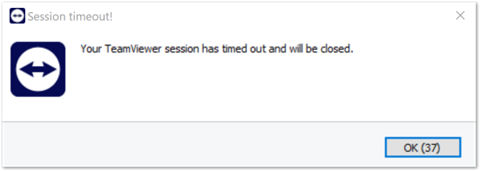
Session time-out
The system will generate a pop-up notification five minutes before the session ends to inform the requester about the time-out.
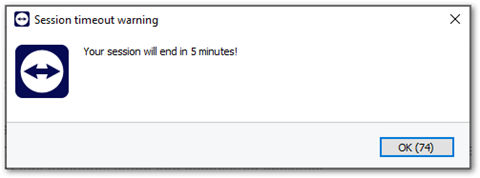
Once the time limit is reached, the session closes.