Use channel groups to assign channels of your license to users from your company profile. There are various use cases to bundle your use your company's TeamViewer channels into groups:
- Bundle single TeamViewer channels and assign them to the respective users.
- Reserve one or more TeamViewer channels for specific users.
- Define how your license and the corresponding channels are used and by whom.
- Receive a notification if the channel limit is reached and no connections can be established.
This article applies to all platforms and customers with Premium or Corporate licenses.
Example: You want to ensure that your IT support can always establish a connection. Do this by creating a channel group, "IT support," and assigning all support staff. They can use the selected number of channels at any time, regardless of the further use of your license.
📌Note: Channel groups require a TeamViewer license with multiple channels. In order to utilize channel groups, at least one channel must remain un-grouped and available for all users in the Company Profile not within any channel group.
Create a channel group
You can provide the assigned users with channels limited by your license in a channel group.
To create a channel group, choose one of the following:
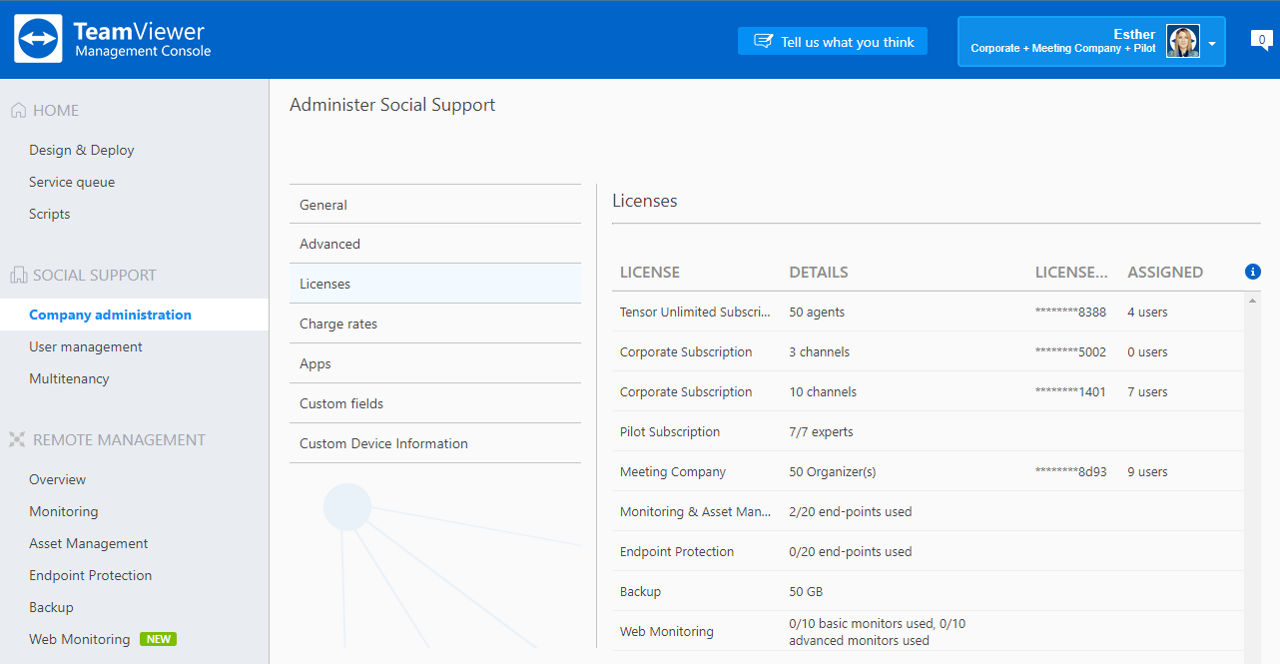
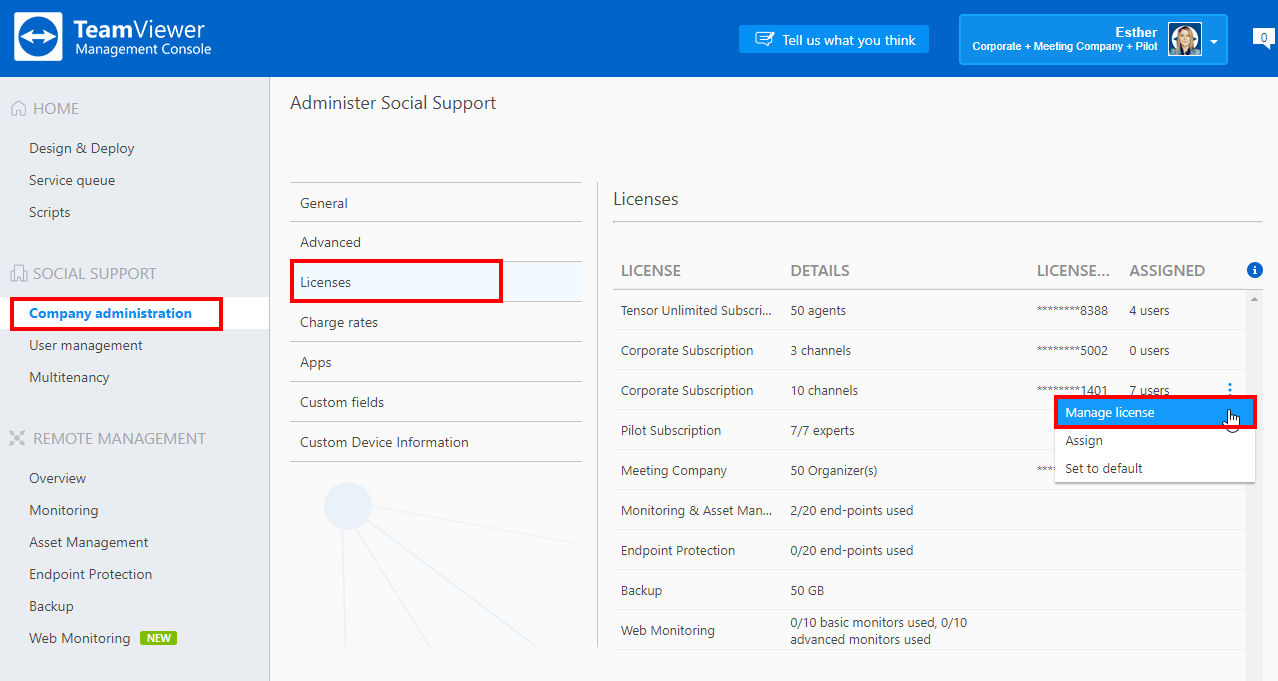
1) Navigate to the Company administration on the left
2) In the License tab, click the three-dots menu (⋮) and then select Manage license
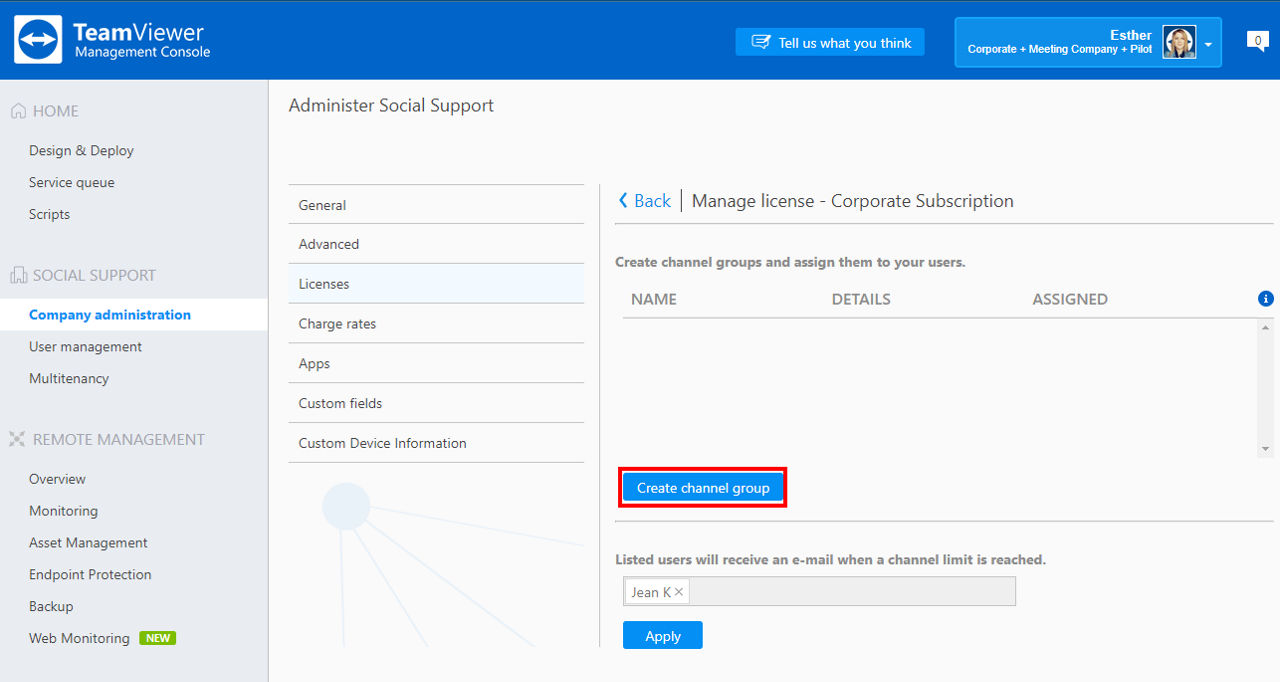
3) Click Create Channel Group
4.) Enter a name for the Channel Group and choose the number of channels via the slider. End the process by clicking Create:
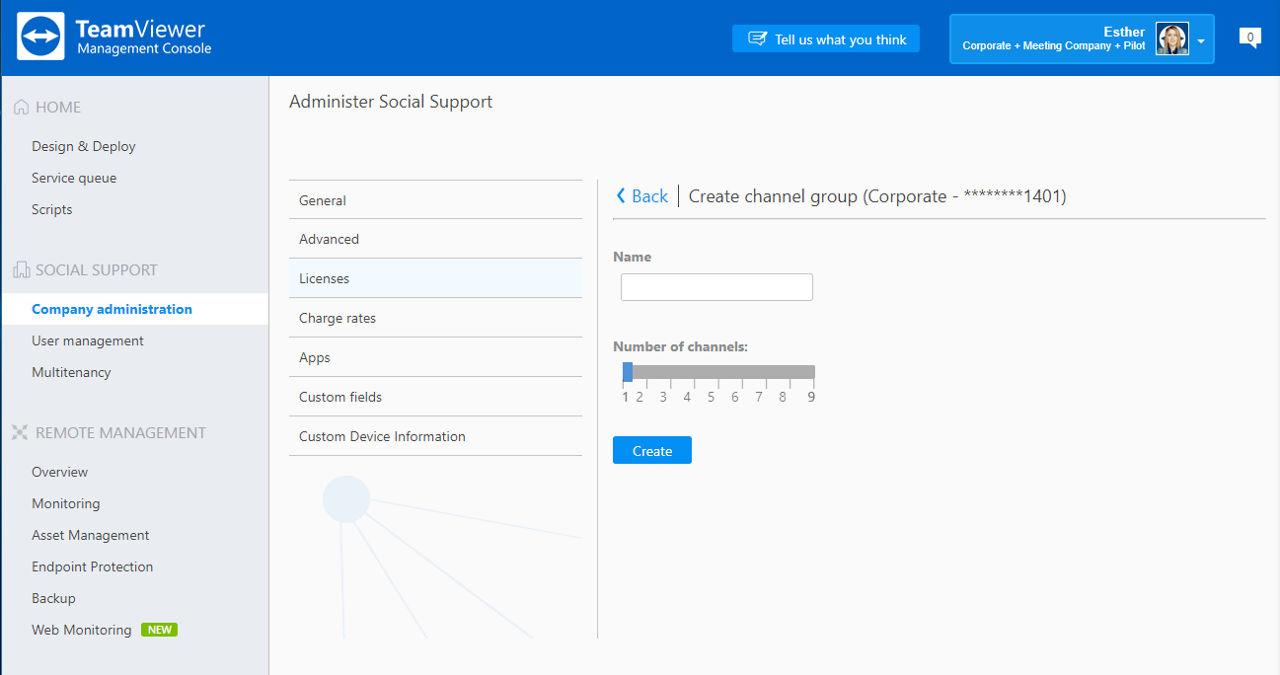
📌Note: You can delete Channel groups again.
5.) To assign users to the license, go back into the channel group via the three-dots menu (⋮) and choose Assign. Now you can add users to your channel group by ticking the boxes of the users you want to add to the channel group. Finish the process by clicking Add.
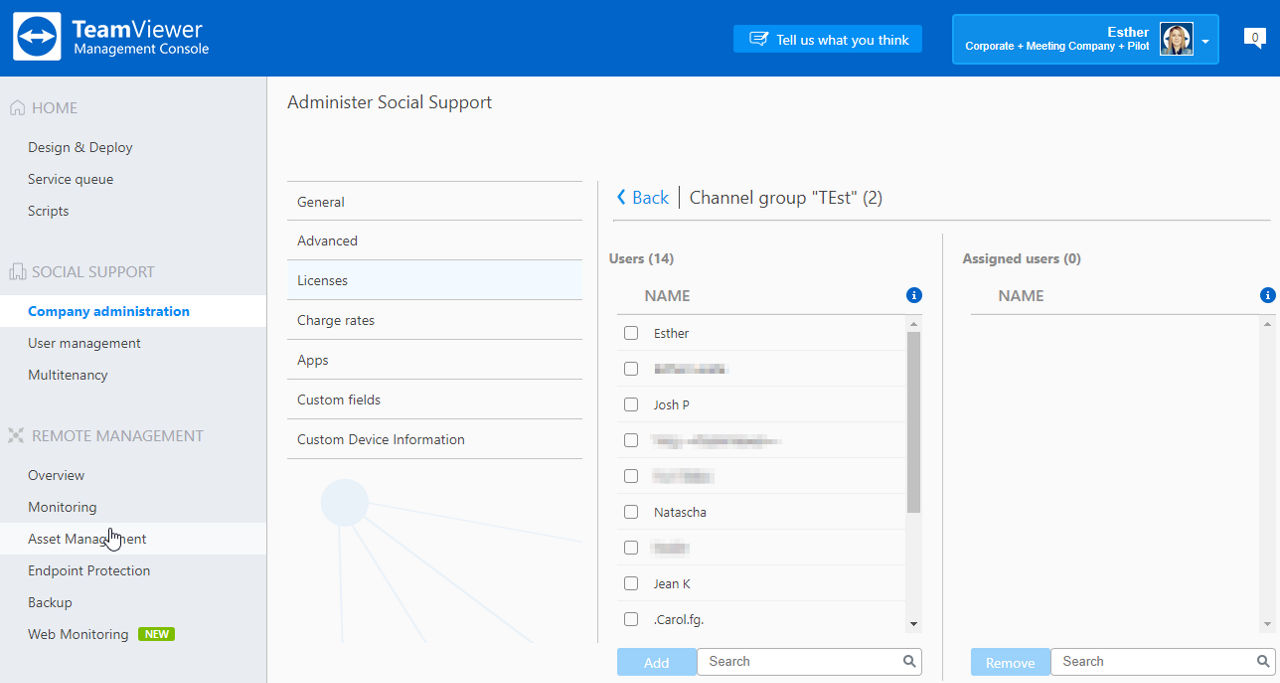
💡Hint: To remove users from the channel group, select them from the right side and click Remove.
Delete a channel group
You can delete a channel group and make the reserved channels available for all licensed users again.
To delete a channel group, follow the steps shown in the gif below:
1) Navigate to Company administration ➜ Licenses
2) Hover over the license that holds the channel group you wish to delete. Click the three-dots menu ( ⋮ ) to the right of the license and select Manage license
3) Hover with the mouse over the channel group you are wishing to delete. Click the three-dots menu ( ⋮ ) to the right of the channel group and select Delete