This article explains how to assign a device to a company.
This article applies to all Tensor license holders.
Benefits of assigning a device to a company
When a device is assigned to a company, it will automatically be manageable for all your company administrators. Therefore, there is no need to assign the device to a dedicated user.
Once the device is assigned to the company, you can move it into managed groups, assign policies to them or add dedicated managers with easy access permissions.
How to assign a device to a company
Step 1: Create an assignment configuration in the Management Console
You need:
- administrator permissions in the Management Console
- an activated Tensor license
1) Log in to the Management Console: https://login.teamviewer.com/LogOn.
2) Go to Design & Deploy.
3) Open the Assignment tab (only visible if you are a company administrator and if you are a Tensor agent).
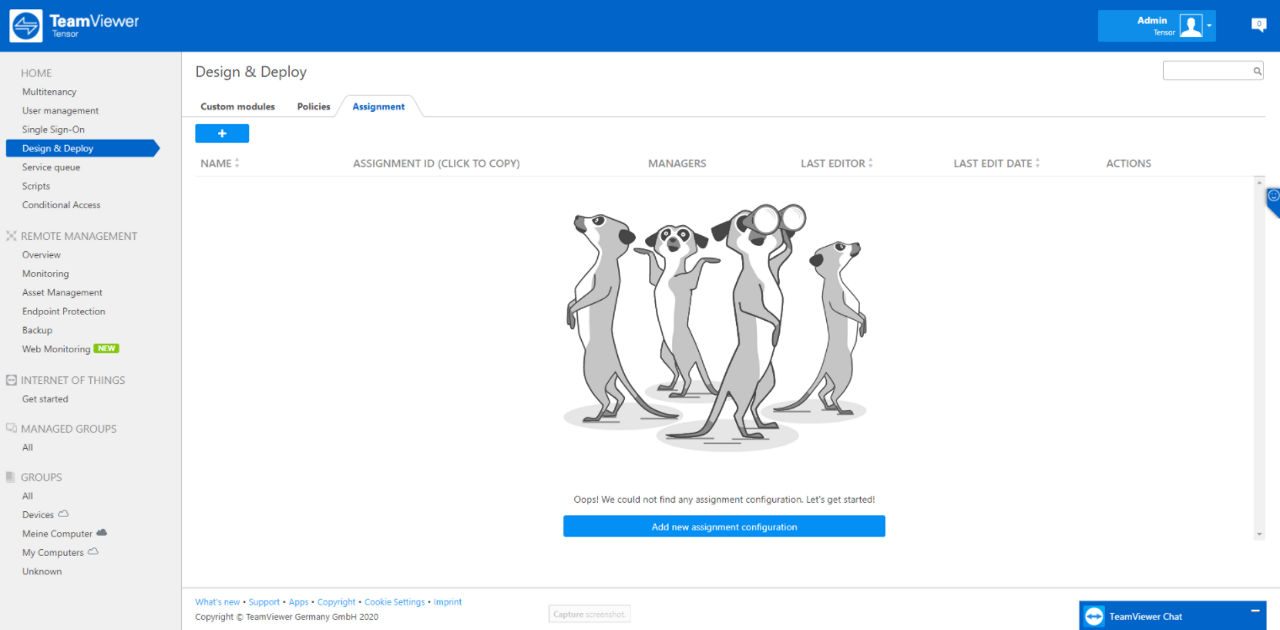
4) Click the + button to add a new configuration:
- a) Enter a name for your new configuration that lets you easily identify your configuration for later use.
- b) The assignment configuration will automatically recognize to which company you belong and store that information as part of the configuration.
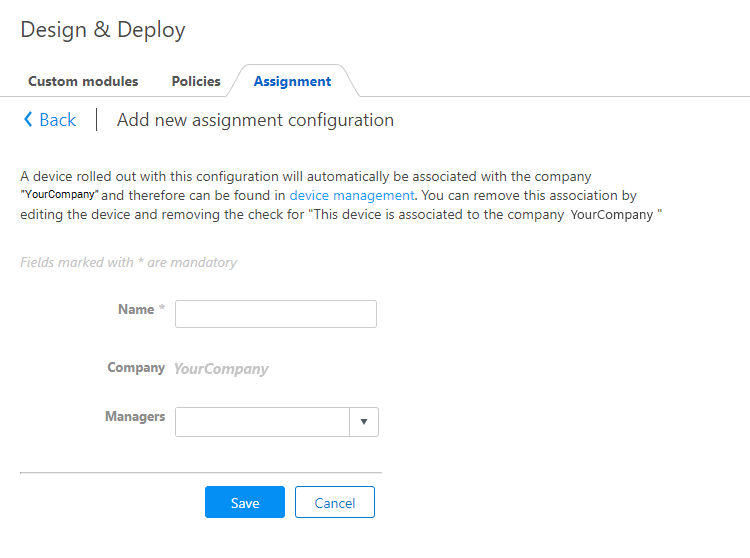
- c) (optional) Enter manager(s) who will be able to administrate the device. The manager(s) will get the following permissions: "Manager", "Device", and "Policy Administration".
Once you have finished the assignment via the command line later, you can use the Management Console to add further permissions to these managers ➜ Allow Easy Access
- d) Click Save.
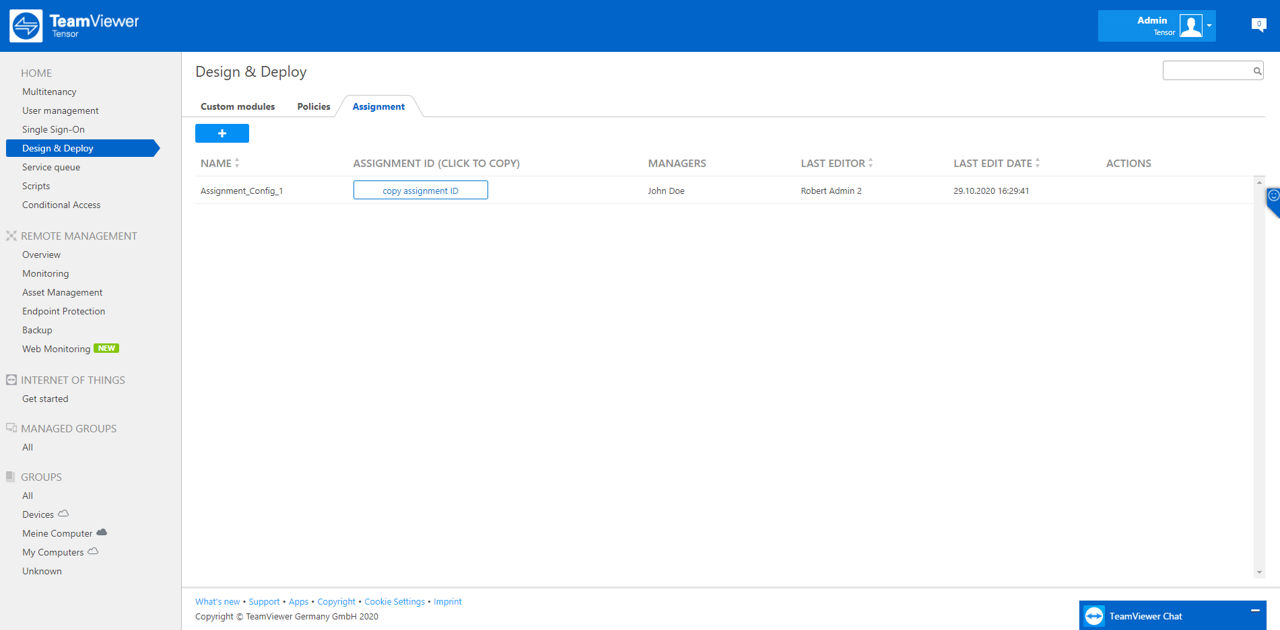
5) Click copy assignment ID. This will copy the assignment ID to your clipboard.
6) Open the command line with administrative rights and follow the steps described below.
Step 2: Assign a device via command line
You need:
- local administrative rights on the device.
1) Open the CMD.
2) Go to your TeamViewer installation folder.
3) Enter the following command into the command line:
a) For Windows:
TeamViewer.exe assignment --id paste_your_assignment_id_here
Example:
TeamViewer.exe assignment --id 0001CoBBChARKJtw_okR6o_fJ7AisynpEigIACAfAgAJAOjwtNCVK_JiM5lVdgdfguSk-gQ=
b) For macOS:
sudo /Applications/TeamViewerHost.app/Contents/Helpers/TeamViewer_Assignment -assignment_id paste_your_assignment_id_here
Example:
sudo /Applications/TeamViewerHost.app/Contents/Helpers/TeamViewer_Assignment -assignment_id 0001CoBBChARKJtw_okR6o_fJ7AisynpEigIACAfAgAJAOjwtNCVK_JiM5lVdgdfguSk-gQ=
c) For Linux:
sudo teamviewer assignment --id paste_your_assignment_id_here
Example:
sudo teamviewer assignment --id 0001CoABChARKJtw_okR6o_fJ7AisynpEigIACAfAgAJAO4PLaOBrqNDgr6jwtNCVK_JiM5lVdgdfgYo3uQ3pGkAbX8bo_VqPw1Rt61-RLe9AKSwZ14uwOXtUN7FYflrHbWAqRKBF0h8V18ldMcVT1rLFedyWVafv1zlRWmVZRKH3IAEQouSk-gQ=
4) Press Enter on your keyboard.
5) (optional) Type echo %errorlevel% on Windows (MacOS/Linux: echo $?) into the command line to verify if the process was successful:
- If the assignment was successful, the value "0" should be returned on the command line.
- Any other return value indicates a problem that occurred during the assignment.
6) The assignment has been completed.