This article applies to all TeamViewer users and customers.
Every TeamViewer account has its own Contacts list.
In this list, you can easily save all your TeamViewer contacts for instant chats, meetings, and collaboration.
The Contacts list acts similar to your telephone book on your mobile.
Adding contacts
Manually adding contacts
A TeamViewer contact is based on an E-Mail address.
You can easily add contacts to your TeamViewer account by entering their email address.
📌Note: Access to Outlook is only available with Windows
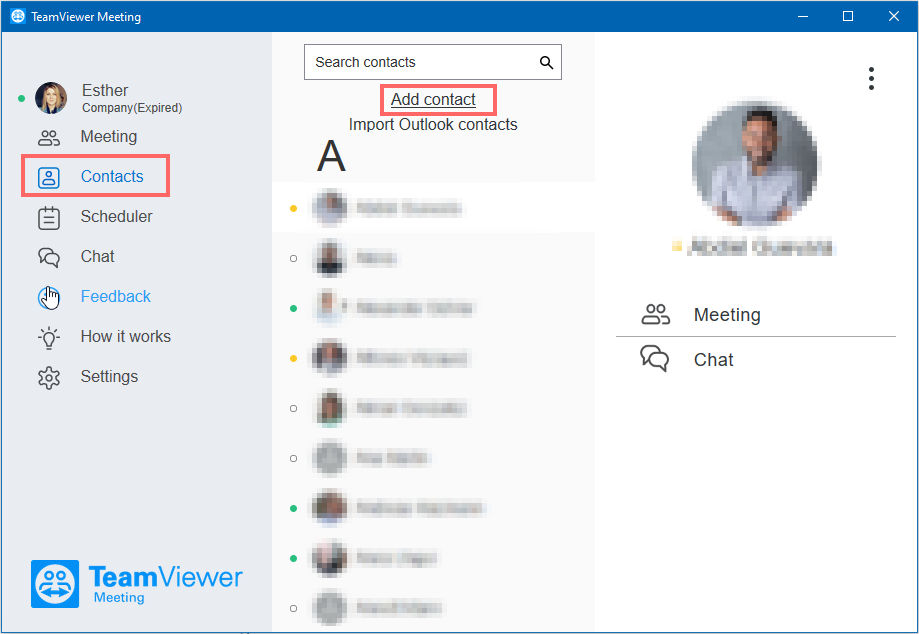
1) Navigate to Contacts within your TeamViewer Meeting software and click Add Contact
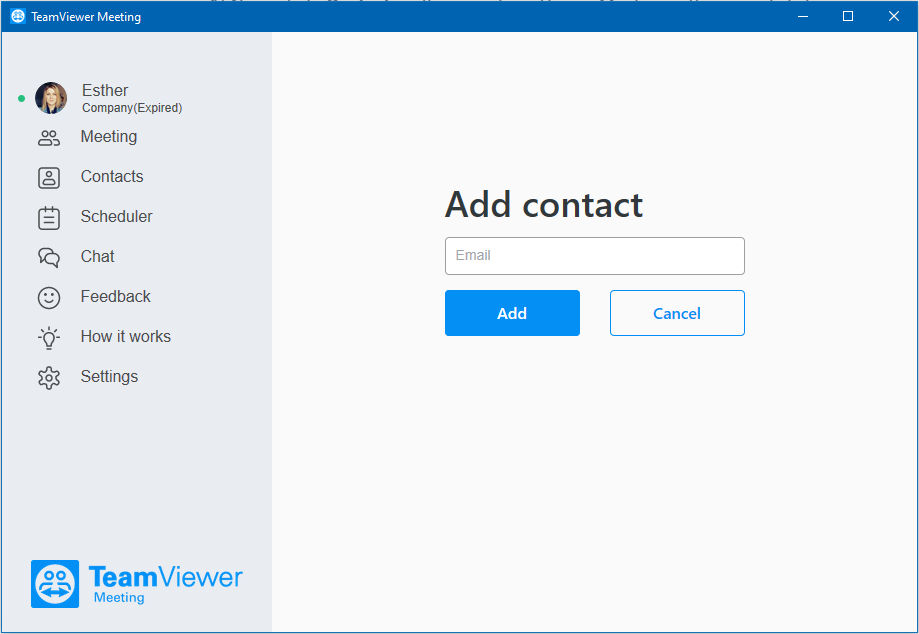
2) In the Add Contact field, enter an email address and click Add
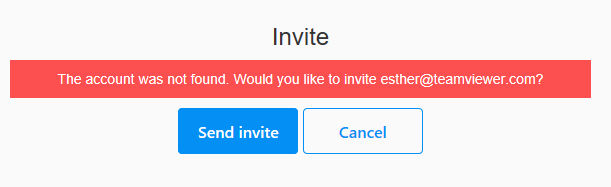
3) In case there is not yet a TeamViewer account associated with this address, you have the possibility to send an invitation. If you want to invite the person to create a TeamViewer account, click Send Invite.
4) The contact will receive an email invitation to create a TeamViewer account. The address already appears in your Contacts but you can not yet send chat messages or start to send a meeting invite. You can revoke your invitation as long as no TeamViewer account has been created.
Importing Contacts from Outlook
In addition to adding accounts manually to your Contacts, you can also allow TeamViewer to access your Outlook contacts so that these contacts are available to you directly in TeamViewer. See below.
You can import contacts from your Outlook directly into your TeamViewer Contacts.
1) Navigate to the Contacts and click Import Outlook Contacts.

2) A dialog box with all available contacts will open.
- In case you receive a message that prompts you to enable the Allow Access to Outlook option, you first need to activate the corresponding checkbox in the TeamViewer Meeting options; See Contact Setting in Outlook below.
3) Select the contacts that you would like to import.
4) Click Add Contacts to List and confirm with OK
5) The contacts are saved in your Contacts
6) Now, please navigate to the imported contact, and send the invite. If the contact has multiple addresses, please choose which email address you would like to use to send the invite.
Contact Settings in Outlook
You can set whether and to what extent TeamViewer can access your Outlook contacts.
1) Navigate via the Settings to the TeamViewer Meeting Options --> Manage Contacts
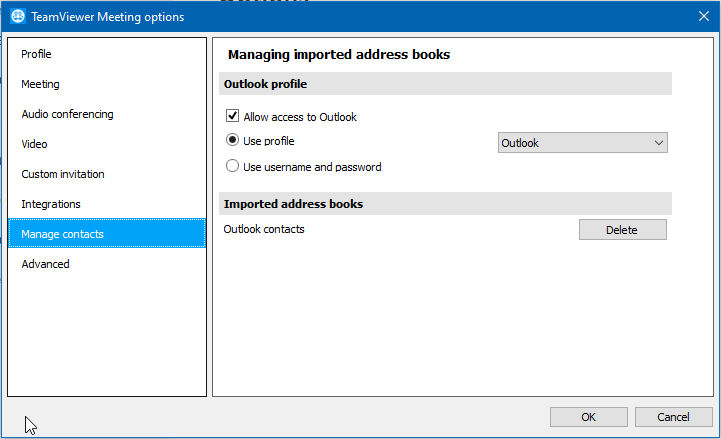
2) Configure the desired settings:
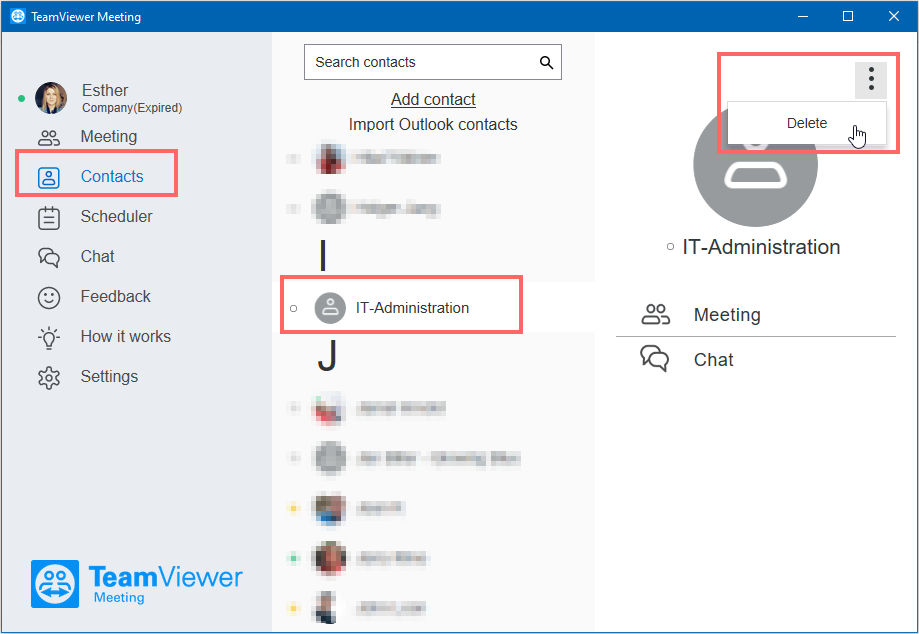
Deleting a Contact
In case you want to delete a contact from your list you no longer need, please follow the steps below:
1) Navigate to the Contacts and click on the contact that you want to delete. Click on the three dots in the upper right corner
2) Click on Delete to delete the contact. There won´t be a second factor to confirm the deletion. If you deleted a contact accidentally, please add him/her again as described above.