This article explains how to activate your TeamViewer Business License.
📌Notes:
- If you want to activate your Business license in TeamViewer (Classic) 11 or 12 or you subscribed to TeamViewer prior to October 30th 2017, please have a look at this article: Activate your Business license (for v11 and v12)
- If you have purchased multiple Business licenses, please make sure to activate each Business license on separated TeamViewer accounts. As the Business license is a single-user license, it can only be activated on one TeamViewer account.
This article applies to all Business license holders.
License Activation
To activate your Business license, please follow the instructions of the video below:

Alternatively, you can also follow our step-by-step guide here:
Step 1
Download and install TeamViewer on your device: https://www.teamviewer.com/download/
TeamViewer (Classic) Windows Download for Remote Desktop access and collaboration
Download TeamViewer (Classic) now to connect to remote desktops, provide remote support and collaborate with online meetings and video conferencing.
Step 2
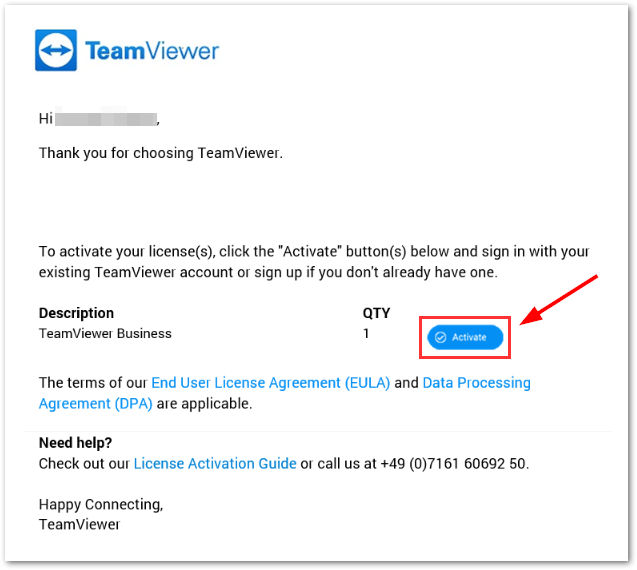
Open the License Activation email that was sent to the email account used to purchase the license. Click Activate.
📌Note: If you have purchased more than one product, each license must be individually activated.
Step 3 - Follow A or B
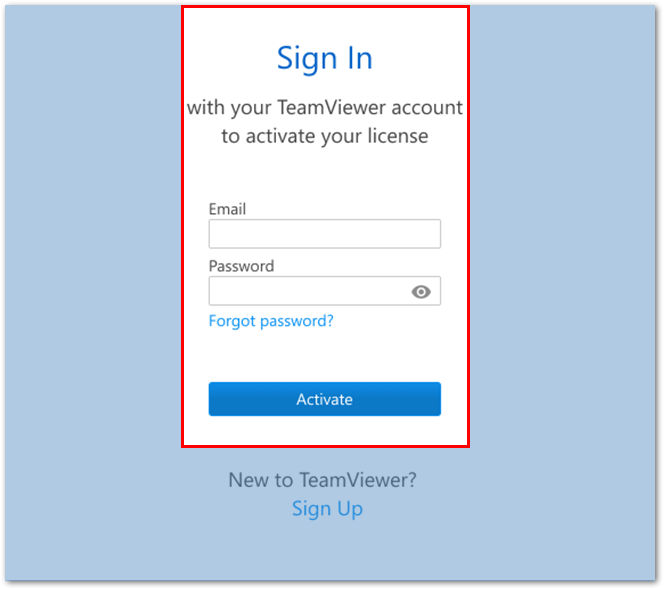
A: If you already have a TeamViewer account
Sign in with your existing TeamViewer account, click Activate and go to Step 4.
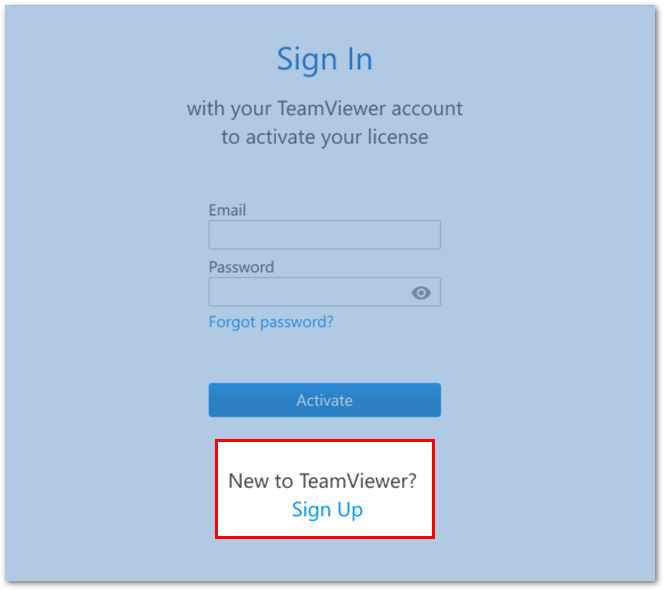
B: If you do not have a TeamViewer account
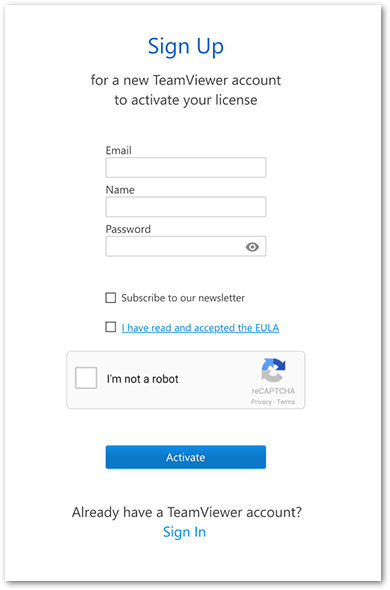
1. Create an account by clicking Sign Up.
2. Enter your email address, name and create a password. Read and accept the EULA and mark the captcha box. Click Activate.
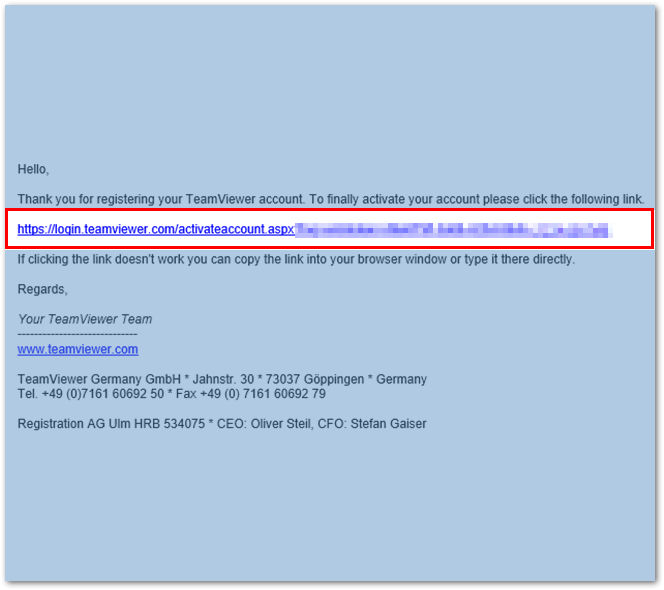
3. An email has been sent to your inbox for account verification. Click the link in the email to verify your account and complete your license activation.
Step 4
You will be redirected to the Management Console where a pop-up confirms your license was successfully activated. Click OK.

Step 5
A pop-up is displayed with the option to open the TeamViewer application. Click Open TeamViewer.

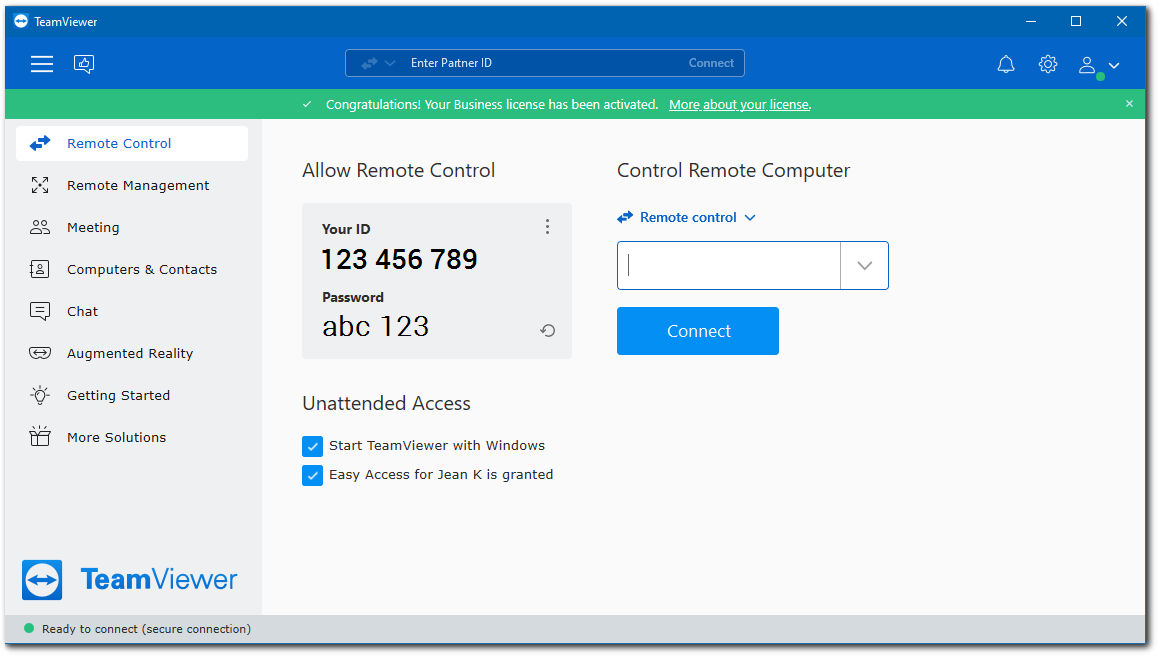
You are now signed into your TeamViewer account and have successfully activated your license.
📌Note: Please keep in mind that you always need to be signed in to your TeamViewer Account to have licensed connections. If you are not connected, you will be running with the free version.
How to confirm if the device has been activated
There are 2 ways in order to confirm if your device has been activated properly.
1. After signing into your TeamViewer account that is associated with your license, please click Help ➜ About TeamViewer on TeamViewer (Classic) application.
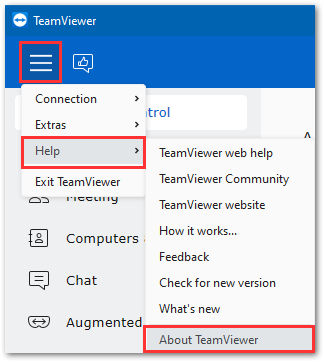
If you can see License: Business, the device has been licensed.
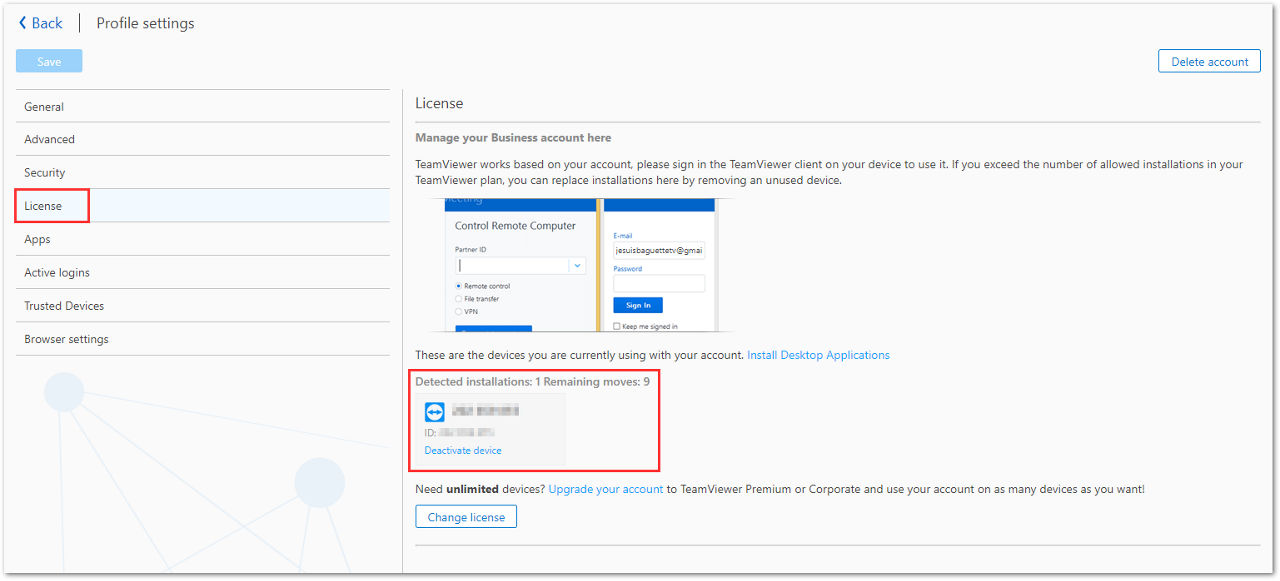
2. Sign into TeamViewer (Classic) Management Console ➜ click Edit profile in the top right-hand corner.

Under the Licence tab, If a device is assigned to your TeamViewer account, the device/computer name is shown. Otherwise, you will only see the TeamViewer ID.
Either way, if you can see the device information here, which means your Device has been activated.
Activation management
Install Limit Reached
You can use TeamViewer on up to three (3) devices to connect to remote devices (connect from one device at a time). If you already have 3 devices registered, a pop-up will appear in the TeamViewer application directing you to deactivate (remove) one of the existing devices from your license.
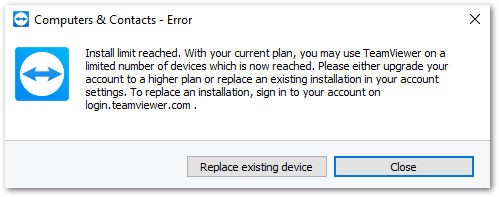
You can click the option 'Replace existing device' to be directed to the Management Console. Alternatively, you can manually log in to the Management Console here.
📌Note: The devices you license can be replaced a total of ten (10) times. In the case where you have no remaining moves left, our support team can provide a courtesy reset. Should you need more flexibility with your licensed devices, or use Premium or Corporate licenses.
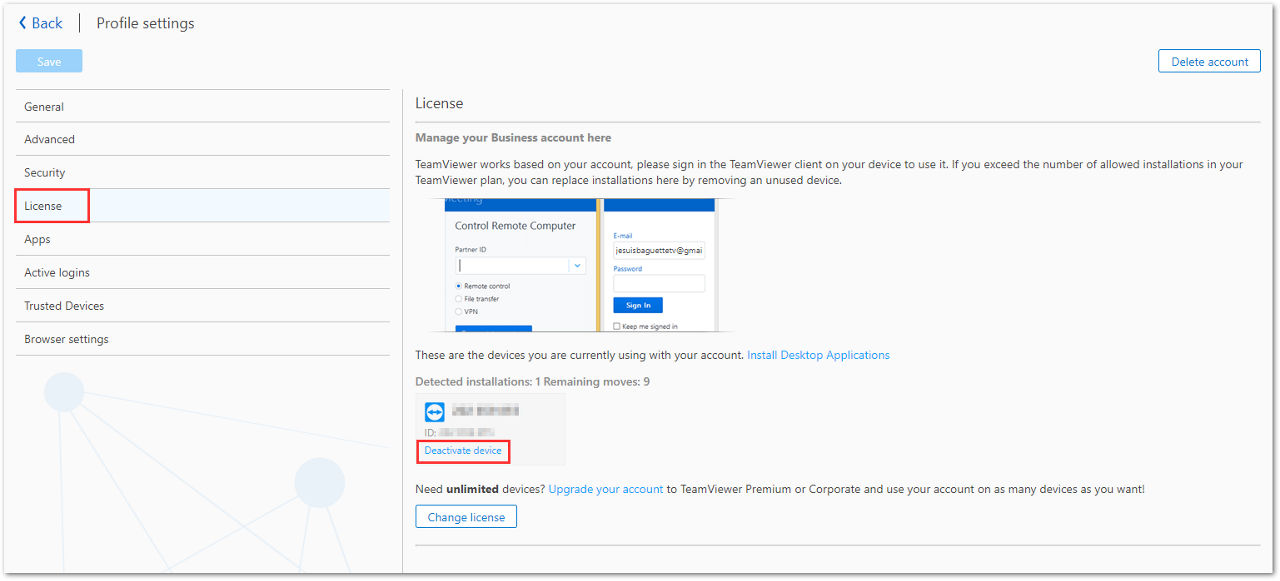
How to deactivate (remove) a device from the Business license
If you would like to replace one of the devices you are connecting from – for example, because of hardware replacement or an 'Install Limit Reached' alert - please see the following instructions.
1. Visit the TeamViewer (Classic) Management Console
2. Click Edit profile ➜ License

3. To deactivate/remove a device from the Business license, just click the Deactivate device button