Conditional Access is a framework allowing you to control which devices, users, and user groups using TeamViewer Tensor (Classic) have access to which data sources, services, and applications in your organization.
With Conditional Access, enterprise IT and security managers can maintain company-wide oversight of TeamViewer access and usage from a single location.
- Re-use options help administrators to select rules and create feature options for all access controls.
- Expiry dates to conditional access rules limit access by 3rd party vendors and temporary workforce.
- Centralized rules management within the Management Console.
- Assign permissions for remote sessions, file transfer, and meeting connections.
- Configure rules at the account, group, or device level.
- Cloud-based solution provides greater flexibility than an on-premise approach.
This article applies to all TeamViewer customers with a TeamViewer Enterprise/Tensor license and Conditional Access AddOn or Tensor Pro or Unlimited licenses.
Preconditions
The following preconditions are required to be able to configure and use Conditional Access:
- Activated license with the Conditional Access add-on
- TeamViewer Client version 15.5 or higher
- Created a TeamViewer company (possible via MCO)
- Knowing the DNS/IP address of the dedicated router
Conditional Access is a security feature and therefore no connection is allowed initially as soon as the rule verification is activated!
Configuration of client and firewall
Client
The client has to be configured to contact the dedicated routers because we are going to block access to the usual TeamViewer routers in the firewall with the next step.
Windows
The configuration of the registry can be done by running the following command or adding the registry keys through an import.
32-bit Version:
reg.exe ADD "HKEY_LOCAL_MACHINE\SOFTWARE\WOW6432Node\TeamViewer" /v "ConditionalAccessServers" /t REG_MULTI_SZ /d YOUR_ROUTER1.teamviewer.com\0YOUR_ROUTER2.teamviewer.com /f
64-bit Version:
reg.exe ADD "HKEY_LOCAL_MACHINE\SOFTWARE\TeamViewer" /v "ConditionalAccessServers" /t REG_MULTI_SZ /d YOUR_ROUTER1.teamviewer.com\0YOUR_ROUTER2.teamviewer.com /f
After restarting the TeamViewer service, the client will not connect to the usual TeamViewer routers but to one of the dedicated routers instead.
macOS
To set the dedicated routers you have to execute one of the following commands while TeamViewer is not running, depending on whether TeamViewer starts with the system or not.
# start with system
sudo defaults write /Library/Preferences/com.teamviewer.teamviewer.preferences.plist ConditionalAccessServers -array YOUR_ROUTER1.teamviewer.com YOUR_ROUTER2.teamviewer.com
# not starting with system
defaults write ~/Library/Preferences/com.teamviewer.teamviewer.preferences.Machine.plist ConditionalAccessServers -array YOUR_ROUTER1.teamviewer.com YOUR_ROUTER2.teamviewer.com
Linux
To set the dedicated routers you need to change the global.conf file and add the following entry:
[strng] ConditionalAccessServers = "YOUR_ROUTER1.teamviewer.com" "YOUR_ROUTER2.teamviewer.com"
Restart the TeamViewer service after editing the global.conf.
Firewall
Adjust your Firewall to block the following DNS-Entries:
- master*.teamviewer.com
- router*.teamviewer.com
As soon as this configuration is active, clients that didn't get the information to connect to the dedicated router will not be able to go online anymore. This is relevant for blocking unauthorized TeamViewer clients.
Getting started
Conditional Access is working with a rule engine as well as Feature Options in the back end. You can manage the rules and Feature Options centrally in the Management Console.
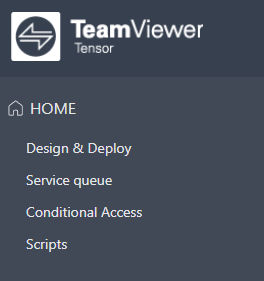
After you purchased and activated your license, you will see an additional section in the navigation called Conditional Access.
Feature Options
Feature Options within Conditional Access allow you to customize your rules, e.g. if certain users/User Groups should only have limited access rights when connecting to specific devices.
📌Note: If you want to add a Feature Option to your rules, you need to create the Feature Options first. If you do not want to use Feature Options, you can continue reading here.
When creating a rule, the Feature Options can be added to the rule.
💡Hint: An Option defines the access level during a connection.
Add a new Feature Option
Feature Options are created in the Conditional Access section of the Management Console. To add a new Feature option, please follow the below steps:
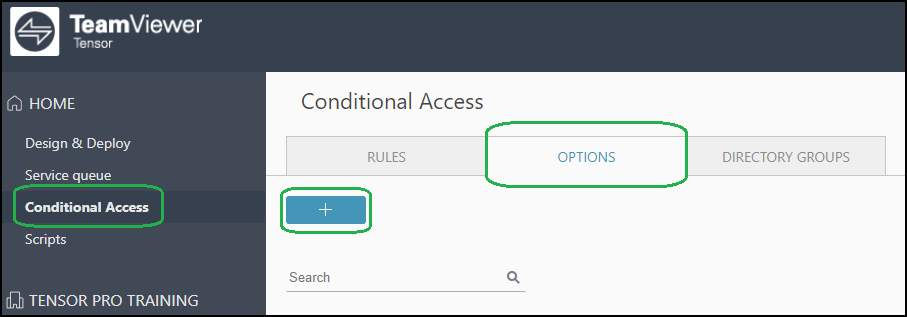
1.) Navigate to Conditional Access --> Options --> click the + Button:
2.) The Add Feature Option dialog opens. Here, define a name for the Feature Option and exactly what should and what shouldn't be available during the connection.
📌Note: Options that are in use by Conditional Access rules cannot be deleted; an error message informs the user that the option is in use.
In the example below, every setting has been set to After Confirmation:

📌Note: The Switch sides feature is, per default, set up as Deny, as when enabled, the access control permissions of the expert are being transferred to the session participant.
Overview of options
All created Feature Options for Conditional Access rules can be viewed in the Management Console at any time. Filtering and editing of the Options are possible, too.

📌Note: More Option types will be available in the future.
Hierarchy
Different rules valid for the same connection
In case a user is part of multiple User Groups that are using different Conditional Access rules, the rules with the highest permission set is having the highest priority.
For example, if one rule allows file transfer, but another rule does not allow it, the file transfer will be possible.
Feature Options vs. local settings
The Feature Options for Conditional Access are complimentary to access control settings on the device.
For example, if the Conditional Access Options of a rule allow file transfer, but the access control settings on the device do not allow it (either set via policy or locally in the options), file transfer will not be possible.
Adding rules
💡Hint: A rule defines who can connect where, when, and how.
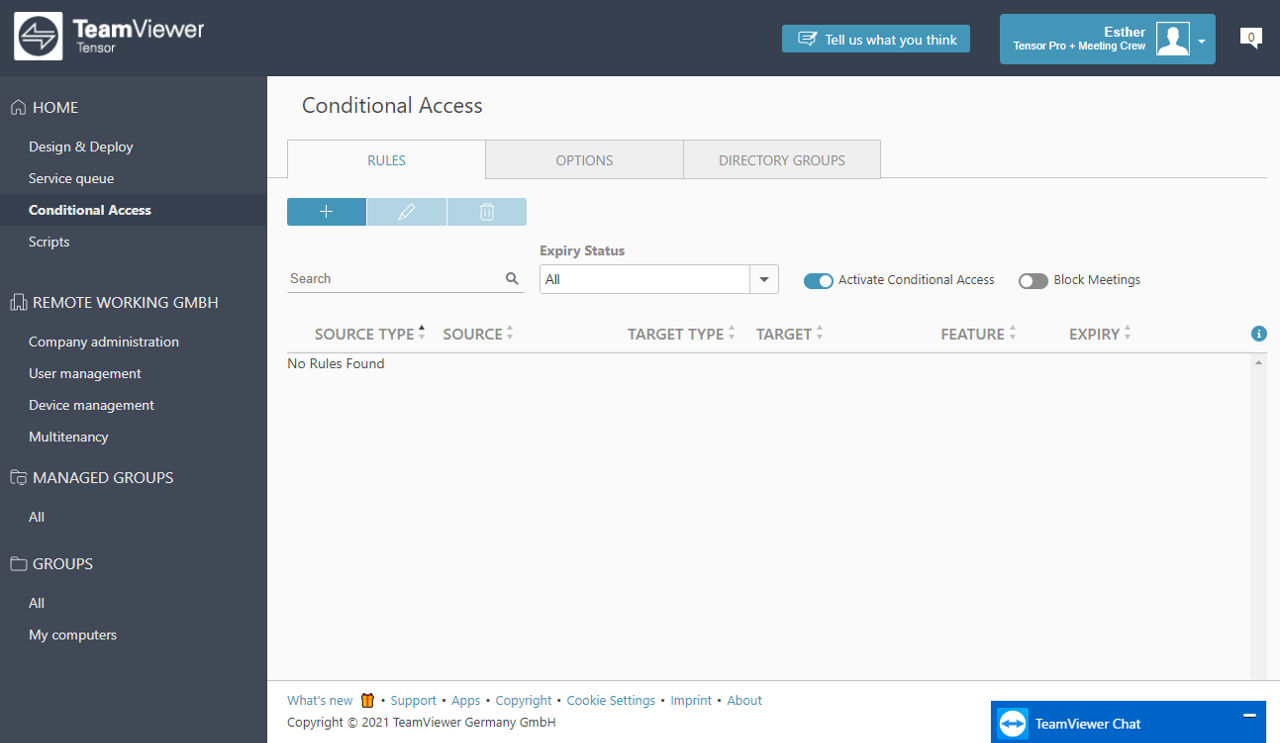
After navigating to the Conditional Access page, you will see an overview of all rules. If no rule has been created yet, the page shows no rule.
As we mentioned before, Conditional Access starts from blocking everything initially, which also makes the management of the rules easier as there is no possibility for contradictory rules.
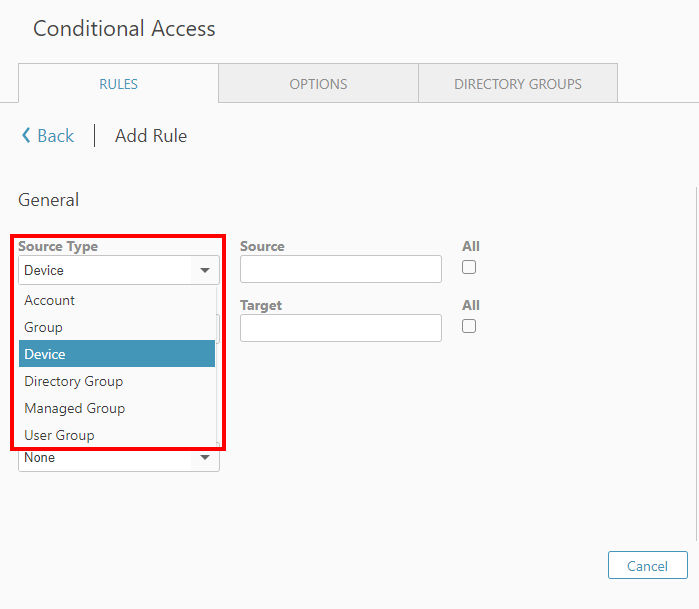
When you click on the + Button for add rule, a new page will appear.
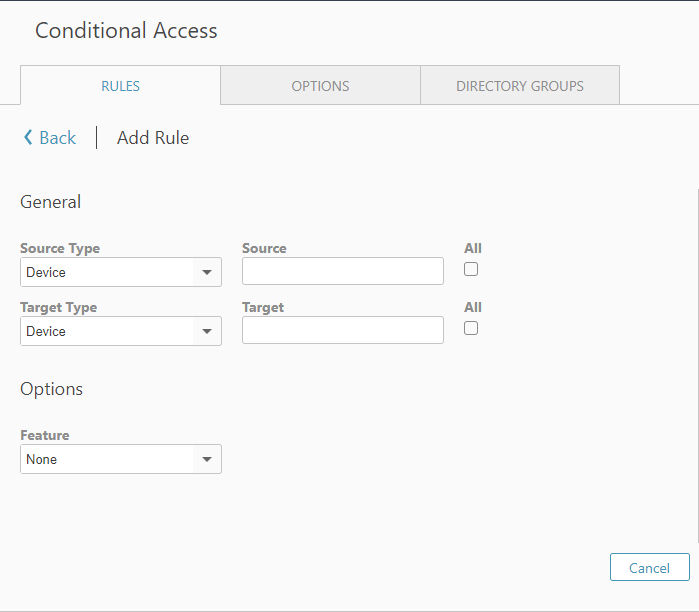
You have the possibility to add rules Devices, Accounts, Groups, Managed Groups, User Groups, and Directory Groups both for the Source Type and the Target Type.
Depending on what you choose as Source Type and Target Type, you need to choose a corresponding Source and Target, e.g, a specific User Group out of your User Groups if you choose User Group as a Type. Or a user if you selected Account.
Alternatively, if you choose All, all User Groups (or another chosen source) will be added.
💡Hint: There is auto-completion available when typing in Source and Target for all devices and accounts that are in your Computers & Contacts list. Additionally, all accounts from your company are also considered in the auto-completion.
📌Note: You are still able to add devices that are not in your Computers & Contacts list by entering the TeamViewer ID. With respect to groups, you can only add them if you are the owner of the group. This is a security measure.

Expiration dates for Conditional Access rules
You can add an expiry date to the Conditional Access rules.
The expiration functionality is important for any scenario where certain TeamViewer users should receive access to specific devices for a limited time only:
- Project-based work
- Interns, part-time workers, etc.
- Substitutes, stand-ins, and others helping out for a limited time
Expiration dates can be set for new and existing rules.
💡Hint: The Expiry defines from when until when the rule will be active.
Expiration dates can be edited at any time:

(Green: create a new time frame. Orange: edit existing ones. Time shown is UTC.)
Several timeframes can be added to one rule. Expiry status for all rules can be seen in the overview:
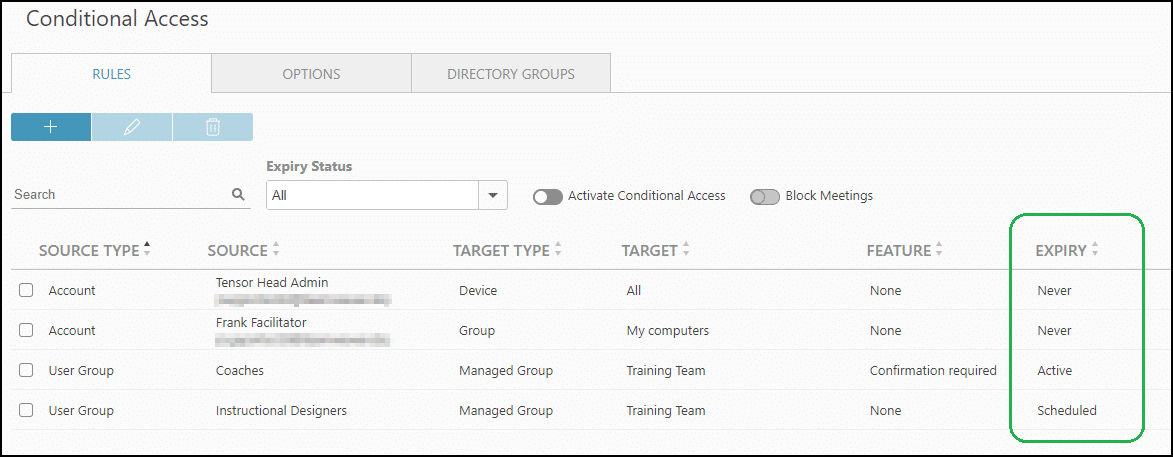
Available states:
- never (no expiry set),
- scheduled (in the future),
- active (currently within the timeframe),
- expired (in the past)
Enable rule verification
Added rules are not automatically enabled.
Please use Activate Conditional Access to make sure that only the connections allowed by the rules are possible and nothing else.
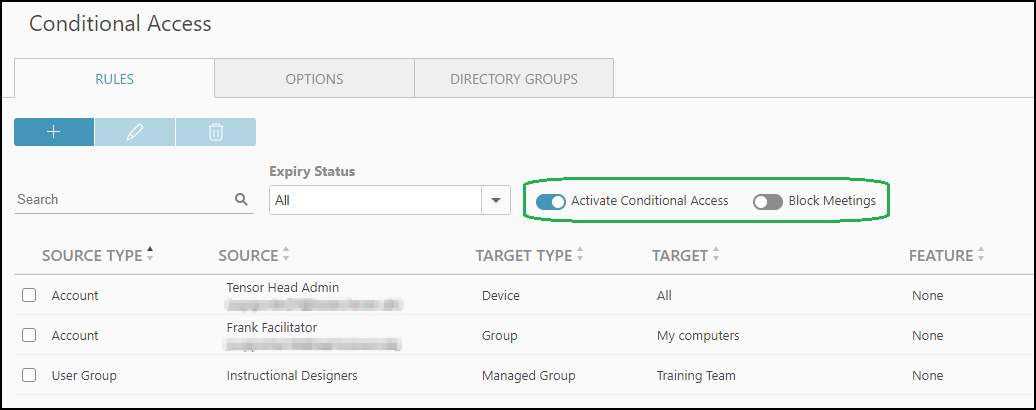
Block Meetings is also available. However, this is an "All or nothing" setting. If enabled, all meetings are blocked. No exceptions.