Hide functionalities in Full and Host client - TeamViewer Support
<main>
<article class="userContent">
<p><br></p><h3></h3><h2 data-id="general">General</h2><div class="blockquote"><div class="blockquote-content"><p class="blockquote-line"><em>This article applies to all TeamViewer Tensor license holders.</em></p></div></div><p>Administrators can limit the functionality of the custom Full Client or Custom Host used by employees directly via <strong>TeamViewer Policies</strong>.</p><p><br></p><h3 data-id="-1"></h3><h2 data-id="hide-a-functionality">Hide a functionality</h2><h3 data-id="step-1%3A-create-a-settings-policy-and-add-the-hide-settings-to-it">Step 1: Create a settings policy and add the hide-settings to it</h3><p><strong>📌Note:</strong> If you are not familiar with TeamViewer policies yet, you can learn how to create a settings policy in our dedicated article here: 📄 <a href="https://community.teamviewer.com/English/kb/articles/4860-create-a-settings-policy" rel="nofollow noreferrer ugc">Create a settings policy</a></p><p>Once the policy is created, make sure to add all the settings you want to be applied.</p><div class="embedExternal embedImage display-large float-none">
<div class="embedExternal-content">
<a class="embedImage-link" href="https://us.v-cdn.net/6032394/uploads/A0ZNXQJ7ODJQ/image.png" rel="nofollow noreferrer noopener ugc" target="_blank">
<img class="embedImage-img" src="https://us.v-cdn.net/6032394/uploads/A0ZNXQJ7ODJQ/image.png" alt="image.png" height="755" width="735" loading="lazy" data-display-size="large" data-float="none"></img></a>
</div>
</div>
<p>In our example here, we want to hide the Chat and the Meeting functionalities in our Custom Full Client.</p><p>📌<strong>Note:</strong> You will find all hide-settings by typing <strong>Hide</strong> in the policy setting search field:</p><div class="embedExternal embedImage display-large float-none">
<div class="embedExternal-content">
<a class="embedImage-link" href="https://us.v-cdn.net/6032394/uploads/0X64QH1MUBQC/image.png" rel="nofollow noreferrer noopener ugc" target="_blank">
<img class="embedImage-img" src="https://us.v-cdn.net/6032394/uploads/0X64QH1MUBQC/image.png" alt="image.png" height="490" width="464" loading="lazy" data-display-size="large" data-float="none"></img></a>
</div>
</div>
<p><br></p><h3 data-id="step-2%3A-assign-the-policy-to-the-custom-module-(full-or-host-client)">Step 2: Assign the policy to the custom module (Full or Host client)</h3><p>Once you have set up the policy, you need to assign it to the custom module.
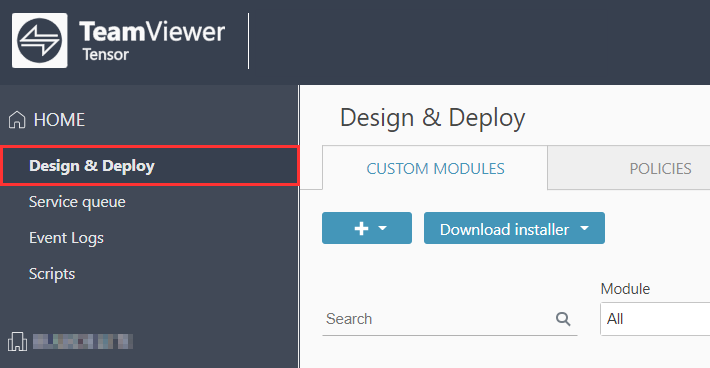
</p><p>1) Go to <strong>Design & Deploy</strong></p><div class="embedExternal embedImage display-large float-none">
<div class="embedExternal-content">
<a class="embedImage-link" href="https://us.v-cdn.net/6032394/uploads/3SRRNZBPWTUW/image.png" rel="nofollow noreferrer noopener ugc" target="_blank">
<img class="embedImage-img" src="https://us.v-cdn.net/6032394/uploads/3SRRNZBPWTUW/image.png" alt="image.png" height="368" width="710" loading="lazy" data-display-size="large" data-float="none"></img></a>
</div>
</div>
<p>2) <strong>Edit </strong>one of your <strong>modules </strong>by clicking the <strong>✏ Edit button</strong></p><div class="embedExternal embedImage display-large float-none">
<div class="embedExternal-content">
<a class="embedImage-link" href="https://us.v-cdn.net/6032394/uploads/EF8B3OEHPNC1/image.png" rel="nofollow noreferrer noopener ugc" target="_blank">
<img class="embedImage-img" src="https://us.v-cdn.net/6032394/uploads/EF8B3OEHPNC1/image.png" alt="image.png" height="745" width="1595" loading="lazy" data-display-size="large" data-float="none"></img></a>
</div>
</div>
<p>📌<strong>Note:</strong> If you haven't created a custom module yet, please check our dedicated article 📄 <a href="https://community.teamviewer.com/English/kb/articles/73157-create-a-custom-full-client" rel="nofollow noreferrer ugc">Create a Custom Full Client</a><code class="code codeInline" spellcheck="false" tabindex="0"> </code></p><p> 3) In the <strong>TeamViewer policy </strong>tab, <strong>select the settings policy </strong>you have created earlier (in Step 1)</p><p>4) Confirm by clicking <strong>Save</strong>.</p><div class="embedExternal embedImage display-large float-none">
<div class="embedExternal-content">
<a class="embedImage-link" href="https://us.v-cdn.net/6032394/uploads/QV4FZPIA5JS8/image.png" rel="nofollow noreferrer noopener ugc" target="_blank">
<img class="embedImage-img" src="https://us.v-cdn.net/6032394/uploads/QV4FZPIA5JS8/image.png" alt="image.png" height="236" width="499" loading="lazy" data-display-size="large" data-float="none"></img></a>
</div>
</div>
<p><br></p><h3 data-id="-2"></h3><h2 data-id="example">Example</h2><p>In our example below, we have set up a policy that <strong>hides the Chat and the Meeting</strong> functionalities of our Custom Full Client.</p><p>After applying the policy to the Custom Full Client module, this is how the client will look like once installed:</p><div class="embedExternal embedImage display-large float-none">
<div class="embedExternal-content">
<a class="embedImage-link" href="https://us.v-cdn.net/6032394/uploads/8HBYHGTRB8C7/image.png" rel="nofollow noreferrer noopener ugc" target="_blank">
<img class="embedImage-img" src="https://us.v-cdn.net/6032394/uploads/8HBYHGTRB8C7/image.png" alt="image.png" height="789" width="1164" loading="lazy" data-display-size="large" data-float="none"></img></a>
</div>
</div>
<p>As expected, the Chat and the Meeting functionalities are missing.</p><p>📌<strong>Note:</strong> Using hide-settings does not disable the actual feature. It only prevents the end-user from seeing it in the interface. For example, if the Hide "Chat" in client setting is enabled, the end-user will still be able to receive and reply to incoming messages.</p>
</article>
</main>