General
This article applies to all customers with an Assist AR (formerly TeamViewer Pilot) license.
This article explains how to activate your TeamViewer Assist AR (formerly TeamViewer Pilot) License.
License Activation – How to activate one Expert for Assist AR
Step 1
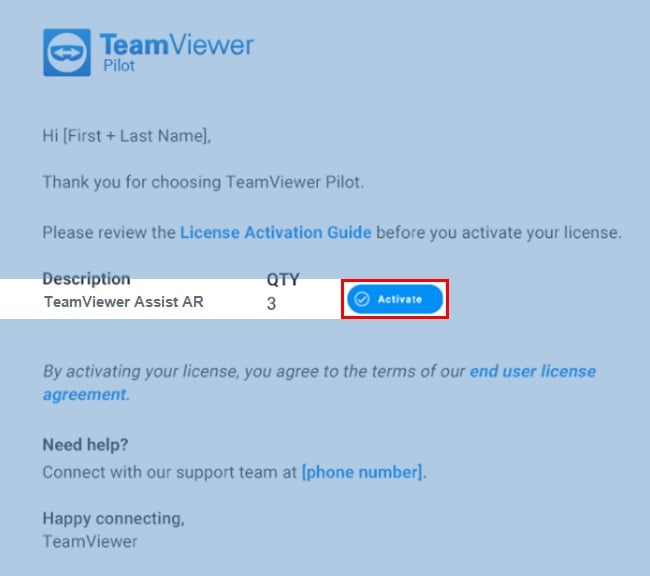
Open the License Activation email that was sent to the email account used to purchase the license. Click Activate.
Step 2 - Follow A or B
You will be redirected to the Sign In page.
A: If you already have a TeamViewer account
Sign in with your existing TeamViewer account, click Activate and go to Step 3.
B: If you do not have a TeamViewer account
1) Create an account by clicking Sign Up.
2) Enter your email address, name and create a password. Read and accept the EULA and mark the captcha box. Click Activate.
3) An email has been sent to your inbox for account verification. Click the link in the email to verify your account and complete your license activation.
Step 3
You will be redirected to the Management Console where a pop-up confirms your license was successfully activated.
You are now signed in and can start using your license.
For more information about Assist AR (formerly TeamViewer Pilot), please visit:
➡ How do I use TeamViewer Assist AR (formerly TeamViewer Pilot) ?
License Activation – How to activate 2 (two) or more Assist AR (formerly TeamViewer Pilot) Experts
Step 1
Open the License Activation email that was sent to the email account used to purchase the license. Click Activate.
Step 2 - Follow A or B
You will be redirected to the Sign In page.
A: If you already have a TeamViewer account
Sign in with your existing TeamViewer account, click Activate and go to Step 3.
B: If you do not have a TeamViewer account
1) Create an account by clicking Sign Up.
2) Enter your email address, name and create a password. Read and accept the EULA and mark the captcha box. Click Activate.
3) An email has been sent to your inbox for account verification. Click the link in the email to verify your account and complete your license activation.
Step 3
You will be redirected to the Management Console where a pop-up confirms your license was successfully activated.
You are now signed in and can start using your license.
Step 4 – Follow A or B
A: If you already have a company profile
Click into the upper right corner, into your user name --> Administer [companyNAME] and skip to Step 5
B: If you do not have a company profile
1) Follow our help guide to create your company profile
2) You will need to add users to your company profile. You will then be able to assign the Assist AR (formerly TeamViewer Pilot) Experts to these users.
Follow our guide to add users to your company profile.
3) Now that you have set up your company profile and users, you are ready to assign your Assist AR Experts. In the Management Console, click User Management.
Step 5
The Company administration of your company (in this case Social Support) will appear. In the License tab, navigate to your Assist AR (formerly Pilot) Subscription and choose Assign.
Step 6
Once you click Assign, a new page will appear with the current assigned and unassigned Experts.
To assign new Assist AR (formerly TeamViewer Pilot) Experts, choose the experts and click Add. Click Save to update.
If the user you would like to assign an Assist AR (formerly TeamViewer Pilot) Expert to is not listed here, please follow our guide on how to add users.
Once you click Save, your licenses are assigned and ready to be used.
📌Note: After making the changes the number of assigned Assist AR (formerly TeamViewer Pilot) Experts out of the total available Assist AR (formerly TeamViewer Pilot) Experts will be displayed under the Details column of your license.
📌Note: If you need to change or reassign an expert, please contact our Customer Support by submitting a ticket: