This guide will walk you through how to install TeamViewer (Classic) on a computer running macOS.
Download TeamViewer (Classic)
TeamViewer (Classic) can be downloaded for all current previous versions.
1. Go to https://www.teamviewer.com/download
2. Click See previous Versions (located below the operating system selection). Select the desired version from the drop-down
3. Scroll to macOS and download the desired module. Follow the instructions to save the setup file
Install TeamViewer on your device
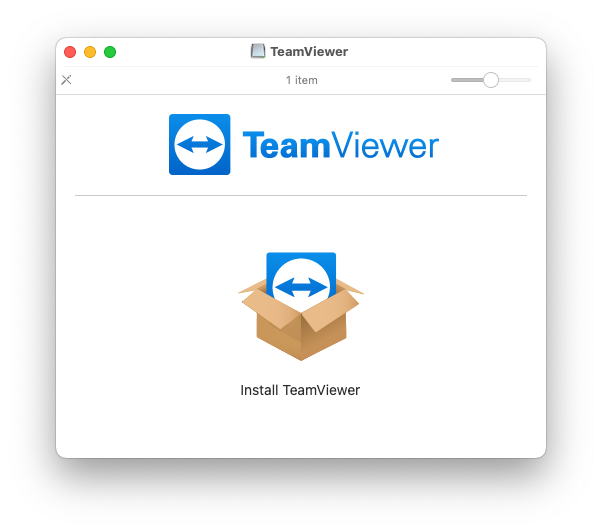
1) Open TeamViewer.dmg and then double-click on Install TeamViewer.
2) A security alert may appear - this will tell you the source of the download (TeamViewer.com). Click Open to begin the installation process.
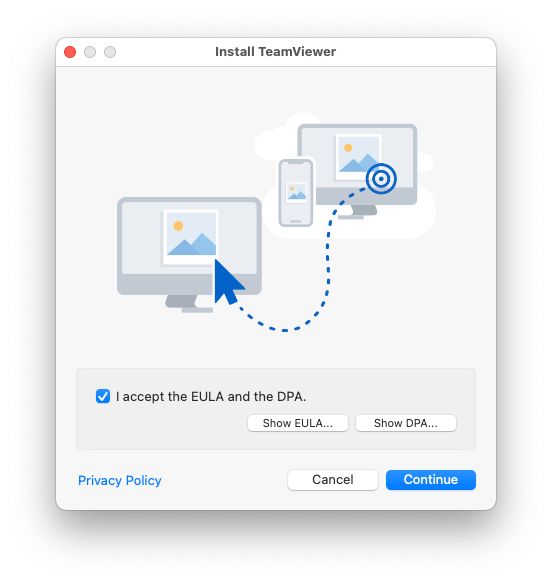
3) In order to proceed with the installation, please check the box I accept the EULA and DPA and then Continue.
4) The setup file will now guide you through the installation process for TeamViewer. Follow the on-screen commands to begin the installation.
📌Note: By default, the standard install of TeamViewer (Classic) installs the application in the Applications folder on the Macintosh HD - For Destination Select & Installation Type, simply click Continue & then Install.
5) Enter the Computer's Admin credentials in order to commence the installation.
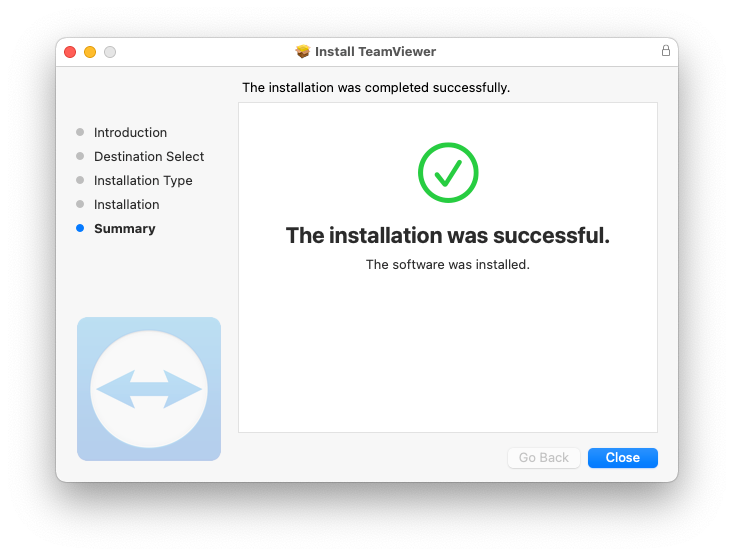
6) Click Close once the setup file confirms a successful installation. TeamViewer (Classic) will open automatically.
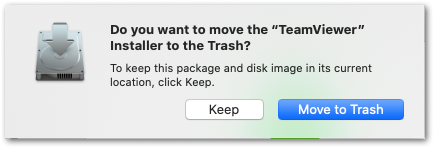
📌Note: The Installation window may ask if you want to move the TeamViewer Installer to the Trash. This does not affect the installation of TeamViewer, but rather moves the TeamViewer.dmg file to the Trash automatically.
Configure Initial Setup
📌Note: The Initial Setup assistant for Unattended Access is only available for the Host client. You can skip it at any point and setup Unattended Access in the TeamViewer preferences.
With TeamViewer Host, once TeamViewer is installed on the device the Initial Setup assistant for Unattended Access will appear. Click Continue to proceed.
On the next screen, create a Personal Password for unattended access. Type the same password a second time to confirm it, and then click Continue.
📌Note: To Skip the Initial Setup assistant, click Skip on the second screen.
Click Finish to close the assistant.
After installation, the TeamViewer (Classic) main window will open automatically. To access the device quickly, it is recommended to add it to your list of computers and contacts.
For devices running macOS Mojave or later
After installation, you will need to configure the device for remote access. More information can be found here: 📄 Remote control a Mac