TeamViewer QuickSupport is an application in the form of a single executable file.
It enables incoming remote control connections but does not allow to start of outgoing connections.
The QuickSupport module runs without installation or Windows or macOS administrative rights.
This article applies to all TeamViewer users.
Use case and availability
The QuickSupport module is typically provided to customers when connecting via TeamViewer for:
- One time support
- Devices with no admin rights
- Users with no need for unattended access
As a license holder, you can create your own customized TeamViewer QuickSupport module with a welcome text, company branding, and other useful functions in the TeamViewer (Classic) Management Console.
TeamViewer QuickSupport is available for:
📌Note: The QuickSupport module is a run-only executable that does not run as an installed service, so it cannot utilize multi-user mode. Due to this, we do not recommend using the QuickSupport module on Windows Server when using RDP or Terminal server sessions. Instead, we recommend using the Host module or the TeamViewer Full Client. For more information, see the article Use TeamViewer on Windows servers.
Service case and service queue
With QuickSupport, administrators can manage service requests more efficiently by having the ability to assign open service requests to specific support staff.
How to assign a service case
You can assign open service cases to other agents of your company profile and to a group within your Computers & Contacts list.
Once a new service case appears in your Service Queue, you can:
- connect directly (if assigned to you automatically)
- assign to someone else
- un-assign from your account (if assigned to you automatically)
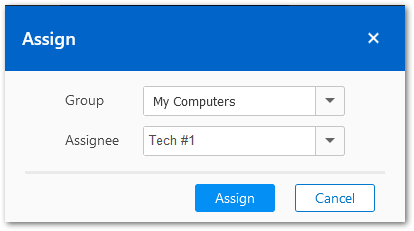
When clicking Assign, the following popup appears, allowing you to decide which group and agent to assign the case to. Alternatively, you can also choose Unassigned.
How to receive notifications
There are a few places where notifications will be received when a new service case is opened.
QuickSupport service notifications will be reflected in the following areas:
- Management Console under Service Queue
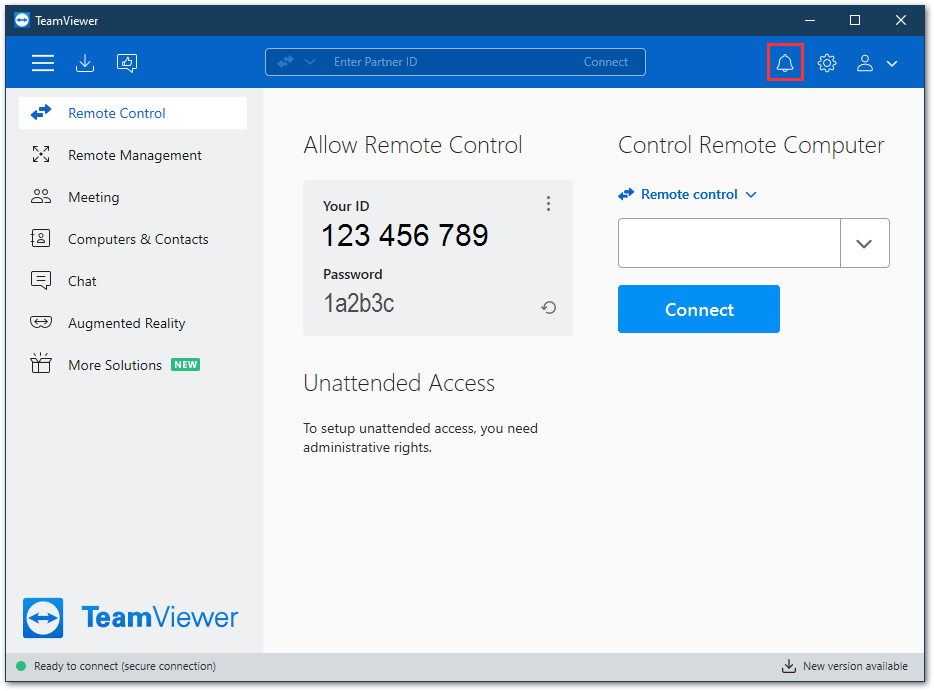
- Notifications area on the TeamViewer application
- Email notifications for new service requests
How to customize your QuickSupport
📌Note: A Business, Premium, Corporate, or Tensor license is required to create or connect to a customized QuickSupport module.
💡Hint: Please activate your TeamViewer license on your TeamViewer Account to get your customers' correct version of the TeamViewer QuickSupport for a flawless support experience.
To create your customized QuickSupport:
- Log in to the Management Console
- Navigate to Design and Deploy on the left-hand side.
- Click the +Button at the top of the page. From the drop-down that appears when you click the button, select QuickSupport.
Once you click QuickSupport you will be able to customize the module and choose your settings.
The settings that are available on the Quick Support module are as follows:
Name
Serves to identify the modules in the overview of your customized modules.
Automatically add users to a group in your Contacts list
If the box is checked, each QuickSupport module user will automatically appear in your Computers & Contacts as a service case as soon as the QuickSupport module is started.
Select a group to which the service cases created by the QuickSupport module should be added. This will create a session code that will show in the Service Queue.
If unchecked, a TeamViewer ID and Password will be generated for connections (legacy mode - not recommended). See: Continue with "Use a random password"
Default assignee
You can select a default assignee for all service cases created with this custom module. Learn more: Automated Service Case Assignment
Allow users to enter a description
If this box is checked, users of the customized QuickSupport can enter a problem description for their service case before a session has been started.
Allow user to create ticket in servicecamp
Please activate your servicecamp instance to use this feature.
Learn more: Servicecamp integration into QuickSupport module
Allow user to initialize chat
If this box is checked, the customer will be able to start a chat with the supporter before the connection starts.
Show customer satisfaction form after session
If this box is checked, a feedback form will appear at the end of a remote control session automatically. With the feedback form, users of this module will have the opportunity to rate and comment your support.
📌Note: This feature is only available for Premium, Corporate, and Tensor license holders.
📌Note: To enable other company members to activate the customer satisfaction form for custom QuickSupport modules, activate the Advanced ➜ Customer satisfaction form ➜ Allow activation option in the company settings.
Automatically create SOS Button
If this box is checked, a shortcut to the module is created on the user's desktop after a connection to this module. Users can start a service case by clicking on the shortcut.
Use random password*
If this option is selected, a new random temporary password for establishing a connection will be generated every time the QuickSupport module is started.
💡Hint: Using the QuickSupport module with a password is not recommended. We recommend using the service case method by choosing "Automatically add users to a group in your Contacts list".
Use a predefined password*
As an alternative to a random password, you can assign a personal password to the QuickSupport module. However, this excludes the functions underneath the Use random password option.
💡Hint: Using the QuickSupport module with a password is not recommended. We recommend using the service case method by choosing "Automatically add users to a group in your Contacts list".
*Will only show if "Automatically add users to a group in your Contacts list" is unchecked
⚠Please see our Troubleshoot guide at the end of this article.
Disclaimer
Here you can enter an optional disclaimer to be displayed before TeamViewer QuickSupport starts.
It is displayed before the start of TeamViewer QuickSupport. Your users must accept it to run TeamViewer QuickSupport.
Visual customization of the QuickSupport
Title
Edit the window title.
Text
Edit the welcome text in the main window.
Logo
Select your own logo, which will be displayed in the top part of the main window.
💡Hint: The size of the logo for the QuickSupport module is 100 x 270px. However, we recommend using 175 x 473 px for your logo images for regular monitors to guarantee proper layout on monitors using up to 175% magnification. The tool will automatically resize larger images to a best fit without cutting the logo. If your customers are using a higher resolution on their monitors, feel free to scale up the ratio.
Text color
Edit the font color. Click in the left field to display a color box and select a color.
Background color
Edit the background color. Click in the left field to display a color box and select a color.
Permanent link
Once the custom QuickSupport module is created and saved, Your permanent link appears in a pop-up window.
This link begins a download of the custom module. This link is provided to the remote party prior to connection.
You can customize the permanent link as well by clicking the Edit button (pencil icon) to the right of the link.
💡Hint: The language of the customized module will adapt to your browser language.
SOS Button
If Automatically create SOS Button is selected, a TeamViewer icon is left on the desktop of your client computer when your client runs your permanent link and you make the initial connection.
The SOS Button can be used by the same customer in the future in case further assistance is needed. Once the customer double-clicks the SOS button a new service request will be created in your Management Console.
The Title mentioned in the settings above will be inherited and show on your client's desktop SOS Button. You can always rename the shortcut as well once the SOS Button has been placed on the desktop.
Button for your homepage
You can also link your customized QuickSupport module with a button on your homepage. On this page you can generate your own TeamViewer Button.
Video tutorial: Create QuickSupport module
In this video tutorial, you learn how to create custom modules through the TeamViewer (Classic) Management Console. This video concentrates on the QuickSupport module for remote control:
If you would like to learn more about the TeamViewer modules and the SOS button, please have a look at this Blog article.
Recap of the steps shown in the video:
- Login to the Management Console
- Select Design & Deploy
- Decide between QuickSupoort, QuickJoin, Host module or Android Host module (this video is about the Quick Support module)
- Select QuickSupport module
- A PopUp window will appear with the different setting you can choose for your custom QuickSupport module (e.g. color, text, name, etc.). Please make your own settings.
- After you finished your customized settings, please click Save and copy down the link provided
- Send the link to your customers or link it to your homepage and your customers can download your customized QuickSupport module
Troubleshooting
When choosing a predefined password for the QuickSupport:
If there is a TeamViewer full version or Host module running on the same device as a QuickSupport module using a permanent password and you are facing issues with the connection, please connect to the TeamViewer full or Host module. In general, we do not recommend using a permanent password, but working with Easy Access via Account Assignment or the Service Queue.
Especially for spontaneous support is the Service Queue the most reliable and easy to use method for a smooth experience both for the support technician and the customer.
Should you be using TeamViewer QuickSupport with a predefined password option to connect after the device is no longer occupied, we recommend the Host.
This will allow you to connect unattended and also provide more usable features, such as multiple reboots, or changing the user account on the accessed device.
📌Please note: If TeamViewer Quick Support is used on a PC with TeamViewer already installed (Full Version/Host Version), stopping the TeamViewer Service can improve the usability of the QuickSupport.
Please open the Services with admin permission (press Windows key+R simultaneously and type in services.msc)
Next, the Services list will appear in alphabetical order.
Choose the TeamViewer service within the list (Name is including the Version that has been installed. eg. TeamViewer 15 or TeamViewer 14 …) Then choose the Stop option.
The Quick Support module should then be started and allow connectivity.